thug626
SETTLING IN
  
Posts: 281
Likes: 714
|
Post by thug626 on Feb 14, 2018 19:58:08 GMT -6
With the Abrams done, I decided to stick with a desert theme. The Tunisian Tiger by Rye Field Model. This will be my first RFM kit. Initially I was thinking of building up one of their tigers with an interior, but I wanted to build a desert Tiger, and this one is sans interior. 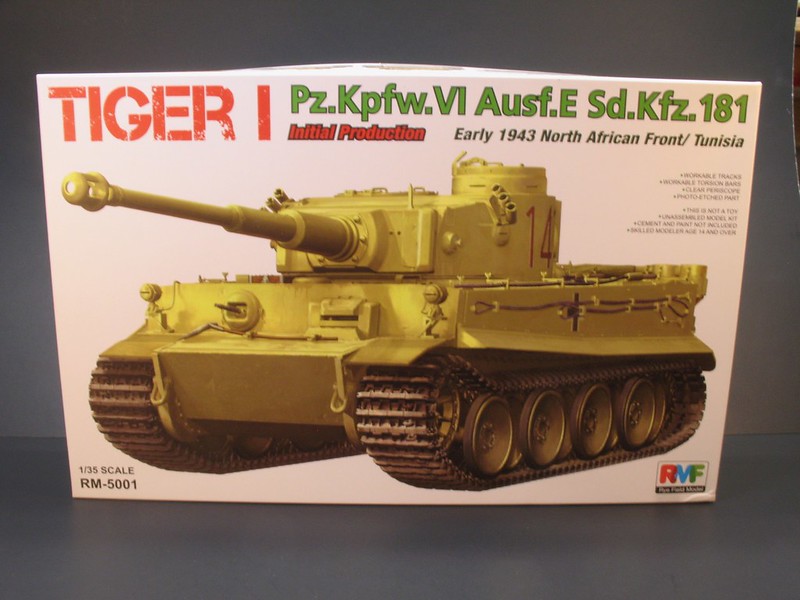 |
|
tony
SETTLING IN
  
Posts: 329
Likes: 787
|
Post by tony on Feb 14, 2018 20:46:49 GMT -6
Nice Box but "Where's The Beef"  ?? Uncle Tony  |
|
|
|
Post by BUCKY on Feb 14, 2018 20:53:06 GMT -6
Teaser shot!! LoL
|
|
|
|
Post by JCON on Feb 14, 2018 22:12:38 GMT -6
|
|
|
|
Post by BUCKY on Feb 14, 2018 23:11:29 GMT -6
That bucket will take a trainload of salt!!
|
|
tony
SETTLING IN
  
Posts: 329
Likes: 787
|
Post by tony on Feb 14, 2018 23:51:55 GMT -6
|
|
|
|
Post by JCON on Feb 15, 2018 0:41:34 GMT -6
|
|
SteveM
SETTLING IN
  
Posts: 411 
Likes: 967
|
Post by SteveM on Feb 15, 2018 1:50:19 GMT -6
Be interesting to see this coming together, I’ve a Tamiya in the stash so I’ll compare and contrast  |
|
|
|
Post by dogfish7 (R.I.P.) on Feb 15, 2018 9:51:26 GMT -6
|
|
thug626
SETTLING IN
  
Posts: 281
Likes: 714
|
Post by thug626 on Feb 18, 2018 15:08:52 GMT -6
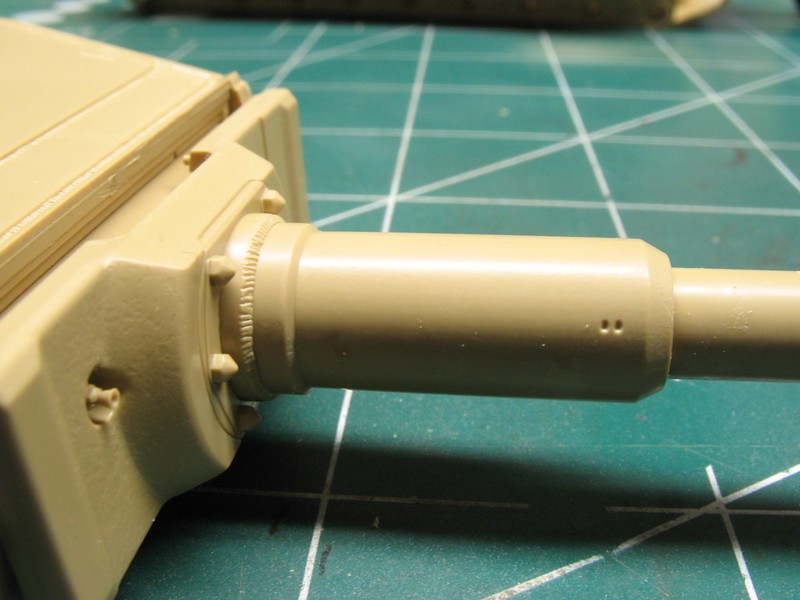
Good afternoon everyone. Thank you for stopping by. Sorry for the teaser shot only. I had time to get the one pic up before my work stretch....no energy after shifts. Soooooooo....... I am hoping there is still some popcorn left. The beer is in the fridge! Here's the beef. Just for you Tony!  The barrel and brake are a six piece assembly. 
 The commanders cupola has a nice bit of detail on the interior...shades of a full interior kit to come (well at the time of this kits release). With the glue all set up, there will be weld detail added to the grab handle, and seam line removed. 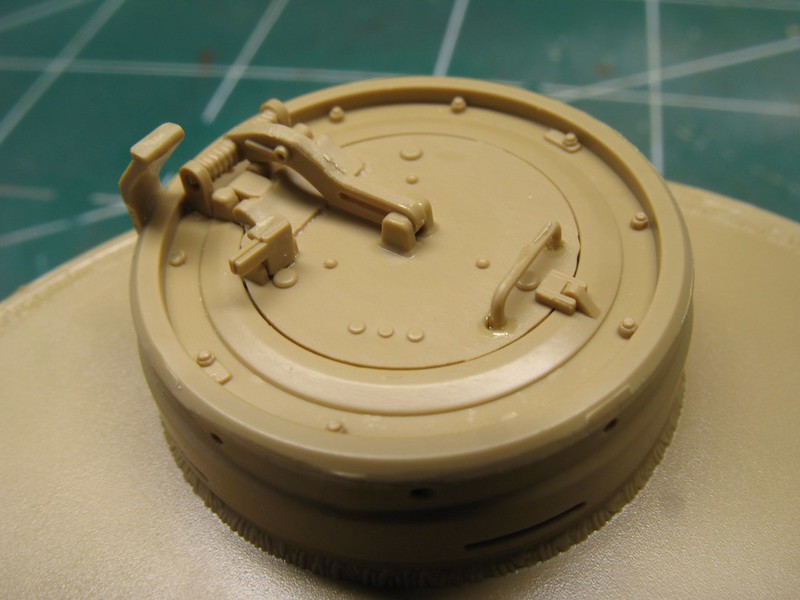 This was a nice surprise! There are some resin goodies included which I did not know about, nor are they mentioned in the instructions. The hinge and hasp detail is far better than the styrene version. 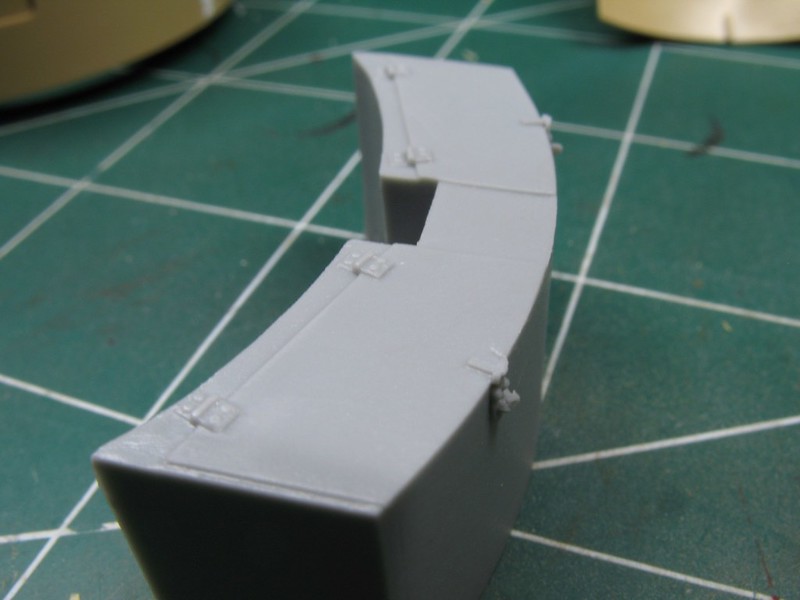 I added some Bronco castle nuts and lead wire for some missing detail. The added weld lines still need a little work. 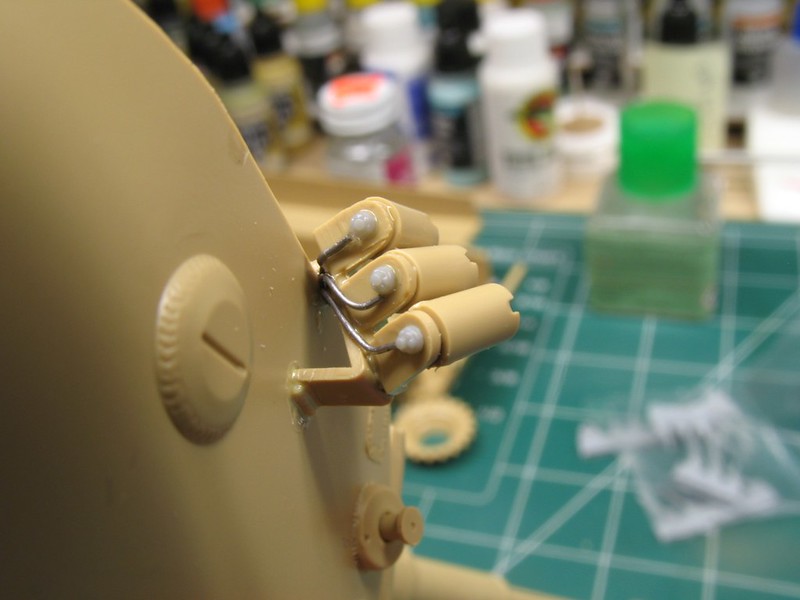 |
|
|
|
Post by JCON on Feb 18, 2018 15:13:02 GMT -6
Nice work Dave, sorry you work place is being such a pain brother!!!
|
|
thug626
SETTLING IN
  
Posts: 281
Likes: 714
|
Post by thug626 on Feb 18, 2018 15:24:34 GMT -6
No worries brother. My work pays for a great many things. Including my hobby.
|
|
|
|
Post by BUCKY on Feb 18, 2018 15:51:54 GMT -6
I had the same lack of energy after shift at the nuclear plant!  This is looking great, Dave! I really like the weld details on this build! |
|
|
|
Post by JCON on Feb 18, 2018 15:58:37 GMT -6
No worries brother. My work pays for a great many things. Including my hobby. Very true!!!  |
|
|
|
Post by JEFF on Feb 18, 2018 16:40:00 GMT -6
Great start, Dave.  Don't forget the Cotter pins for your Castle nuts.  |
|
|
|
Post by JCON on Feb 18, 2018 16:40:49 GMT -6
Lol Jeff!!!
|
|
cliffj (R.I.P.)
GAINING SPEED
  R.I.P. CLIFFJ
Honorary Member of OSM
Posts: 599 
Likes: 1,381
|
Post by cliffj (R.I.P.) on Feb 18, 2018 16:56:39 GMT -6
Gonna be watching this one Dave. I built the Dragon Tunisia Tiger and I want to see how this one compares.
|
|
thug626
SETTLING IN
  
Posts: 281
Likes: 714
|
Post by thug626 on Feb 18, 2018 21:55:24 GMT -6
Keith Thank you very much my good man. Jeff Every time I try to scratch build a pin, it goes pinging off to the hinter land. So, no cotter pins.  Jcon Jcon Cheeky fella isn't he?   Actually the idea was a fleeting one at one point. The voice of reason took over. Cliffj Glad to have you along. Comments, and constructive criticisms are always welcome. So far the directions are far better than Dragons. There were some wrong parts call outs. Instead of sprue A they were on sprue B, but with the proper number. A couple of the diagrams in the instructions are a bit vague. The final drive with the sprocket mounting plate. As you can see the EP marks that required a bit of attention. The 1.4mm punch set and some styrene fixed that. The mounting of the final drive on the right side required some filling to clear the forward swing arm station. Not a deal breaker for the kit. 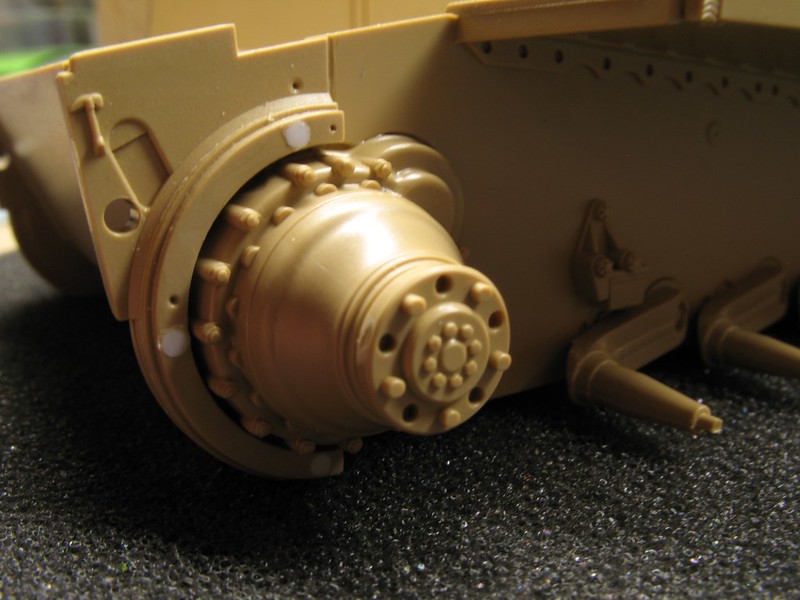 This was a monster of my own making. I wanted the swing arms to articulate, so I clipped the tabs, leaving one swing arm with the tab intact to allow for alignment of the arms on a side. Good thing I did. I had failed to realize that the opposite end of the swing arm/torsion spring has a piddley mounting surface to glue. So, I glued some styrene in to beef up the surface area that is glued. This is why I did the non-interior Tiger first. 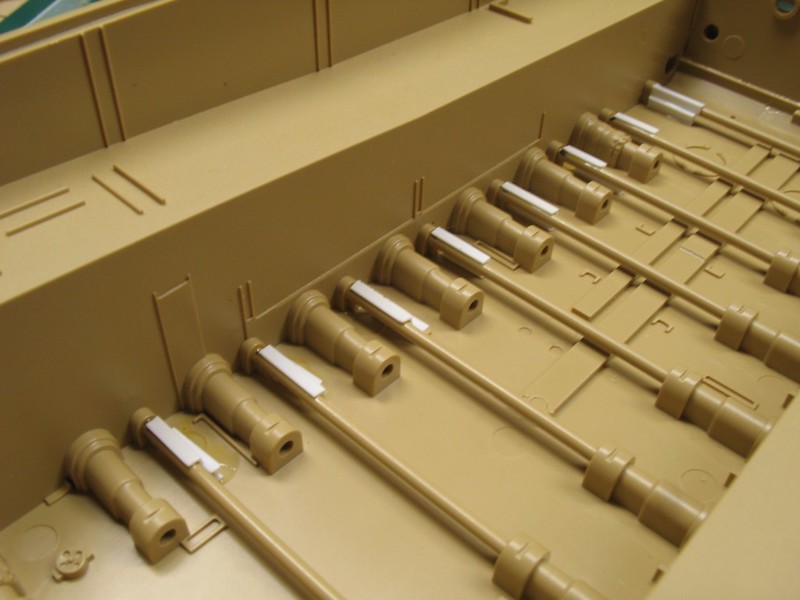 I am loving the detail on this beastie. 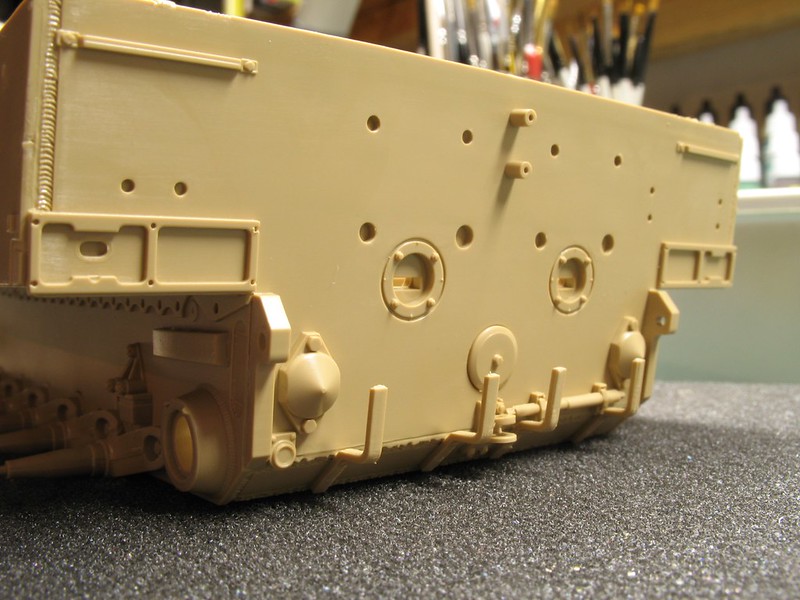 Outer and inner detail of the drive sprockets. When I get around to building the interior Tiger, I just may have to to a maintenance dio. 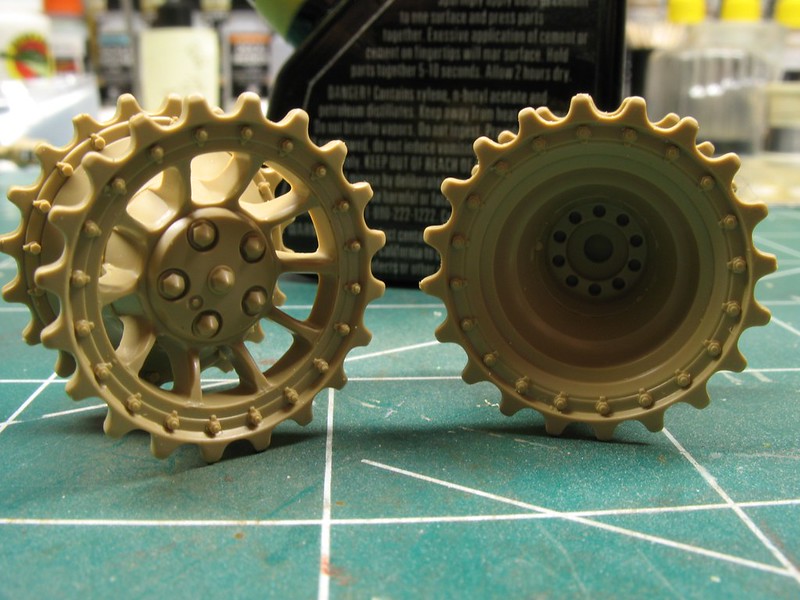
|
|
|
|
Post by JCON on Feb 18, 2018 23:16:15 GMT -6
Yeah he is a bit cheeky!!! Work looks good Dave!!!  |
|
|
|
Post by BUCKY on Feb 18, 2018 23:28:00 GMT -6
Impressive work, Dave! Really coming along, nicely!!
|
|