|
|
Post by JEFF on Feb 19, 2018 4:51:55 GMT -6
Yeah he is a bit cheeky!!! Work looks good Dave!!!  Who Me?  And yes the work does look good.  |
|
tojo72
GAINING SPEED
  Retired
Posts: 651 
Likes: 1,581
|
Post by tojo72 on Feb 19, 2018 6:14:09 GMT -6
Really like following your stuff,looking good.
|
|
|
|
Post by JCON on Feb 19, 2018 9:31:56 GMT -6
Yeah you Mr Cotter Pin... lol!!!
|
|
cliffj (R.I.P.)
GAINING SPEED
  R.I.P. CLIFFJ
Honorary Member of OSM
Posts: 599 
Likes: 1,381
|
Post by cliffj (R.I.P.) on Feb 19, 2018 10:40:34 GMT -6
|
|
|
|
Post by JCON on Feb 19, 2018 11:02:14 GMT -6
Nice one Cliff!!!  |
|
SteveM
SETTLING IN
  
Posts: 411 
Likes: 967
|
Post by SteveM on Feb 19, 2018 13:07:23 GMT -6
This looks really well detailed Dave, light years in front of my Tamiya kit. Nice work too  |
|
|
|
Post by Dukemaddog on Feb 19, 2018 15:39:35 GMT -6
Fantastic work on that kit. That detail sure looks juicy!
|
|
MARCO
ROLLING ON
  BRAZILIANAIRE
The man from the south
Posts: 782 
Likes: 1,911
|
Post by MARCO on Feb 20, 2018 10:32:57 GMT -6
Amazing work Dave!
|
|
|
|
Post by ogrejohn on Feb 20, 2018 18:42:46 GMT -6
Coming along quite nicely Dave!
|
|
thug626
SETTLING IN
  
Posts: 281
Likes: 714
|
Post by thug626 on Feb 22, 2018 3:34:08 GMT -6
Jeff Yeah! You! You'll fit right in!!! Thank you kindly good sir.
Tojo72 Thank you very much my good man. Likewise!
Cliff Thank you very much. It certainly does help. My kit has some resin parts that I think may be corrected parts. Example, the resin turret bin appears to be the proper size. There are also the exhaust outlets with flapper valves. These DO NOT have the indents for the cover at the very top of the exhaust. The Tunisian Tigers did not have the cover. I'll get some pics up tomorrow.
Jcon Helpful one that Cliff
Steve Thank you kindly my good man. The last Tiger I built was Tamiya's Mid Tiger. It had the works. Aber fenders all the way around, resin zimmerit, Fruil tracks, also my first go with Archer transfers. I had a lot of fun with that one. The Tamiya offerings may not be the most accurate, but they build up nicely.
Dukemaddog Thank you very much good sir. I am glad I went with this one before the full interior version. RMF has some idiosyncrasies that I am figuring out.
Marco Thank you buddy! Always glad to hear from you.
Ogrejohn Thank you kindly. Even with its quirks, I am throughly enjoying this kit. I have had one screw up. Not clearly laid out in the instructions, but I got the right pistol port bass-akwards. If you are viewing the turret from the rear, the pistol port openings should both be on the left. My dyslexia got the best of me.
|
|
thug626
SETTLING IN
  
Posts: 281
Likes: 714
|
Post by thug626 on Feb 22, 2018 11:54:55 GMT -6
Here are the pics I mentioned. These are the resin exhaust parts that replace the styrene offering. The flapper valves have yet to be mounted. As you can see on the styrene part, the areas where the rods glue in for the top cover. 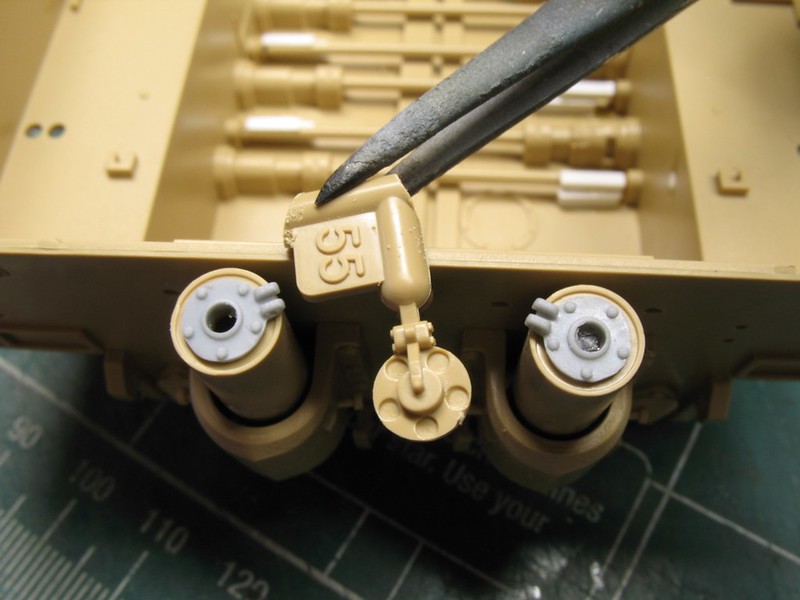
The resin bin is a bit wider than the styrene parts. Its width goes from pistol port to pistol port. What you don't see in this pic is the right pistol port.... I c****d it up. Turns out the opening for the pistol ports are to the left, on both, as you are looking at the turret from the rear. By the time I realized it last night, the glue had already been cured by several days. Note to self! 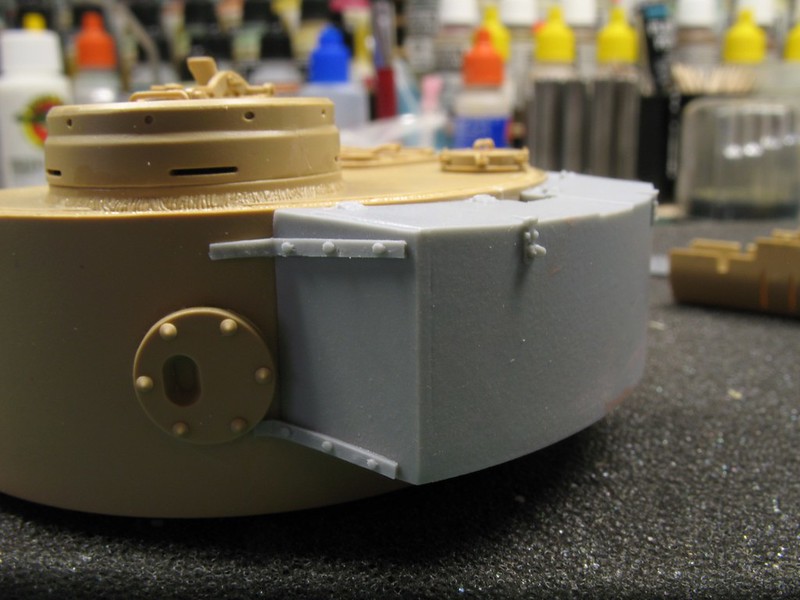 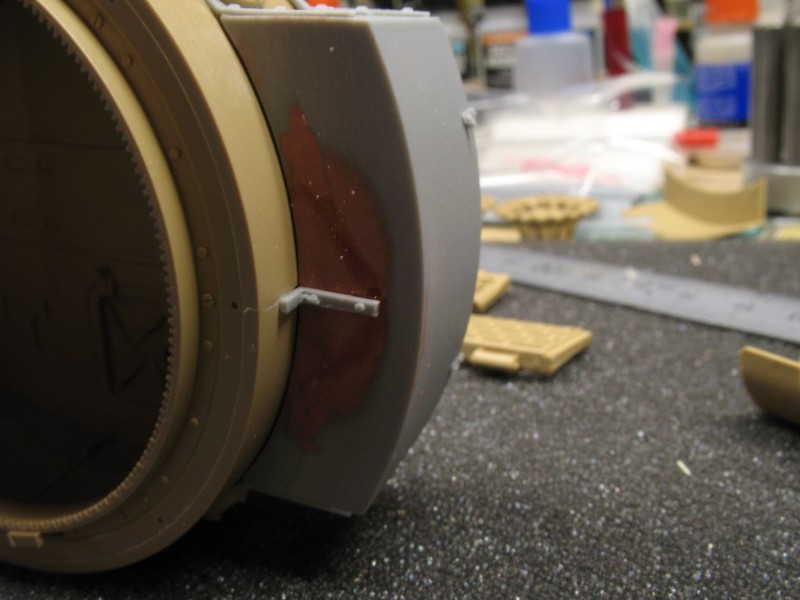 The mass on the rear hull plate is impressive. 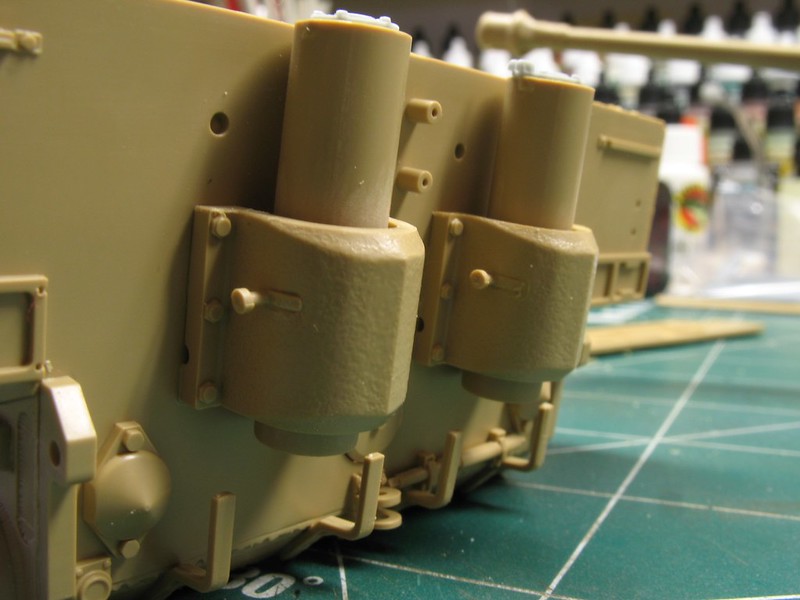 This will not be visible when complete, but I thought I'd show you what RMF has done. The hatches are fully articulating, and in the manner of the 1:1 Tigers. I left off the latches as they will never be seen. I can't wait to build the kit with the interior. 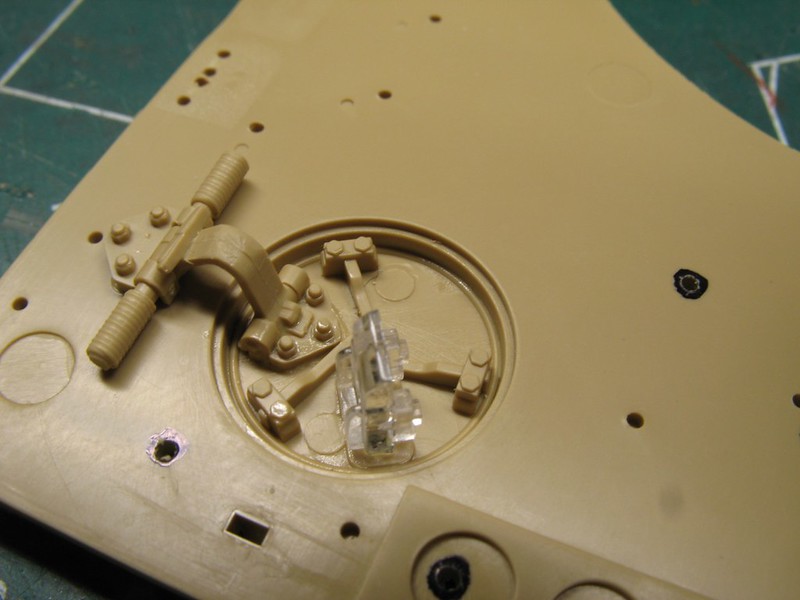 Here are the parts that are left out in the instructions. They are shown mounted, but there is never a mention of a parts call out. These have to be mounted as they are the backing plates for the final drive. Cliff, thank you again for the link. It has been most helpful. There are some things that it is too late for me to address, but I did trim the barrel down by 3mm. 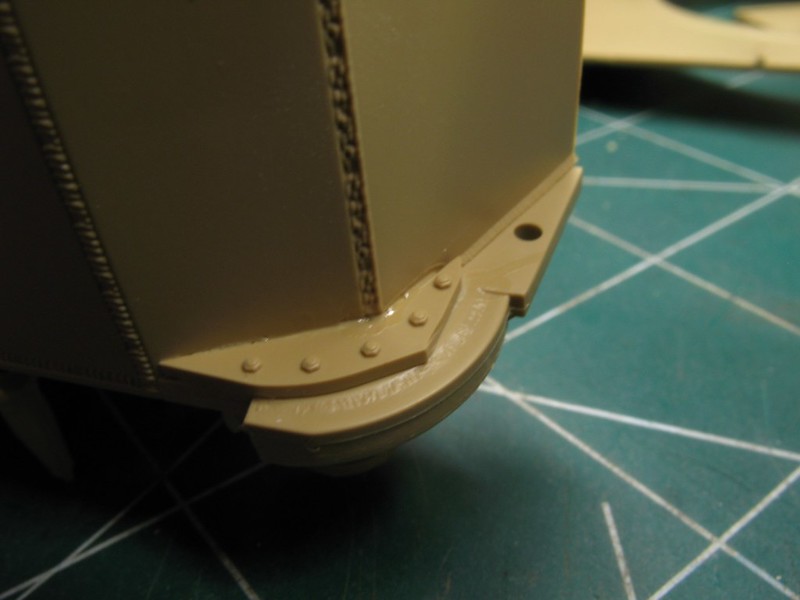 |
|
|
|
Post by ARMORGUY on Feb 22, 2018 13:18:34 GMT -6
Coming along nicely sir.
|
|
|
|
Post by BUCKY on Feb 22, 2018 13:40:41 GMT -6
I like all these detail pics! It really shows us what you are working with on this kit.
|
|
|
|
Post by JCON on Feb 22, 2018 15:13:53 GMT -6
Looking good even if a gun port is backward, most of us would never have noticed anyway if you hadn't said anything!!!  |
|
tojo72
GAINING SPEED
  Retired
Posts: 651 
Likes: 1,581
|
Post by tojo72 on Feb 22, 2018 15:27:00 GMT -6
Nice details on this one,I did the Dragon Tunisian Tiger and enjoyed it.Perhaps you heard of David Bryden,he has a great Tiger refrence site,quite a guru.
|
|
|
|
Post by JEFF on Feb 22, 2018 16:26:56 GMT -6
Great pictures, Dave. This looks like a nice kit despite it's short comings. Those Hatches are fantastic.  |
|
reserve
GAINING SPEED
 
Posts: 683
Likes: 1,758
|
Post by reserve on Feb 22, 2018 21:53:05 GMT -6
Looks like great raw material
Don't worry about the pistol port most (including me) will not know the difference
Nice work brother
Regards,
Mark
|
|
thug626
SETTLING IN
  
Posts: 281
Likes: 714
|
Post by thug626 on Feb 23, 2018 1:07:36 GMT -6
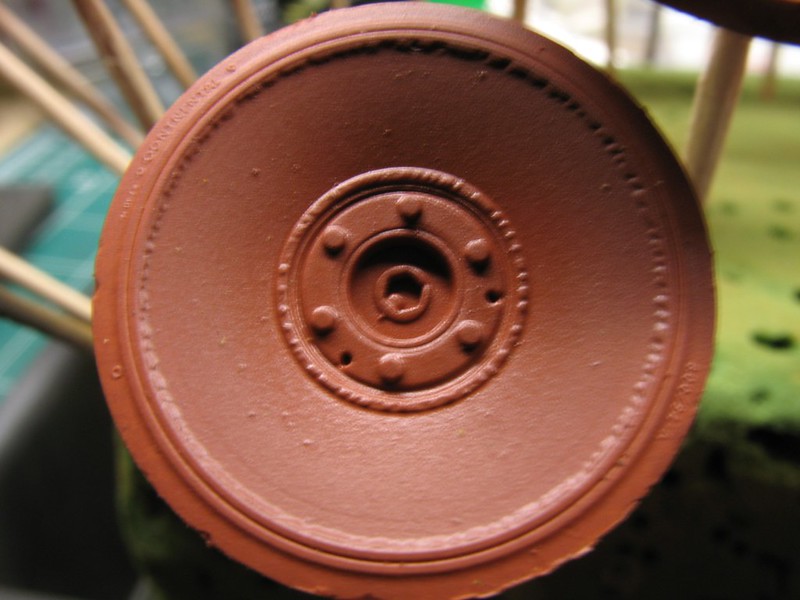
Armorguy Thank you kindly sir. Keith The pictures certainly do work better than me prattling on.  Jcon Jcon I put the port under the heading of "Full Disclosure". Someone is going to notice. Also, to let my mistakes serve as warnings to others.  Tojo72 Tojo72 Thank you very much my good man. I have heard of him. I had bookmarked his site a long time ago. Jeff Thank you good sir. It really is a nice kit. The pit fall one can easily drop into, is the abundance of reference pics out there to verify details on the kit. Which is fine, if that is the route one wishes to go when building a kit. Mark Thank you brother. It is a great base for as much detail one would want to add. There is some rather nice detail included in the kit. Some of which, if one wasn't looking, it might go unnoticed. An example, is the "Continental" relief on the side wall. Along with the tire size. I opted to "rough up" the tires with the Dremel. 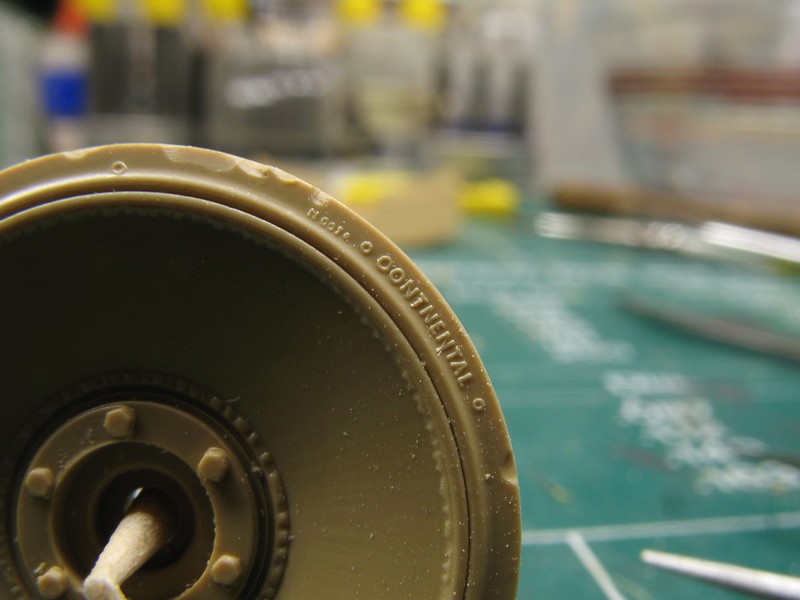 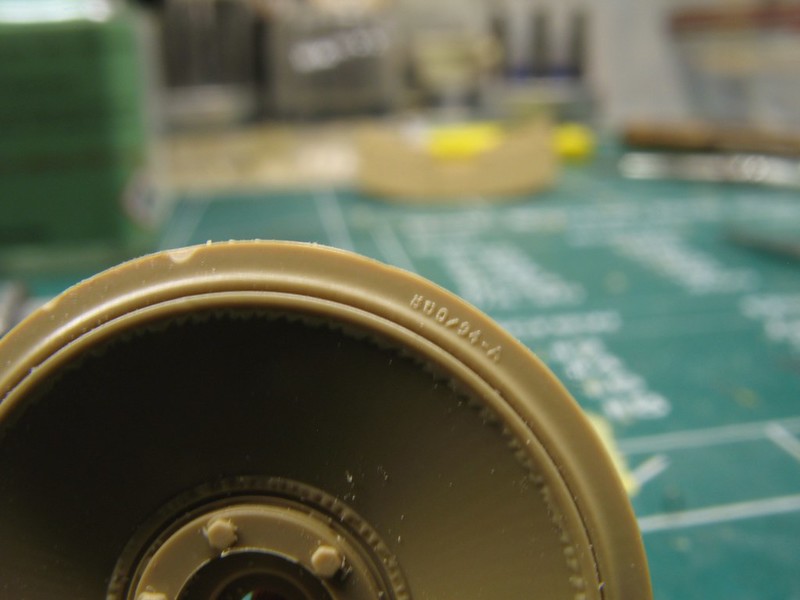 Here is a dry fitting of the road wheels, drive sprocket, and idler. 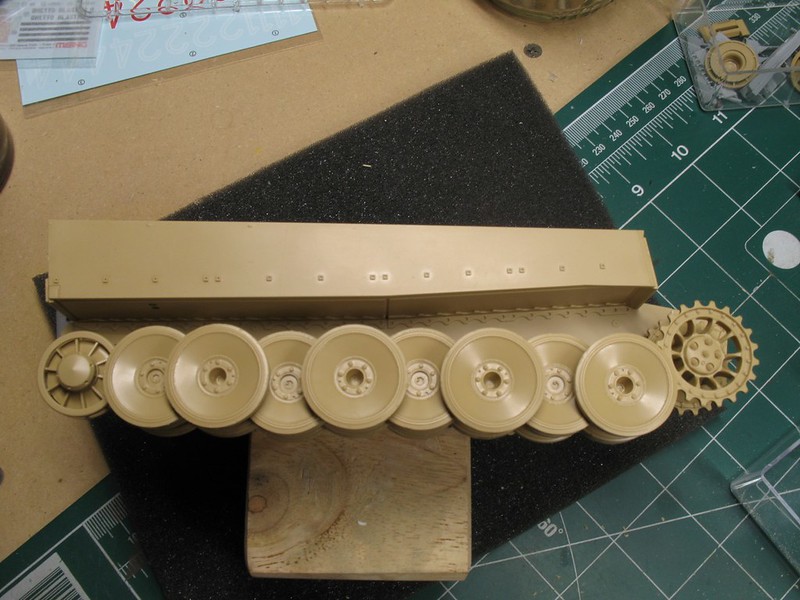 These two pics will give one an idea of why mud would so easily clog up the interleaved wheels 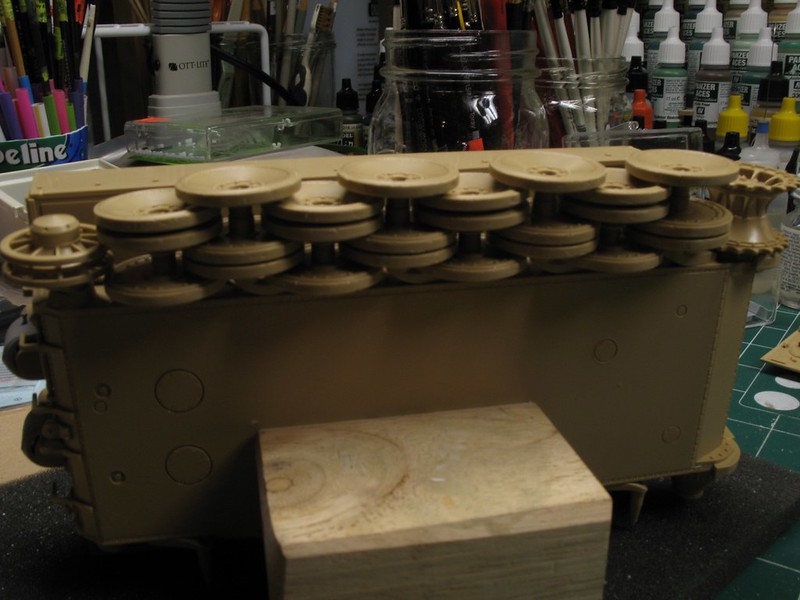 I opted to add the missing flange between the mid and outer road wheels. Probably wont be visible is the end. 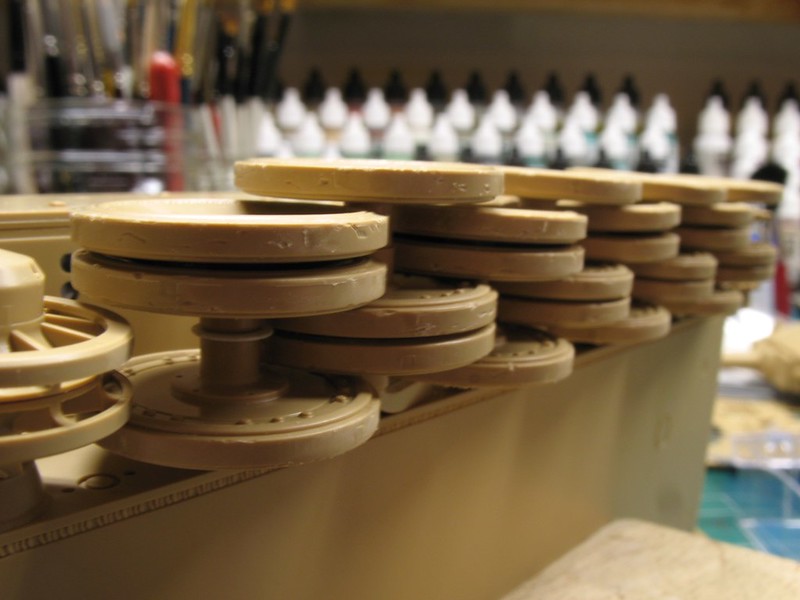 All 48 road wheels prepped and ready for primer..... 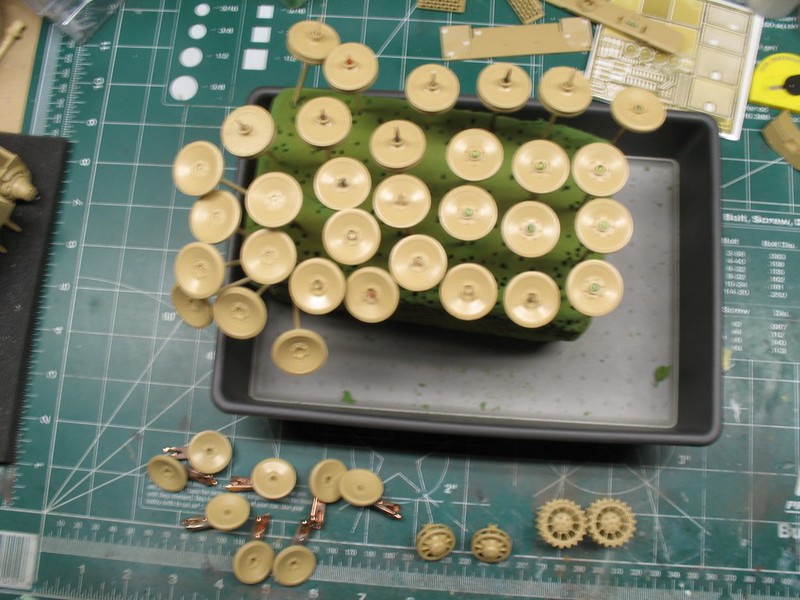 Primer is laid down.... 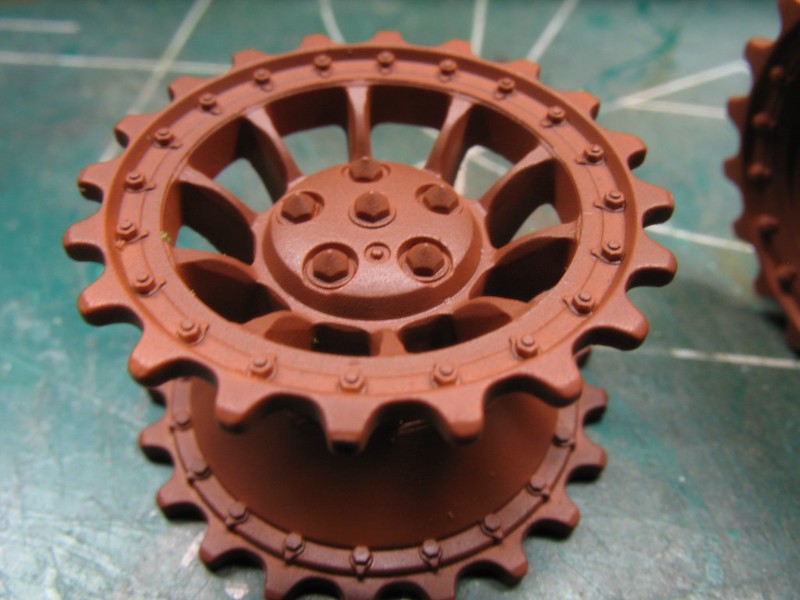
|
|
|
|
Post by ARMORGUY on Feb 23, 2018 2:24:14 GMT -6
The damaged wheels look perfect.
|
|
|
|
Post by JEFF on Feb 23, 2018 3:21:43 GMT -6
Whoop! Wheels on a stick.  How did you do the flange on the axle, Dude? |
|