|
|
Post by JCON on Feb 23, 2018 10:02:47 GMT -6
Those are a lot of wheelie pops!!! Nice!!!
|
|
|
|
Post by BUCKY on Feb 23, 2018 12:01:21 GMT -6
Don't know when I've seen so many wheels on sticks!
|
|
|
|
Post by Dukemaddog on Feb 23, 2018 14:03:23 GMT -6
What a tremendous update! I am overwhelmed at all the great detail on this model. You're really doing this justice.
|
|
|
|
Post by JEFF on Feb 23, 2018 14:48:29 GMT -6
Don't know when I've seen so many wheels on sticks! Keith, is your memory really that bad? Does this ring a bell?   |
|
|
|
Post by JCON on Feb 23, 2018 15:00:00 GMT -6
Apparently not Jeff...  |
|
feldgrau23
SETTLING IN
  
Posts: 336 
Likes: 717
Mini-Profile Background: {"image":"","color":"131414"}
Mini-Profile Name Color: 6fedf2
Mini-Profile Text Color: c7cfd0
|
Post by feldgrau23 on Feb 23, 2018 17:00:43 GMT -6
Man after looking at this Tiger, your making me want to start a tiger!! Excellent work so far thug!!
|
|
|
|
Post by BUCKY on Feb 23, 2018 17:44:59 GMT -6
|
|
thug626
SETTLING IN
  
Posts: 281
Likes: 714
|
Post by thug626 on Feb 23, 2018 22:21:18 GMT -6
Armorguy Thank you kindly.
Jeff I used my hole punch set. I punched the inner first, then aligned it, and punched it again. Giving me a ring.
Jcon It'll take a bit of fiber to push those pops through!
Keith It's builds like this that remind me to never again complain about Sherman bogies or Pz IV road wheels.
Dukemaddog Thank you kindly for the compliment my good man.
|
|
thug626
SETTLING IN
  
Posts: 281
Likes: 714
|
Post by thug626 on Feb 28, 2018 21:28:22 GMT -6
Apologies Fieldgrau23. I think you snuck in under my radar as I was replying. Thank you for the compliment good sir. Break out your Tiger kit and have at it. The track runs are built. My attempt at the first run resulted in half of the run being a bit stiff. Gluing was corrected part way through and the remainder is not so stiff. The pic you see here is the second run I built, and articulates nicely. 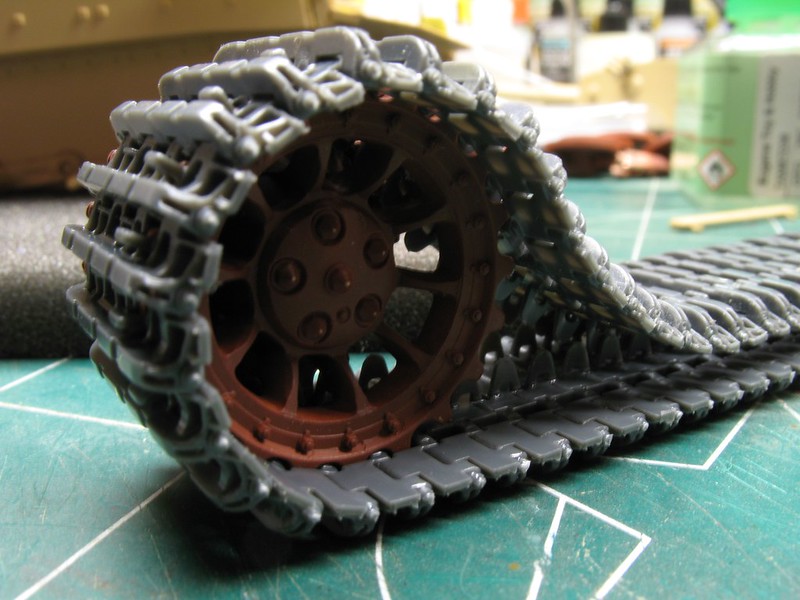 There are five parts per link. The link itself, the pins (there are two types), and all guide horns are individual parts. Ninety six links per side....times two. The bout of insomnia I had last night was not wasted. I built the second run last night. 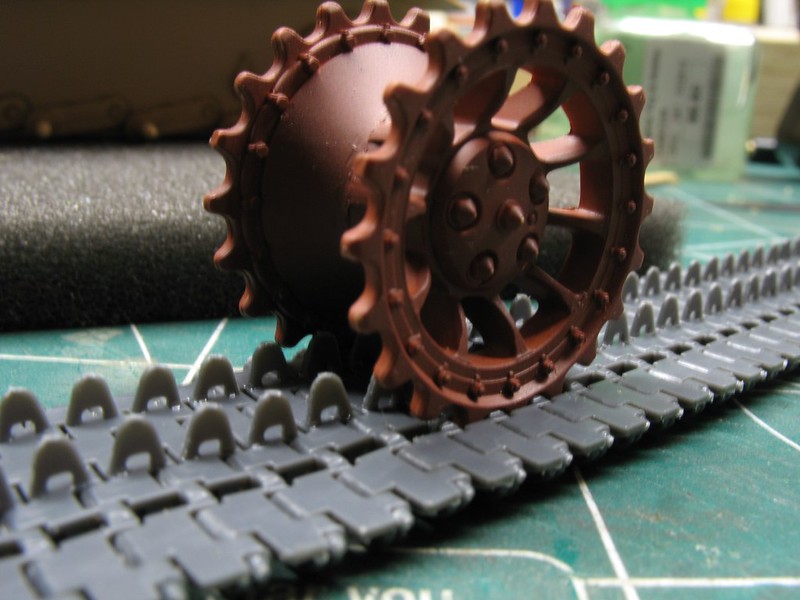 Here is todays progress. The Feil air filters, of which I drilled out the intakes for. All PE grates and parts received a bath in Blacken It. 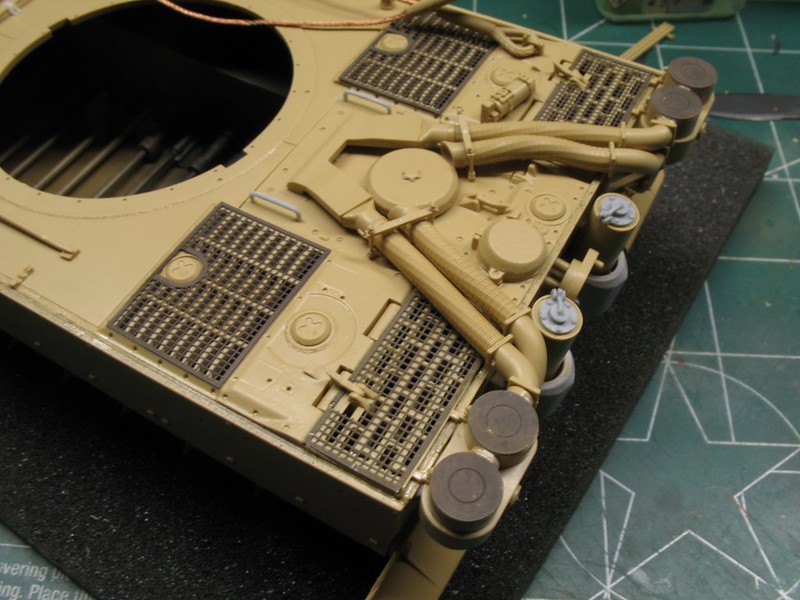 The rear hull is coming together. I'll get the tool box mounted when handling of the kit is minimized. They are resin replacement parts, and the brackets are rather fragile looking. 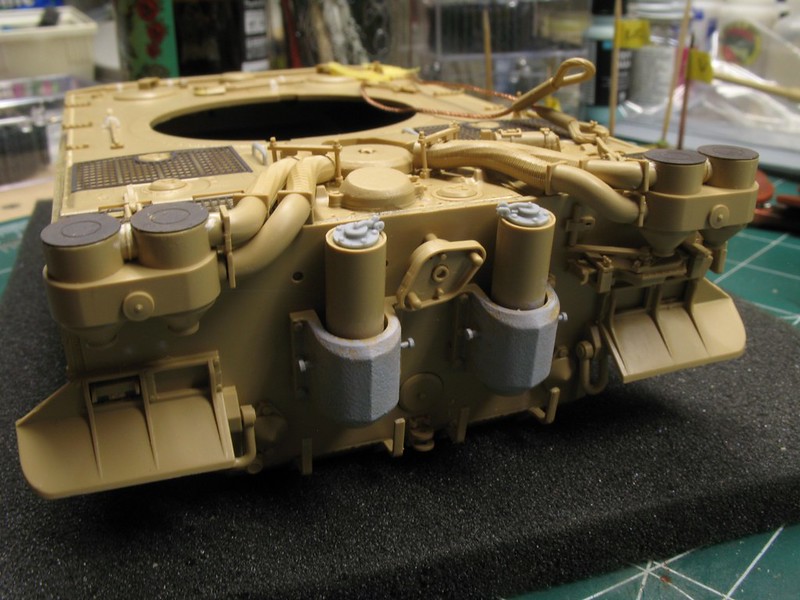 I can't wait to start painting and weathering this beastie! Here you can see the left sided air intake that has been drilled out. 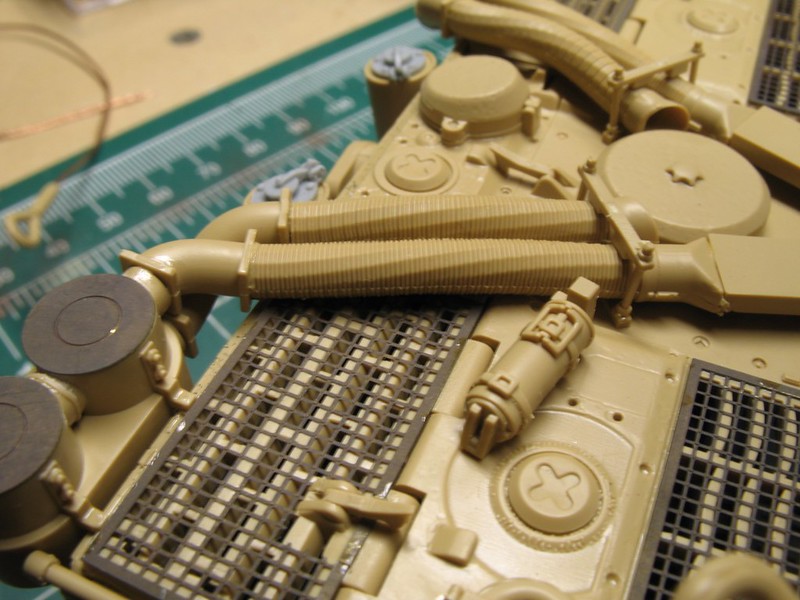 The clear/white tool latches are 3D printed parts by Shapeways. Far simpler than the multi part PE offering in the kit. Not that those parts are bad, but I only have so much sanity to go around. 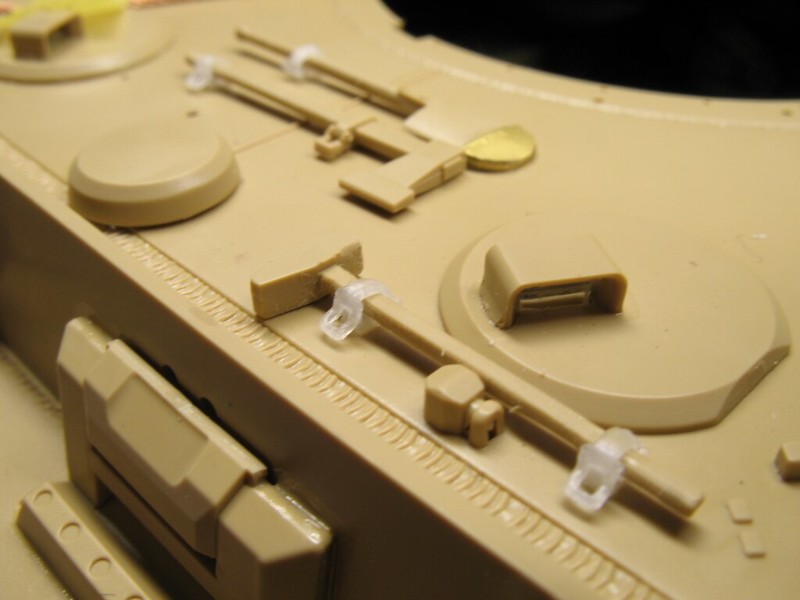 |
|
|
|
Post by BUCKY on Feb 28, 2018 21:44:59 GMT -6
Gorgeous work!!
|
|
thug626
SETTLING IN
  
Posts: 281
Likes: 714
|
Post by thug626 on Feb 28, 2018 21:46:08 GMT -6
Thank you kindly Keith
|
|
|
|
Post by JCON on Feb 28, 2018 23:19:30 GMT -6
Looking top notch...
|
|
feldgrau23
SETTLING IN
  
Posts: 336 
Likes: 717
Mini-Profile Background: {"image":"","color":"131414"}
Mini-Profile Name Color: 6fedf2
Mini-Profile Text Color: c7cfd0
|
Post by feldgrau23 on Mar 1, 2018 5:33:47 GMT -6
Looking better every day Thug!!
|
|
|
|
Post by ARMORGUY on Mar 2, 2018 13:19:42 GMT -6
Like every bit of it !
|
|
|
|
Post by Dukemaddog on Mar 2, 2018 17:01:11 GMT -6
Brilliant work! I don't blame you for substituting Shapeways parts for the P/E. My head hurts just thinking about all the extra P/E....
|
|
|
|
Post by JEFF on Mar 2, 2018 17:50:17 GMT -6
Missed a couple of days on this one, Dave. Outstanding work, Buddy.  |
|
|
|
Post by ogrejohn on Mar 3, 2018 16:56:27 GMT -6
Pretty kitty Dave!
|
|
|
|
Post by dogfish7 (R.I.P.) on Mar 4, 2018 8:30:56 GMT -6
Awesome work Dave! 
|
|
cliffj (R.I.P.)
GAINING SPEED
  R.I.P. CLIFFJ
Honorary Member of OSM
Posts: 599 
Likes: 1,381
|
Post by cliffj (R.I.P.) on Mar 4, 2018 18:36:56 GMT -6
You are quite welcome Dave,glad I can help with info. I find all my resource info during the nights I have insomnia,after 3-4 hrs of looking for facts on the internet my eyes will finally get tired. The drawback to this is the next day going through all the info I collected the night before.
The damage you did to the road wheels looks great and realistic!!
|
|
thug626
SETTLING IN
  
Posts: 281
Likes: 714
|
Post by thug626 on Mar 4, 2018 22:28:17 GMT -6
Good evening everyone. Bench time will be at a premium for me for the next few weeks. I've got to crank out a bunch of continuing education credits for a certification that runs up at the end of the month. That being said, I was able to steel away some time at the bench. All of the tools, cables, and such are mounted. Except for the jack block. That'll go on later. 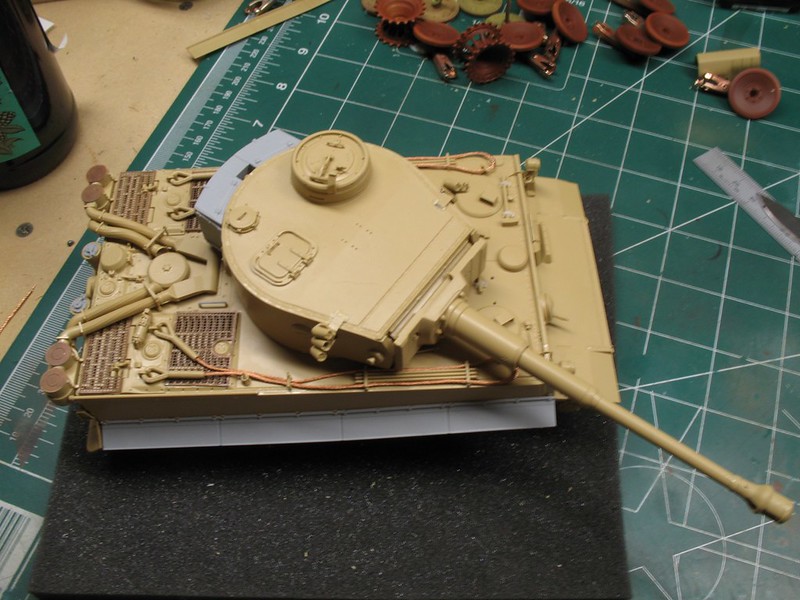
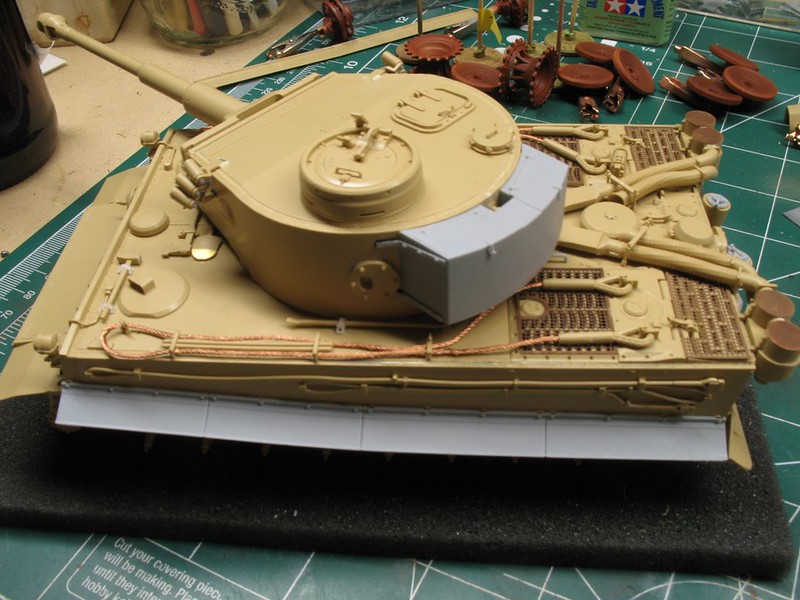 I opted to go with the resin side fenders. The two forward sections are of a different length than the back two. What that means is that the forward mounting points have to be removed.....they included resin replacement mounts. 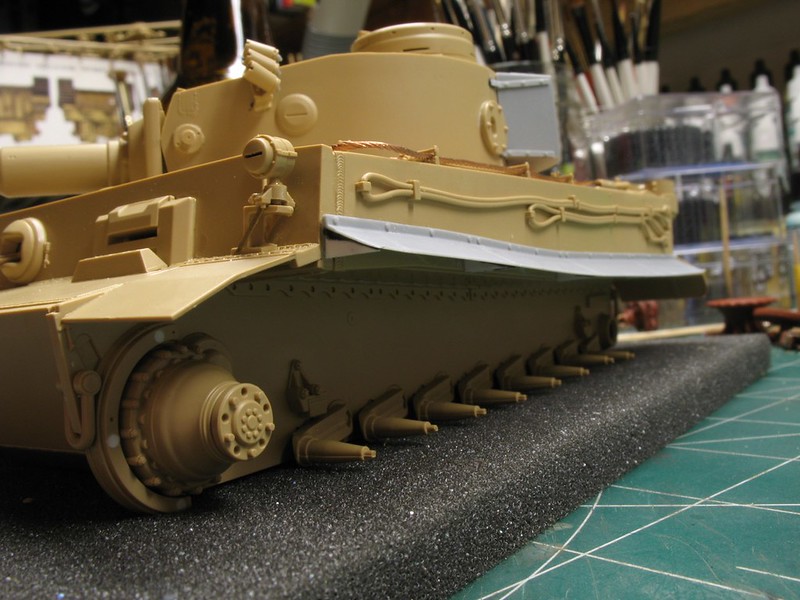 The pic is a bit blurry, but you can see the forward triangular piece that wasn't included in either the styrene part or resin part. Styrene stock to the rescue. 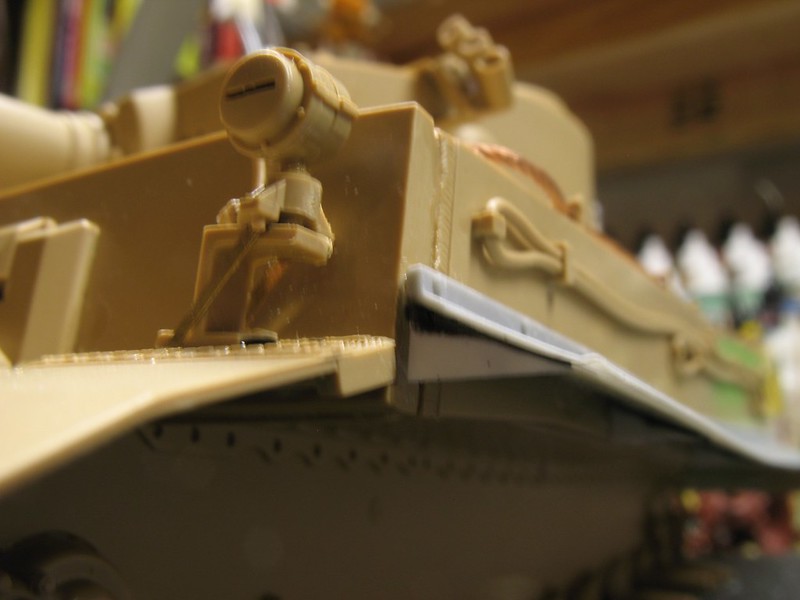 The rest of the reinforcement parts. Yes, there is a bit of slop with the CA to attach the fenders. This will be weathered over. The black stuff is rubberized CA glue. When painted it will pass for light weld lines.  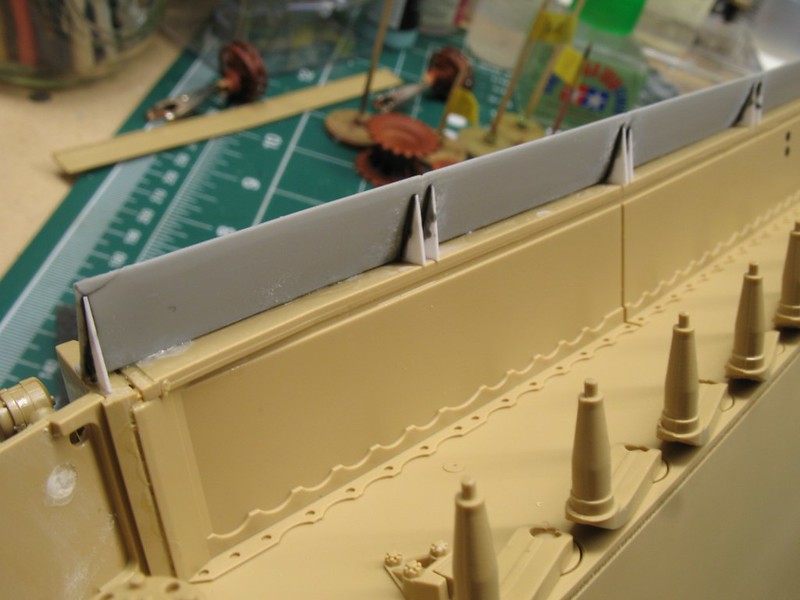 |
|