|
|
Post by mustang1989 on May 11, 2022 10:09:20 GMT -6
I'd call that a definite success. It's a frickin' model all by itself. It took as long to make as some whole kits....  Mister do I ever hear you on that one!!! I'm not gonna cloud your thread up with a bunch of my stuff but I built a shifter the year before last for my 1970 Ford Maverick that would just about do it for anybody in stopping the hobby for a minute.....or two. This shifter had 26 parts.....yessir...26 and took me about three days to get put together. I had it together on the 2nd day but I moved it wrong while putting the final touches on it and it fell half back apart. lol 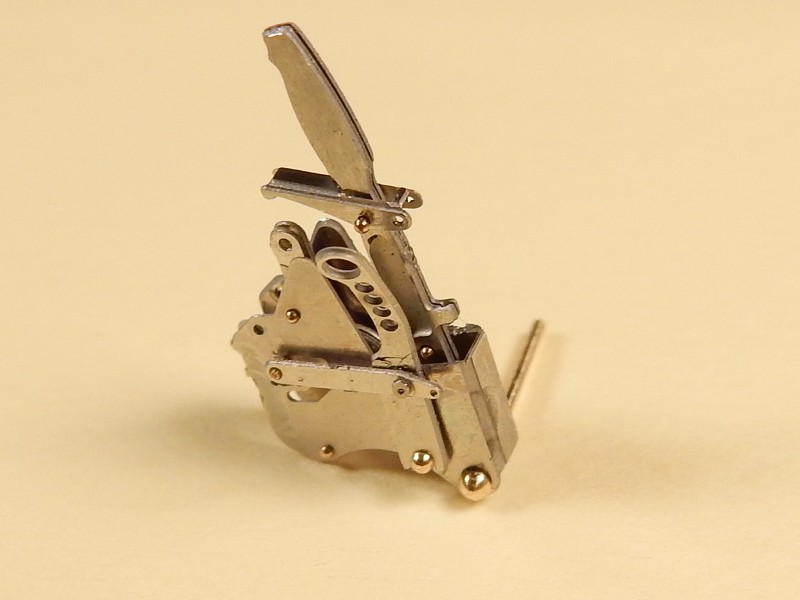 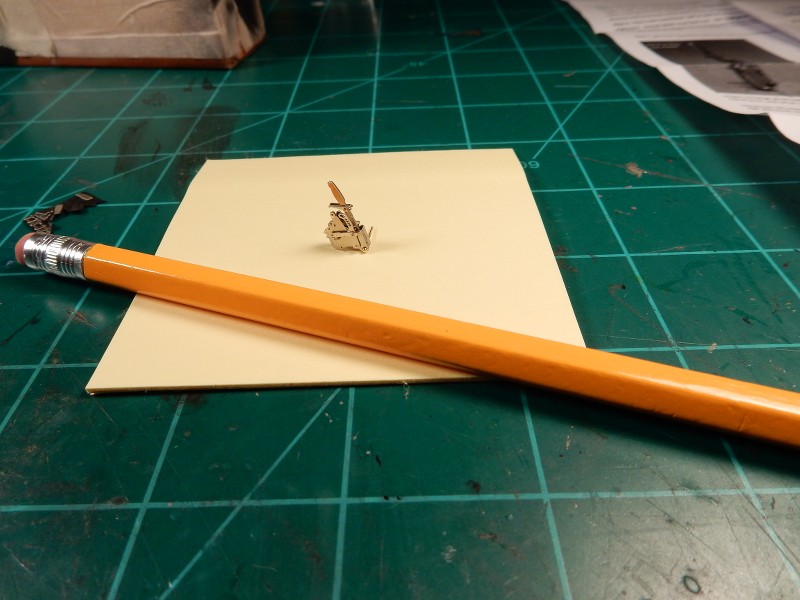 In the end it was all worth it after being installed into the interior: 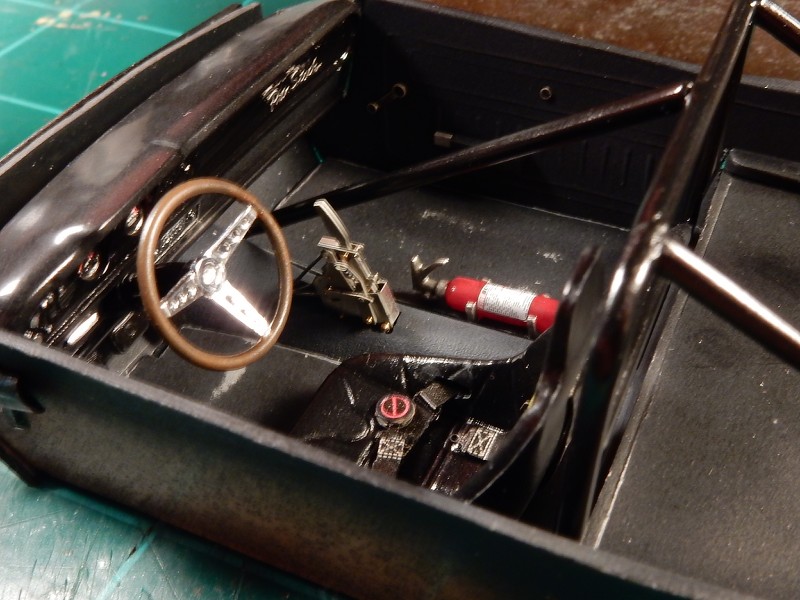 |
|
rustybaer
ROLLING ON
 
Posts: 854
Likes: 1,932
Mini-Profile Background: {"image":"","color":"bde619"}
|
Post by rustybaer on May 11, 2022 13:45:27 GMT -6
Thanks Joe. And that's one little bitty shifter! I spent this morning finishing the mounts for the side armor, making sure I can attach it after painting. Here's a shot of it just hanging, testing fit: 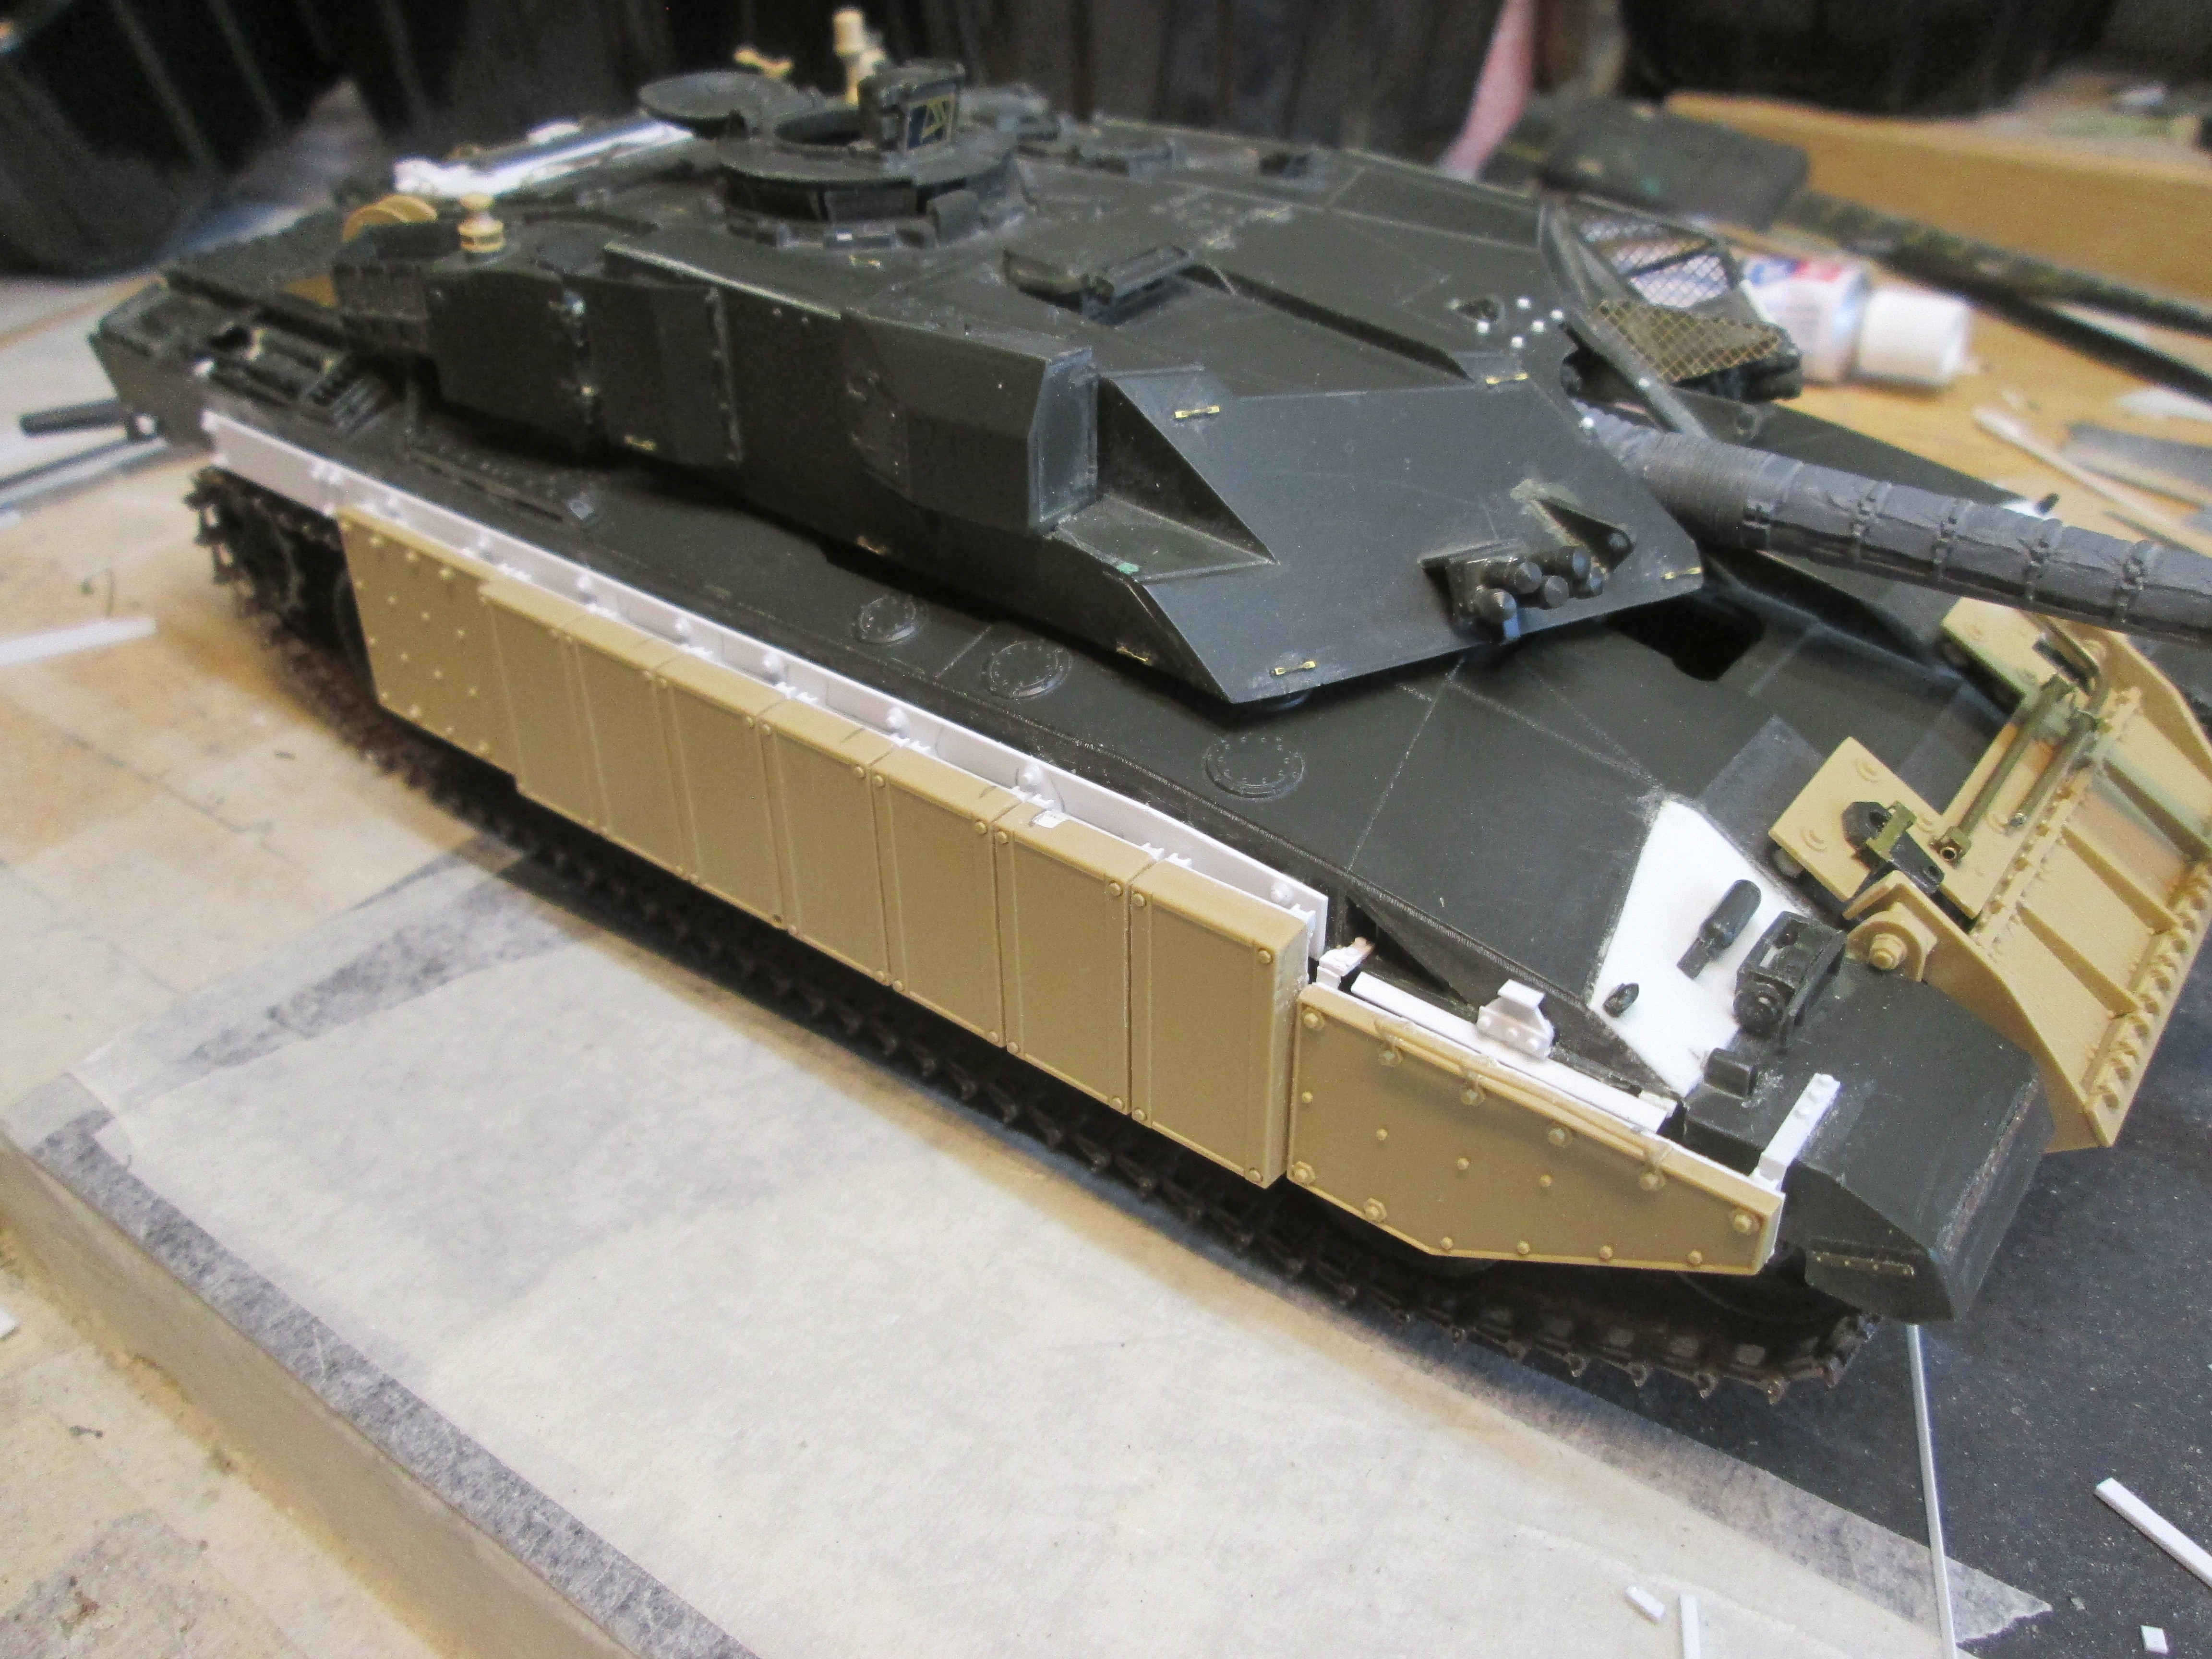 IMG_2886 IMG_2886 by Russel Baer, on Flickr And from the rear...  IMG_2887 IMG_2887 by Russel Baer, on Flickr ...giving an idea of the amount of standoff from the hull sides. Tamiya has it attached directly to the hull. I understand they fixed that in the Chally2 kit. I may have to look for one. And finally, a look at the way it actually mounts- not as on the actual tank, but it's hidden when the armor is on, so I'm okay.  IMG_2888 IMG_2888 by Russel Baer, on Flickr All my little bits of U-channel catch the square stock, also giving me a good attachment point. It should be fairly strong when done. |
|
|
|
Post by mustang1989 on May 11, 2022 13:52:06 GMT -6
Wow!!! You sure do your homework on these things Russ! Love the progress!!!
|
|
|
|
Post by JCON on May 11, 2022 14:42:09 GMT -6
Skirts look very good!!!
|
|
|
|
Post by ogrejohn on May 11, 2022 15:34:30 GMT -6
Total styrene goodness there Rusty!
|
|
rustybaer
ROLLING ON
 
Posts: 854
Likes: 1,932
Mini-Profile Background: {"image":"","color":"bde619"}
|
Post by rustybaer on May 13, 2022 9:43:13 GMT -6
Thanks all! Pics as of this morning, grab handles on the side armor modules added, tow cable brackets still to come, exhaust outlets swapped for the later ones, and turret reinforcements added. 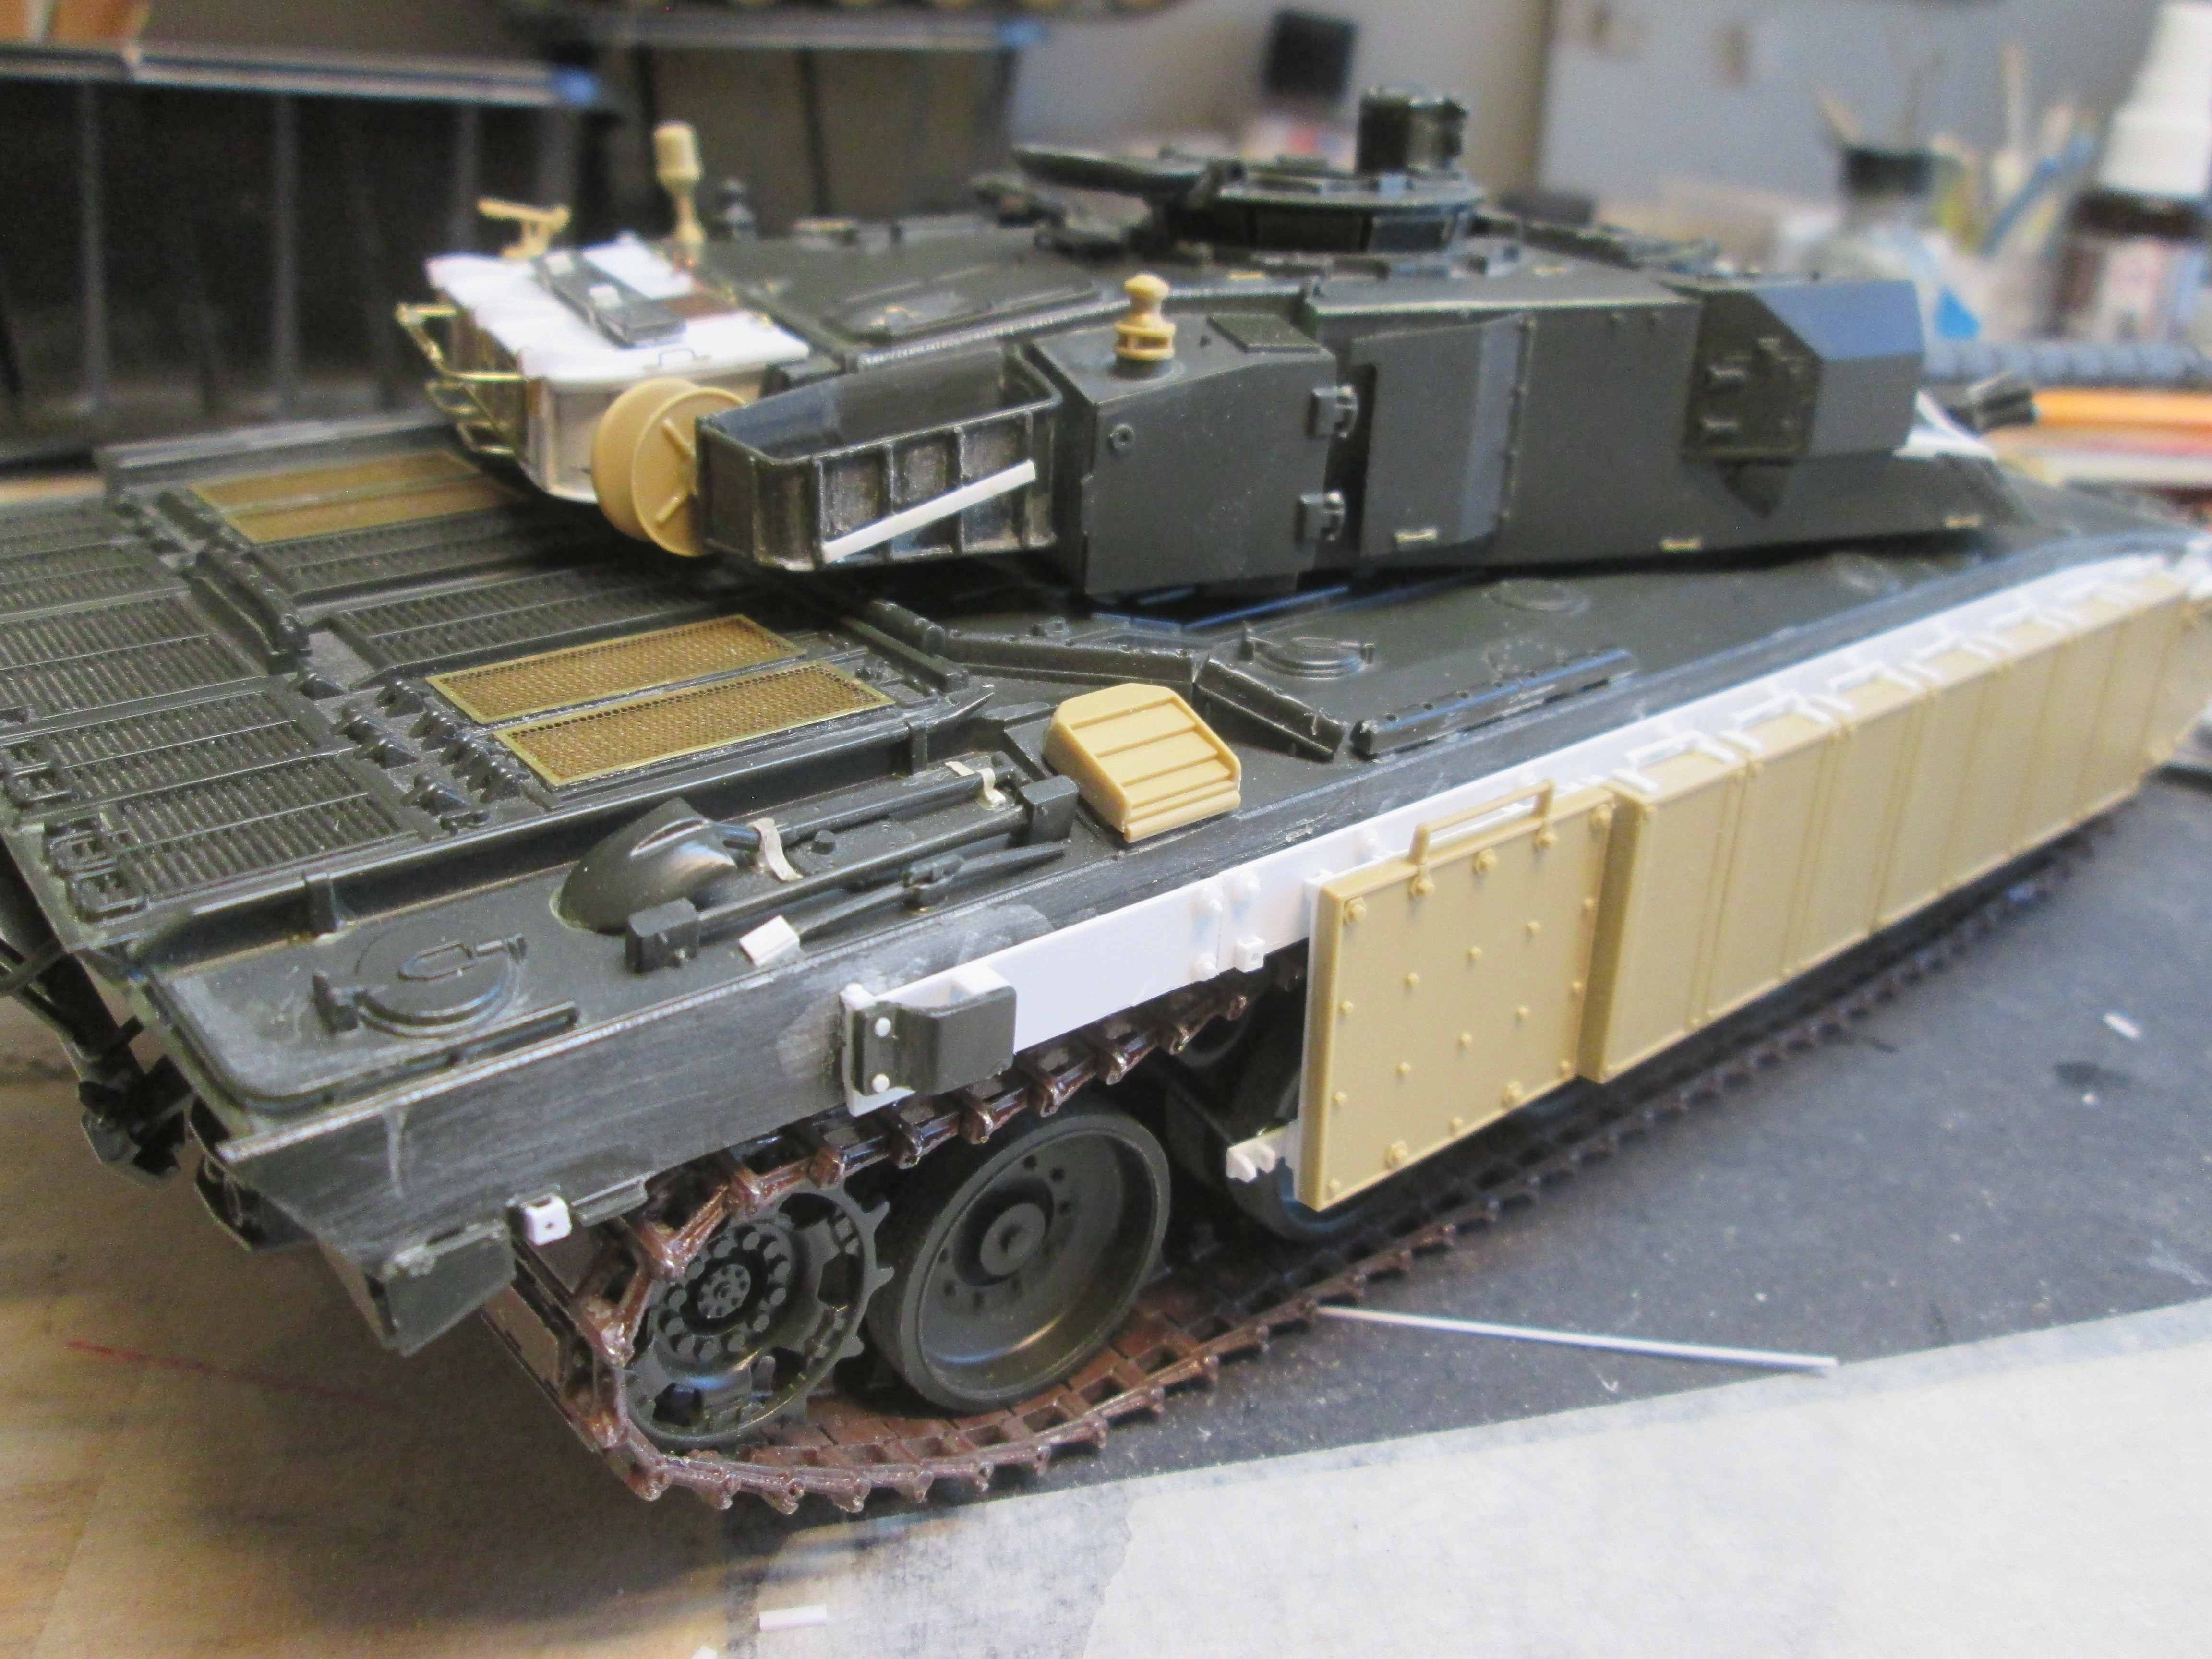 IMG_2894 IMG_2894 by Russel Baer, on Flickr  IMG_2895 IMG_2895 by Russel Baer, on Flickr |
|
|
|
Post by JED on May 15, 2022 0:23:08 GMT -6
Lovely work Russ
|
|
rustybaer
ROLLING ON
 
Posts: 854
Likes: 1,932
Mini-Profile Background: {"image":"","color":"bde619"}
|
Post by rustybaer on May 16, 2022 13:13:45 GMT -6
Still after it, trying to model a particular tank as faithfully to the pics as I can meant adding the post-1991 left side turret stowage basket. I used the PE mesh that came in the Mk3 kit, plastic strip and some scrap brass. I think it'll fly. 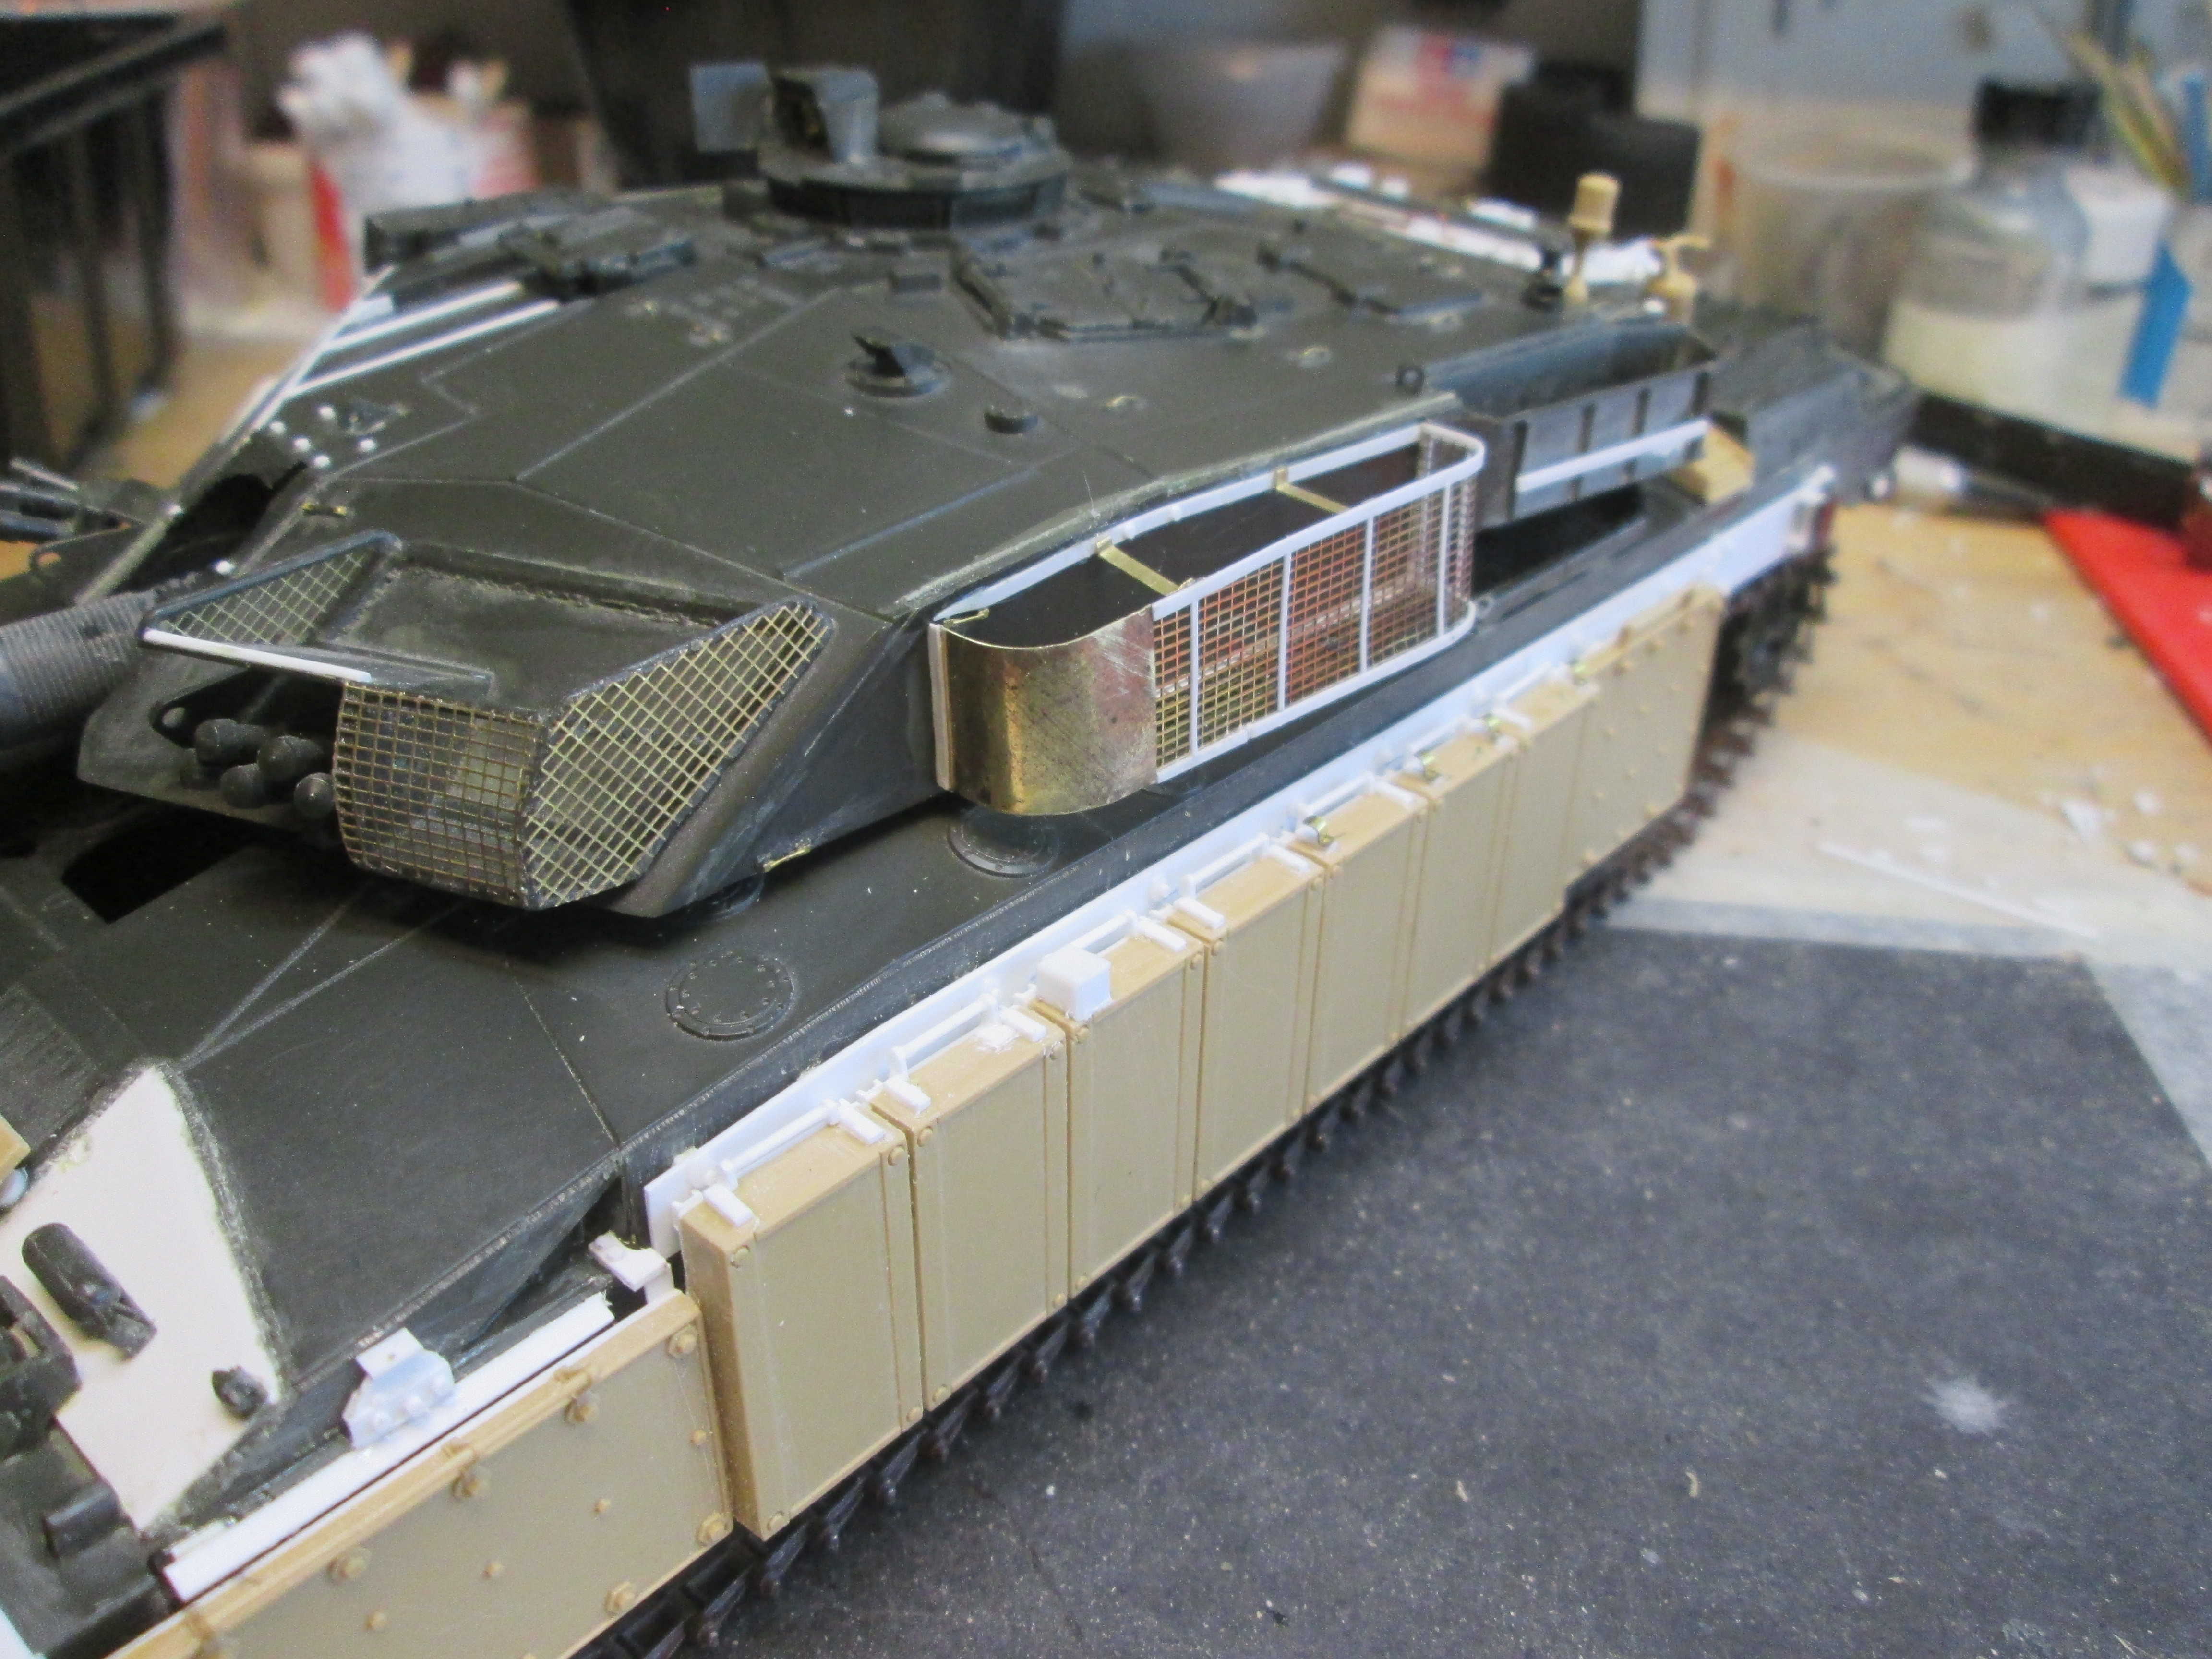 IMG_2896 IMG_2896 by Russel Baer, on Flickr  IMG_2898 IMG_2898 by Russel Baer, on Flickr It was a little tedious, and it the interest of making it strong enough to handle during assembly, some of the plastic is a wee bit over scale. |
|
|
|
Post by mustang1989 on May 16, 2022 19:20:30 GMT -6
Good LORD man!!! The lengths that you're going through would drive me nuts if I tried it!!!  |
|
rustybaer
ROLLING ON
 
Posts: 854
Likes: 1,932
Mini-Profile Background: {"image":"","color":"bde619"}
|
Post by rustybaer on May 17, 2022 9:12:57 GMT -6
I'm starting to wonder about myself..... And, a couple of guys who served on these things are (very helpfully) posting pics on my thread on another forum of things I still need to do.
|
|
|
|
Post by Beekster on May 17, 2022 11:35:18 GMT -6
Yet another lovely bin from Russ; the man never runs out of them, it seems...
|
|
rustybaer
ROLLING ON
 
Posts: 854
Likes: 1,932
Mini-Profile Background: {"image":"","color":"bde619"}
|
Post by rustybaer on May 17, 2022 13:52:15 GMT -6
I'm odd.....  |
|
|
|
Post by JCON on May 19, 2022 13:07:11 GMT -6
I'm odd.....  There's always one in the crowd!!! Usually it's me though... |
|
|
|
Post by ogrejohn on May 19, 2022 15:12:23 GMT -6
Fine looking Chally Rusty!
|
|
rustybaer
ROLLING ON
 
Posts: 854
Likes: 1,932
Mini-Profile Background: {"image":"","color":"bde619"}
|
Post by rustybaer on May 19, 2022 20:17:33 GMT -6
T'anks! I'm maybe going a little nuts now, but it's fun. I put a "hose" on the giant grease gun, did some detailing on the hatches (not finished yet) and added some stuff on the engine deck today.  IMG_3060 IMG_3060 by Russel Baer, on Flickr And just to see if it would work, I chucked some sprue in the Dremel and turned three fire extinguisher bottles, working on the details now.  IMG_3057 IMG_3057 by Russel Baer, on Flickr Just cuz.... |
|
rustybaer
ROLLING ON
 
Posts: 854
Likes: 1,932
Mini-Profile Background: {"image":"","color":"bde619"}
|
Post by rustybaer on May 20, 2022 16:57:41 GMT -6
More little bits:  IMG_3063 IMG_3063 by Russel Baer, on Flickr  IMG_3062 IMG_3062 by Russel Baer, on Flickr I just received some very good pics of the wiring for the commander's MG, that'll be next. Then I think I'll fill the stowage baskets with stuff and do the covers. |
|
Tobi
LOOKING AROUND
Posts: 88 
Likes: 152
Mini-Profile Background: {"image":"","color":"46250f"}
Mini-Profile Name Color: ffe69f
Mini-Profile Text Color: ffe69f
|
Post by Tobi on May 21, 2022 0:34:42 GMT -6
This is easily the most elaborate Challenger 1 build I have seen so far, and I own the Osprey book on "how to model the Challenger", which already addresses a lot of issues.
|
|
rustybaer
ROLLING ON
 
Posts: 854
Likes: 1,932
Mini-Profile Background: {"image":"","color":"bde619"}
|
Post by rustybaer on May 21, 2022 10:59:29 GMT -6
Thanks Tobi. I'm working from parts of the same book myself. I've got a few other references also, and I'm getting a huge amount of help on Armorama from a couple of guys. Gotta love the interweb.
|
|
Tim
LOOKING AROUND
Posts: 76
Likes: 134
|
Post by Tim on May 21, 2022 20:37:51 GMT -6
Wow! the detail work on this is amazing! Love these sleek tanks. Model on!
|
|
|
|
Post by JED on May 22, 2022 7:52:24 GMT -6
Looking superb Rusty. I remember manually fitting the add on armour to our Warriors for The Gulf/Op Granby etc etc etc. Pretty heavy bits of kit,track pins used as locating pins and handles to enable two to three blokes to lift into place, never enough lifting gear for the infantry when its needed, never enough anything really back in the day!!
|
|