|
|
Post by BUCKY on Dec 4, 2017 8:42:02 GMT -6
It's being seen right here on OSM;) That's right! Don't blink!!!!  |
|
thug626
SETTLING IN
  
Posts: 281
Likes: 714
|
Post by thug626 on Dec 10, 2017 19:18:25 GMT -6
Good evening everyone. A fair bit of progress was made today at the bench. It came to a halt when I realized I could barely feel my legs. The garage is 46ºF. Time for update and warm beverages. A number of parts received primer. Either flat or gloss black, depending on whether or not it was to receive a metallic color. The CP received its base coat of MIG Interior Turquoise. There will be washes and highlights to come. The color of the PE and CP don't quite match. Which visually at this scale makes some of the detail stand out more.  This is the rear bulkhead for the CP. There will be detail painting to follow. 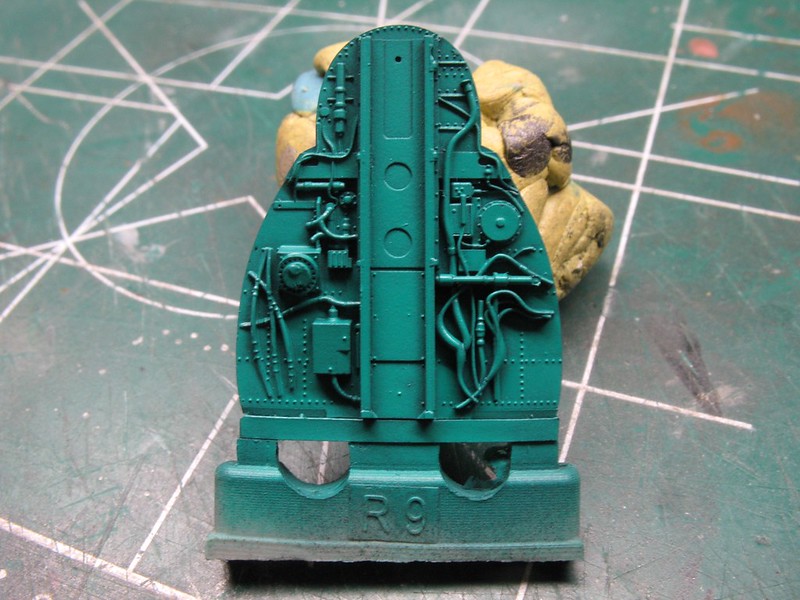 The Brassin CP set has three options for the IP. PE for both instruments and face panel/bezels. PE instruments with a resin face panel/bezels. Resin IP with instruments molded in. I was going to go with option two, but cracked the face panel when removing it from the casting block. So, I ended up going with the full PE option.  |
|
|
|
Post by JCON on Dec 10, 2017 19:26:56 GMT -6
Nice work for being frostbit!!! Get a bigger heater buddy, we want you around!!!
|
|
thug626
SETTLING IN
  
Posts: 281
Likes: 714
|
Post by thug626 on Dec 10, 2017 19:41:11 GMT -6
Jcon I need more power run to the garage. I can run the bench or have a heater....I can not do both. 
|
|
|
|
Post by BUCKY on Dec 10, 2017 20:06:17 GMT -6
Good looking work, in spite of being cold! I can't function in those conditions!!  |
|
|
|
Post by dogfish7 (R.I.P.) on Dec 10, 2017 21:11:06 GMT -6
Pretty cool work;)
|
|
|
|
Post by JCON on Dec 10, 2017 21:37:19 GMT -6
Wow you need some indoor space for the cooler winters...
|
|
|
|
Post by JED on Dec 11, 2017 12:07:27 GMT -6
Looking good despite the coldness!!
|
|
|
|
Post by JEFF on Dec 11, 2017 15:57:40 GMT -6
Just thinking about it gives me the chills.  Nice update, Bro.  |
|
|
|
Post by CarlRF (R.I.P.) on Dec 13, 2017 14:00:07 GMT -6
Great detail , lurv the I P !  |
|
thug626
SETTLING IN
  
Posts: 281
Likes: 714
|
Post by thug626 on Dec 15, 2017 22:57:59 GMT -6
Good evening everyone. Keith It's getting harder to function in those conditions. Jcon I try, but the kids keep moving back in. Jed Thank you very much. Jeff Thank you kindly. Yesterday was almost balmy....43ºF...So I ran some errands on the Harley. Throttle therapy....much needed. Carl Thank you very much my good man. I am having to rework the coaming. There is a resin replacement that is rather nice. Unfortunately, I glued in the plastic parts not knowing that they should have been left off. Crap. The fuselage got buttoned up today. There will be some filling needed. Not too bad really. The windscreen is only dry fitted. 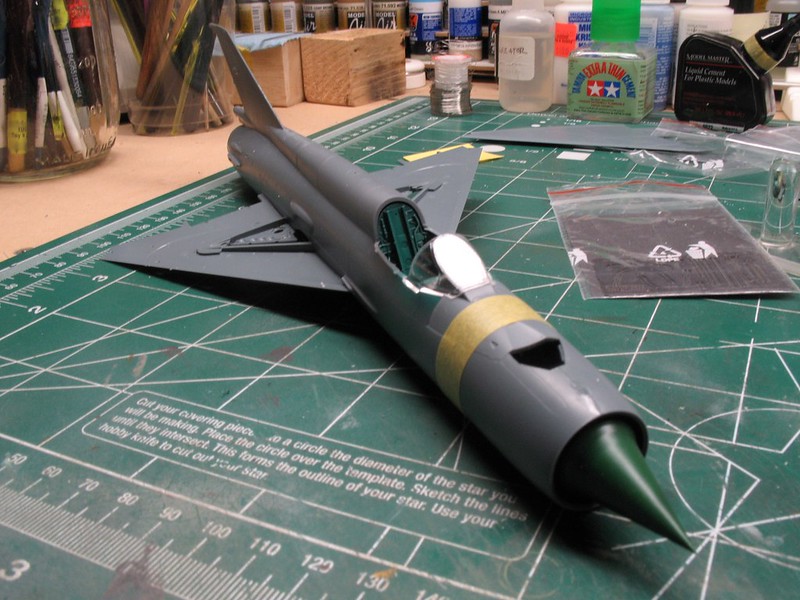
Weathering on the main wheel wells is started. Some touch up is needed. These are the Brassin resin wheel bays. 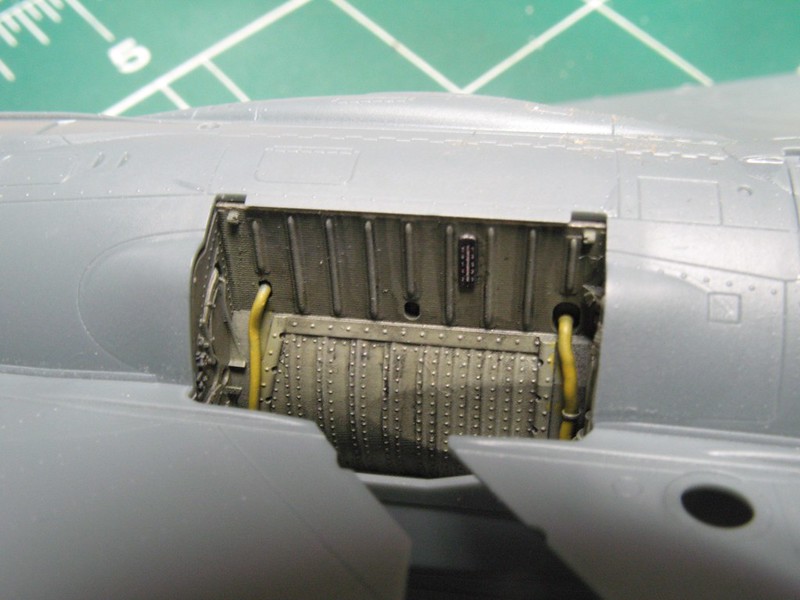 Here where there is a boo boo. Probably of my own doing. The resin engine set was glued in place into the right half of the fuselage. Along with the CP & nose cone. I think my mistake was gluing the left side to the engine bulkhead as well. By the time I had gotten back to this spot, the CA had set up. Not insurmountable, but it is going to need some work.  Here is the can on the beast....  |
|
|
|
Post by JCON on Dec 15, 2017 23:37:01 GMT -6
|
|
|
|
Post by dogfish7 (R.I.P.) on Dec 16, 2017 8:58:38 GMT -6
Your kit has better tooling than my Trumpy, it seems.
|
|
|
|
Post by JED on Dec 16, 2017 9:27:56 GMT -6
Some great detail on this kit
|
|
|
|
Post by JEFF on Dec 16, 2017 9:29:21 GMT -6
Looking sharp, Dave. Those Landing Gear Bays look great.  |
|
|
|
Post by CarlRF (R.I.P.) on Dec 16, 2017 16:41:01 GMT -6
"Crap"  I hear you Dave . You'll get er sorted .  |
|
thug626
SETTLING IN
  
Posts: 281
Likes: 714
|
Post by thug626 on Dec 20, 2017 2:37:03 GMT -6
Jcon I hear ya. With a repair bill I just saw, my wife and I are ready for a padded room. FMR! Bruce That may be so, but this ain't no shake-n-bake kit. The dyslexia has gotten the better part of me a couple of times. darn. Jed There is no shortage of detail with this kit. In fact, it would build just fine without the Brassin goodies. Jeff I just realized that I did not get a shot of the gear bays after mounting the upper wings. Tomorrow, I'll get them tomorrow. Having a heck of a time tonight with the Macro focus setting on the point and shoot digi cam. Carl A solution presented itself this evening....read on. It'll become evident. I got the upper wing surfaces, stabilators, rudder, scoops, and hardpoints mounted today. This beast looks fast just sitting still. 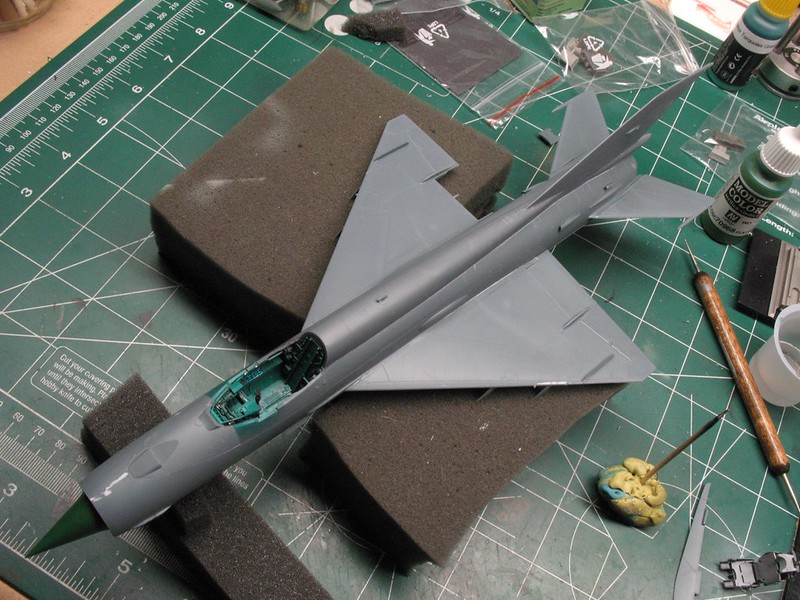 I realized today that the IP sits just a tad too high. I had to shave the edges of the coaming down to get the windscreen to fit. With the test fit of the gun sight, the wind screen wound not set down. I have a solution for that, but not tonight. 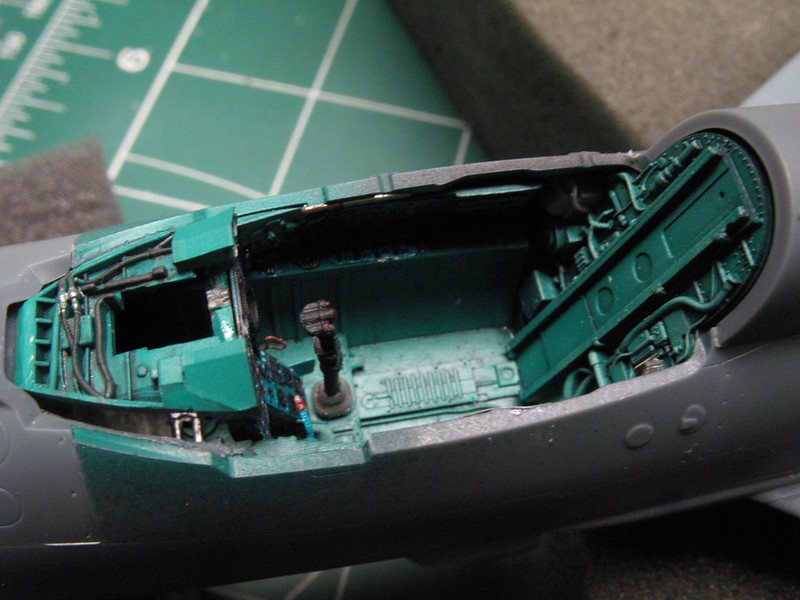 Remember that pesky step on the bottom of the fuselage? Trusty bondo to the rescue. I am letting it cure over night, then I'll wet sand it tomorrow.  Rather than take care of the whole step, I realize that the ventral strake will obviate the need to do that. The strake is dry fitted here until I finish the wet sanding. 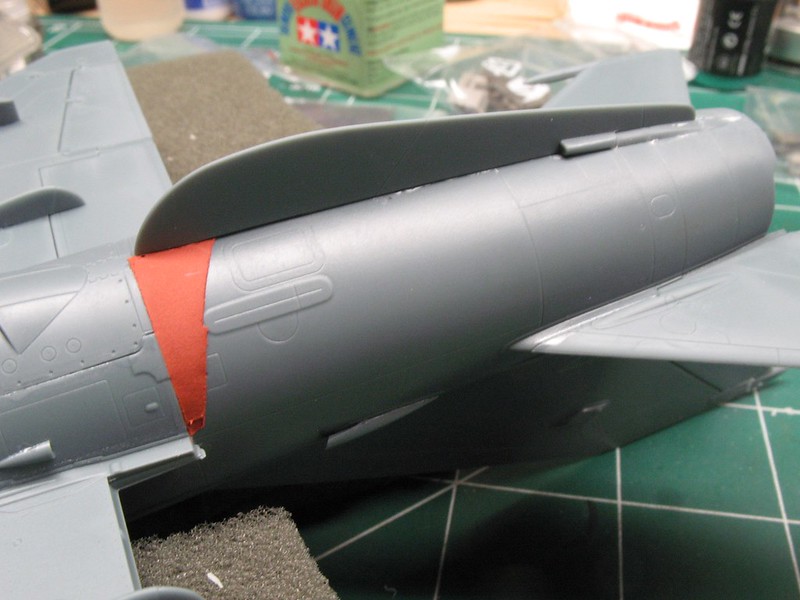 All hard points are permanently mounted. 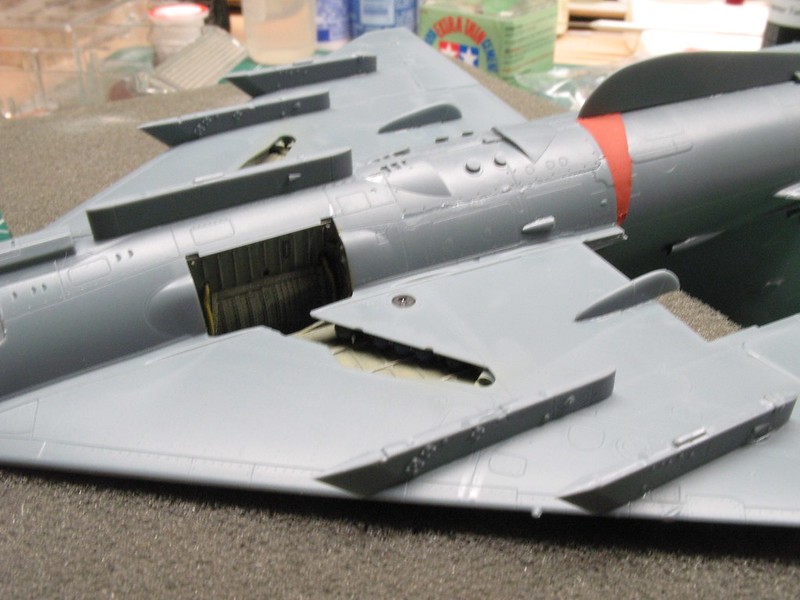 A detail shot of one of the aft scoops, that have been drilled out. 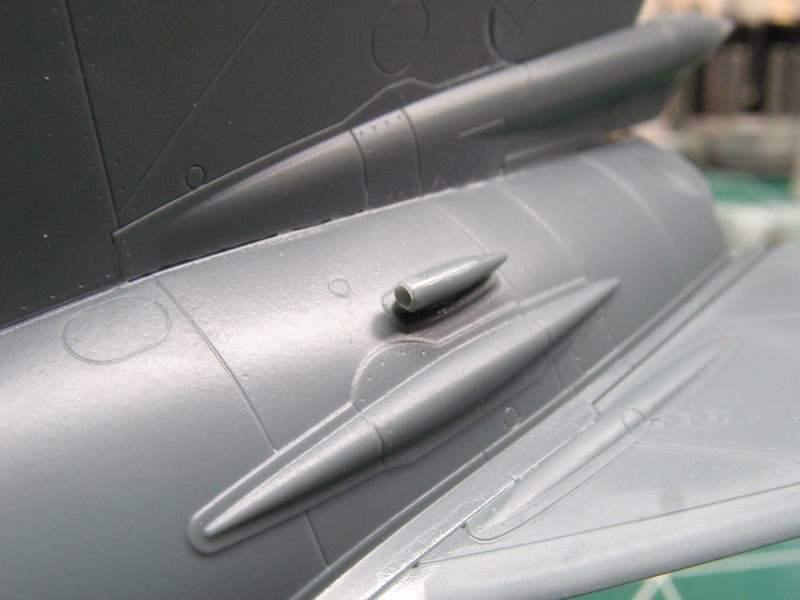 Detail shots of the bang seat with some weathering. 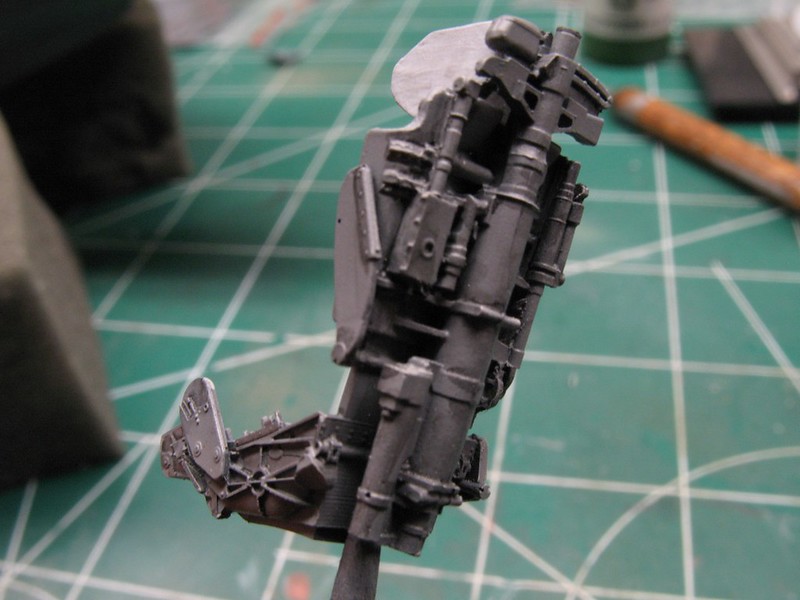 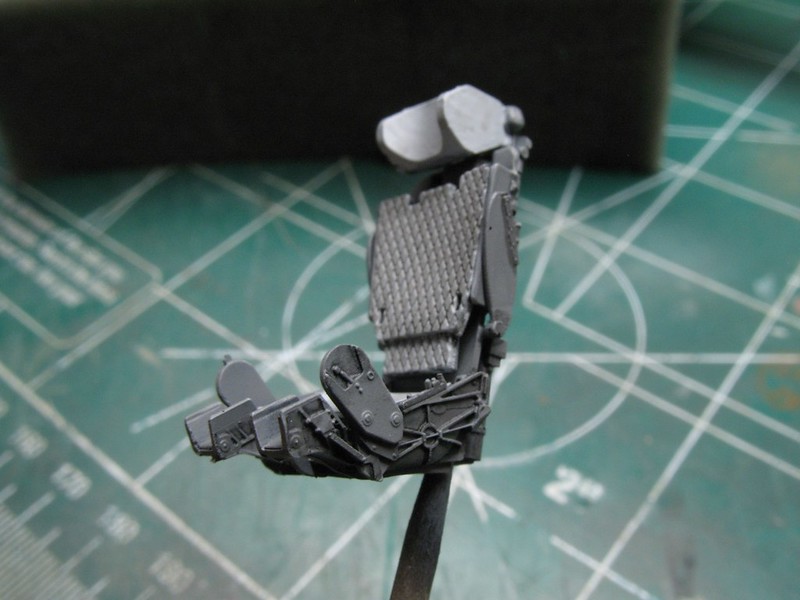
|
|
|
|
Post by BUCKY on Dec 20, 2017 9:12:45 GMT -6
A great bunch of work here, Dave!!
|
|
|
|
Post by JCON on Dec 20, 2017 9:25:24 GMT -6
Well done Dave!!! That's the way to stick with it brother!!!
|
|
|
|
Post by dogfish7 (R.I.P.) on Dec 20, 2017 11:12:43 GMT -6
Awesome extra details.
|
|