|
|
Post by Dukemaddog on Sept 11, 2019 10:15:34 GMT -6
Thanks Jed! I hope to get further along today; then on Hobby Day Friday and Saturday I should really be able to forge ahead fast.
Stay tuned, more to come.
|
|
|
|
Post by Dukemaddog on Sept 12, 2019 16:02:25 GMT -6
Here's my latest update for this week. I'll start with my one aircraft. This is my Israeli Sufa in 1/72 scale. I finally got the canopy, exhaust and wheel wells masked off: 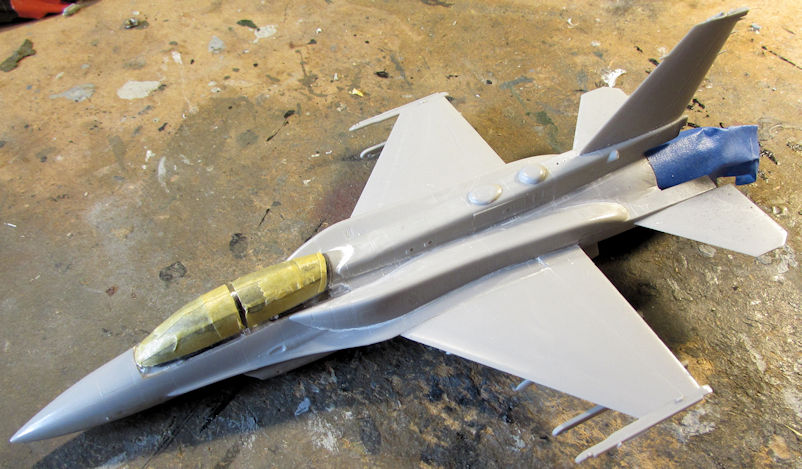 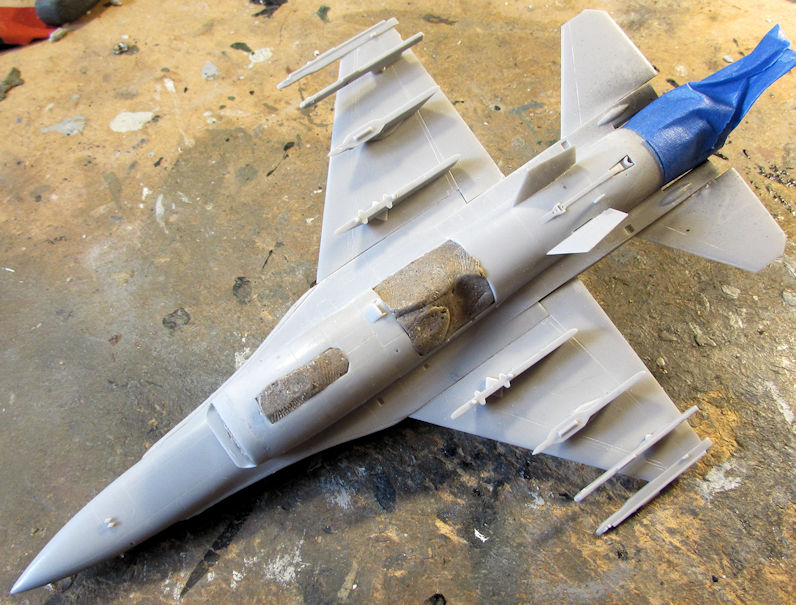 Later, when I was painting everything, I shot an upper base color on this. It is Testor's Israeli Armor Sand: 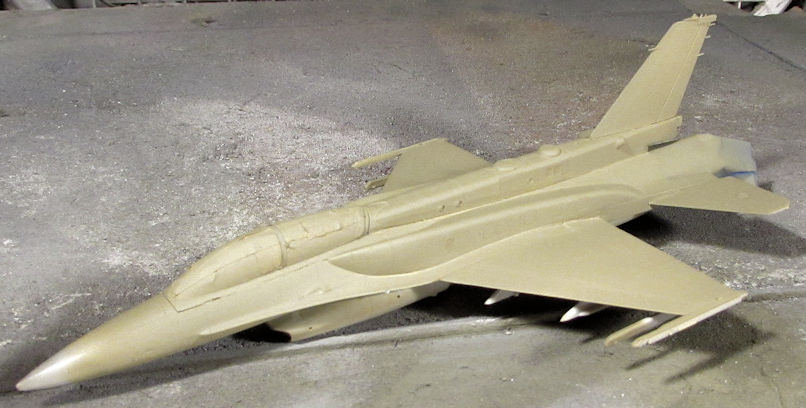 That base coat showed me where a lot of gaps and seams were so I filled them in: 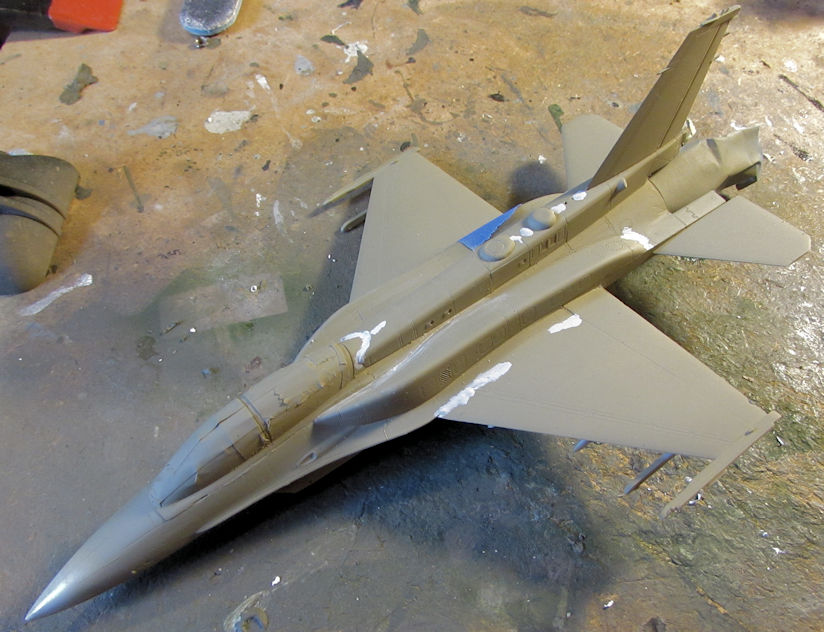 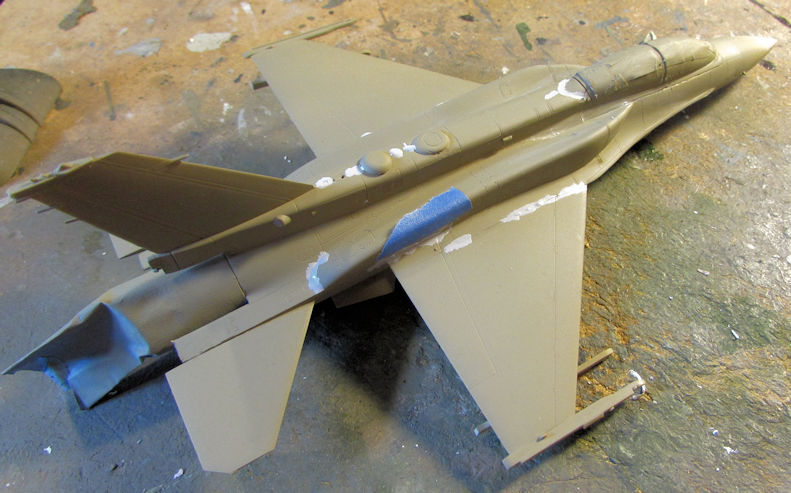 I set that aside to dry and went to work on more stuff, this time ground based. While I had the airbrush out, I shot a new base coat on the Austratt turret: 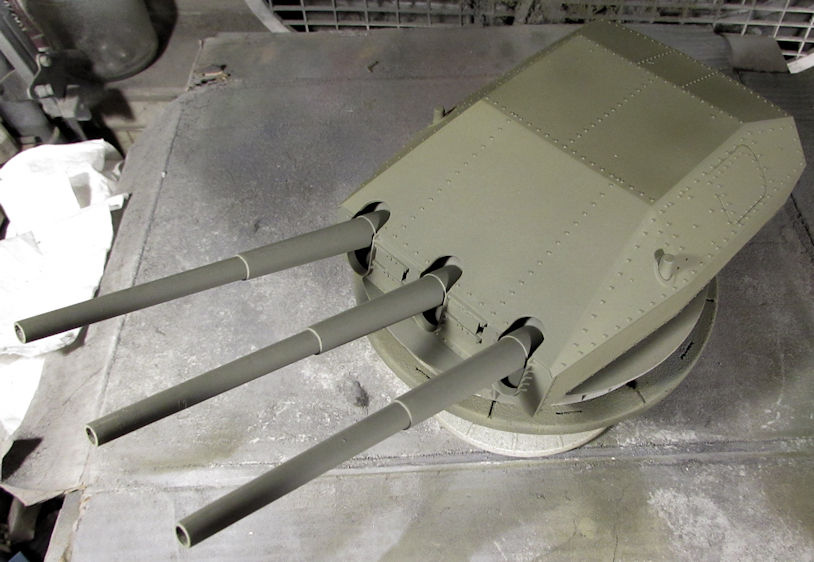 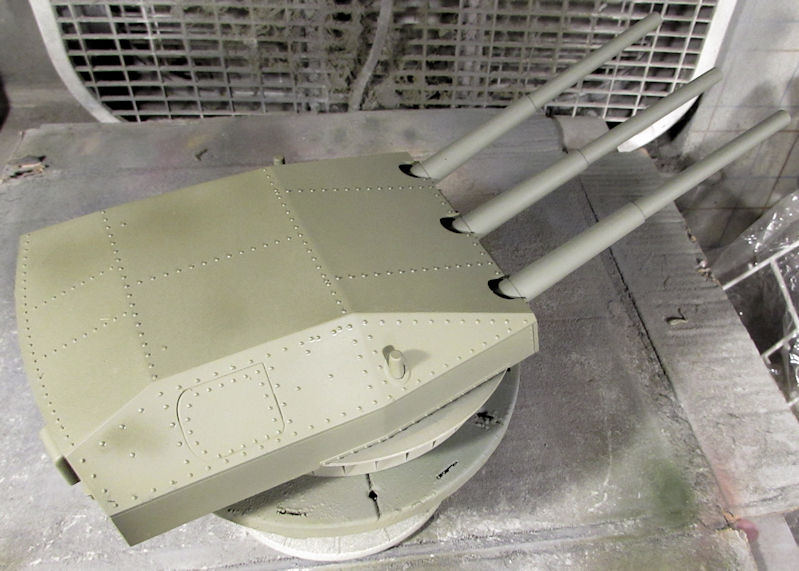 Finally! A smooth even coat of paint. Here it is on the base casemate: 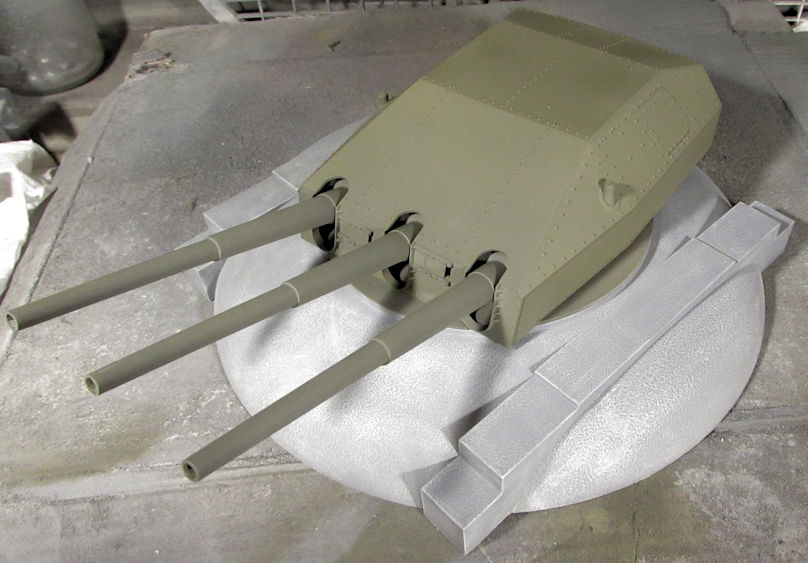 Still while painting, I went ahead and masked off the windows on the MAN tractor for the Pershing II truck: 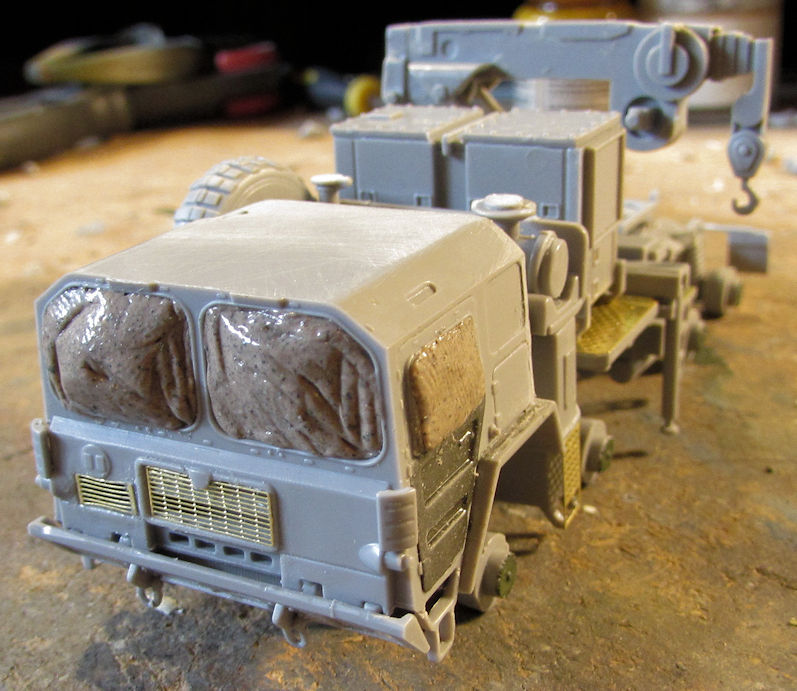 Next came the paint for the tractor and the trailer: 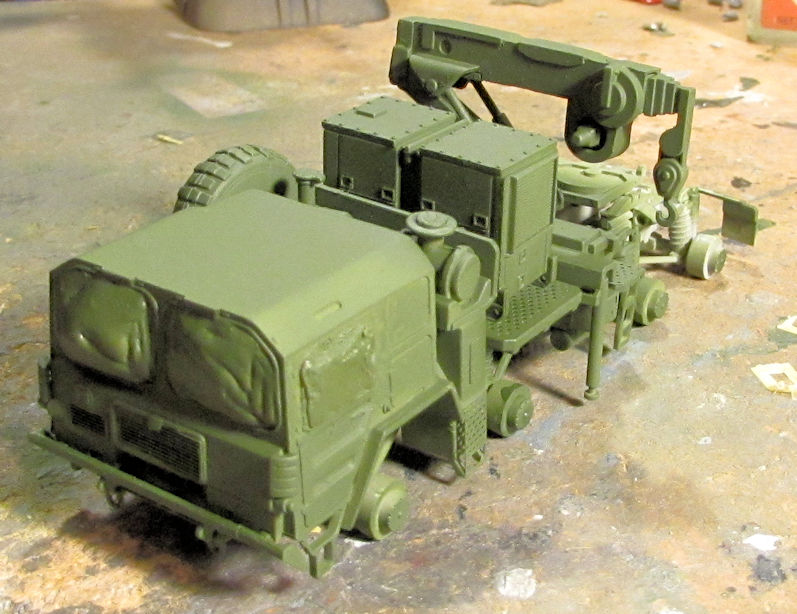 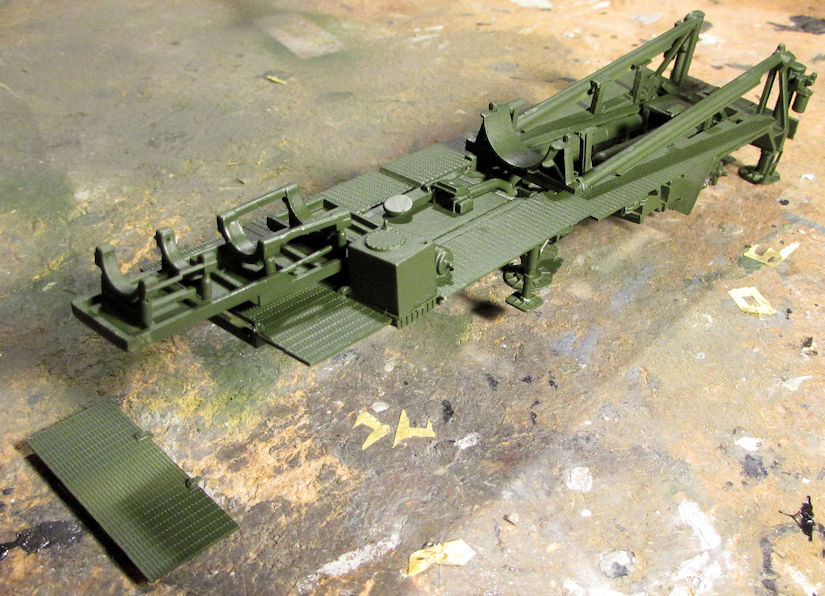 The front platform broke off; it has since been repaired. Meanwhile I pulled out a more OD color for the Pershing II itself: 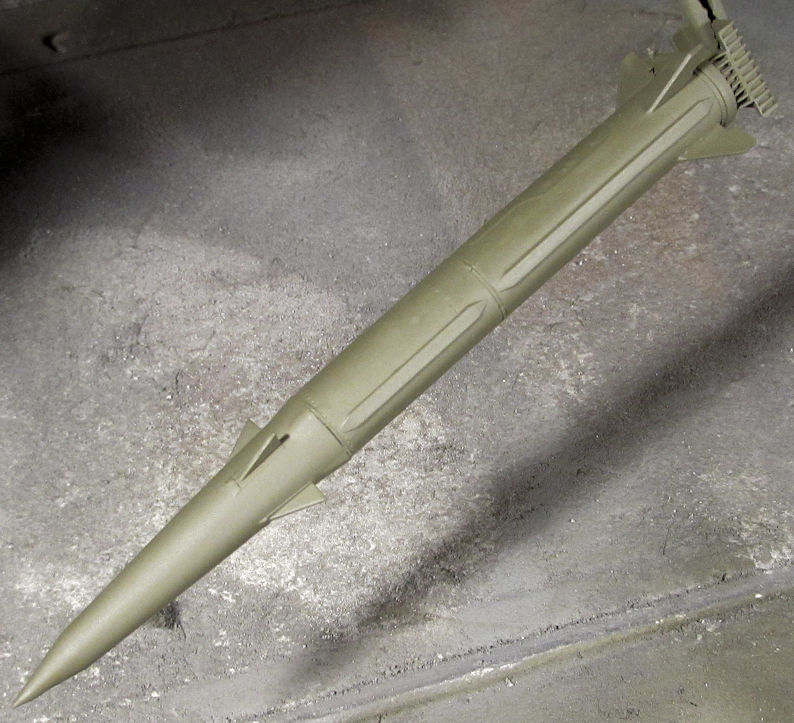 While still airbrushing, I shot a base coat of Panzer Schwartzgrua on the flat car. I thinned it a bit too much though:  Finally it was time to move ahead on the Nagmachon. I started by masking the tiny windows with Tamiya tape: 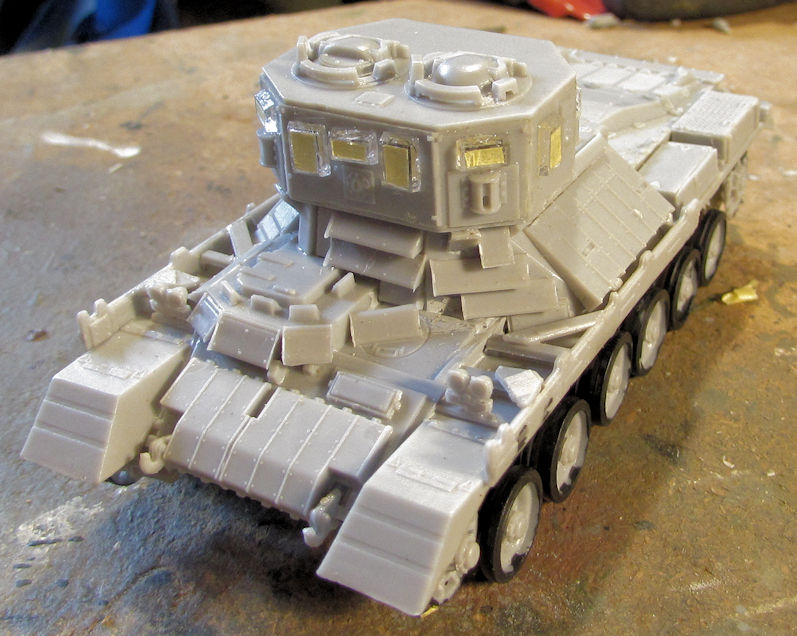 After that, I added all the extra fiddly bits and all the P/E screen mounting brackets. What a porcupine this has become: 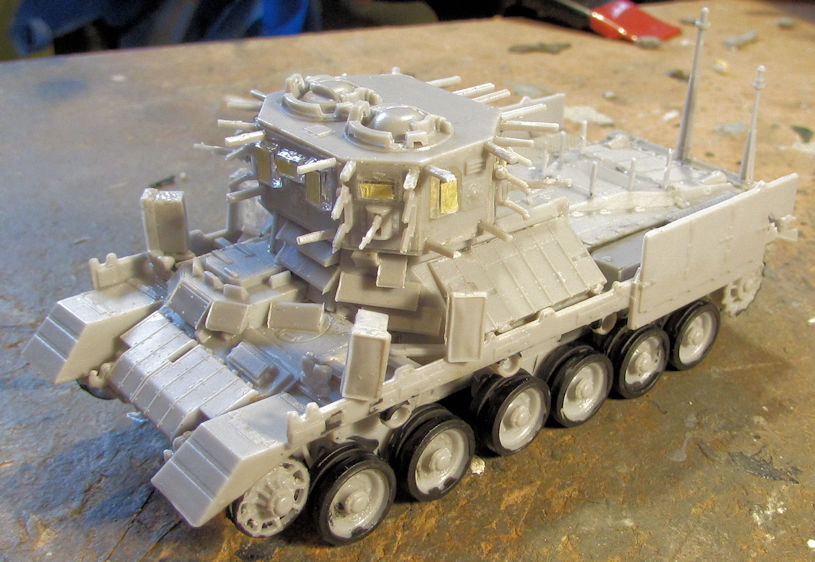 I then first shot it with a dark OD color as a base: 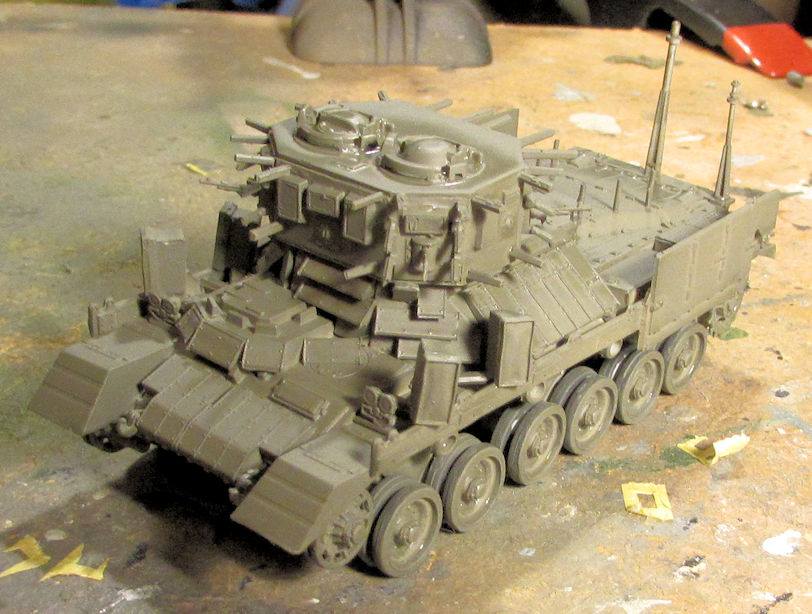 After that dried up, I shot another coat of Israeli Armor Sand over it to try and get some modulation out of it. That is a bit hard to see in these pics, but it's there: 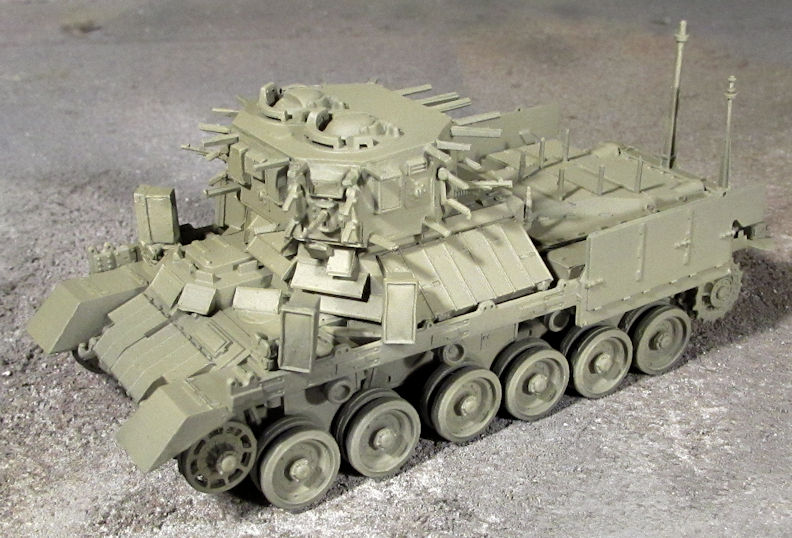 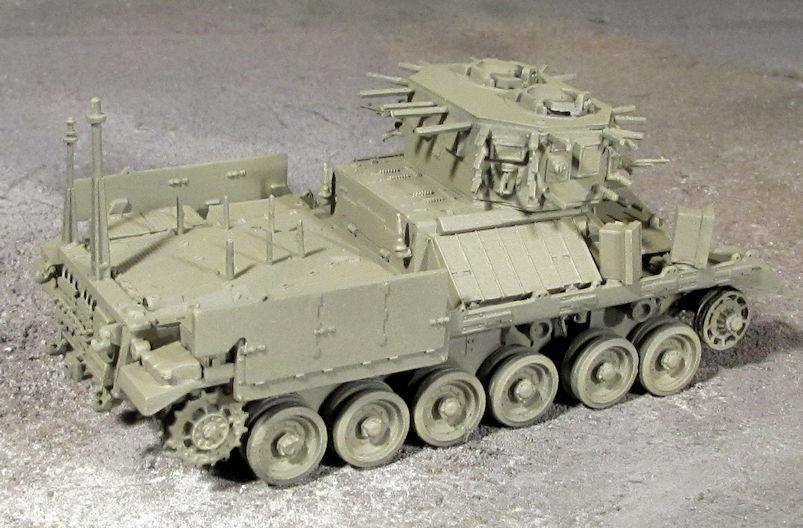 I also started the assembly of the tracks for this. They will go one later and then I plan on glossing this for a dirt wash and later dry-brush. The P/E screens will go on last. After all that I wanted to start something simple and fun. I pulled out my AMT Space 1999 Hawk ship and got started on it. First were the engine pods: 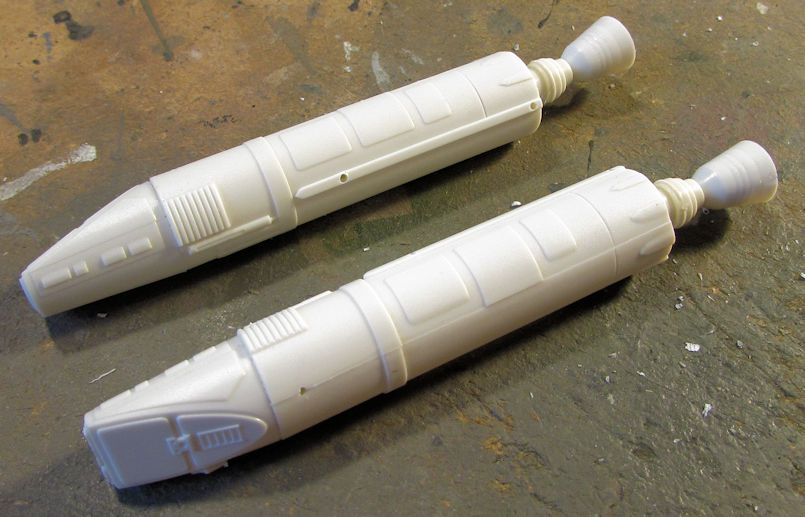 Next were the armament pods: 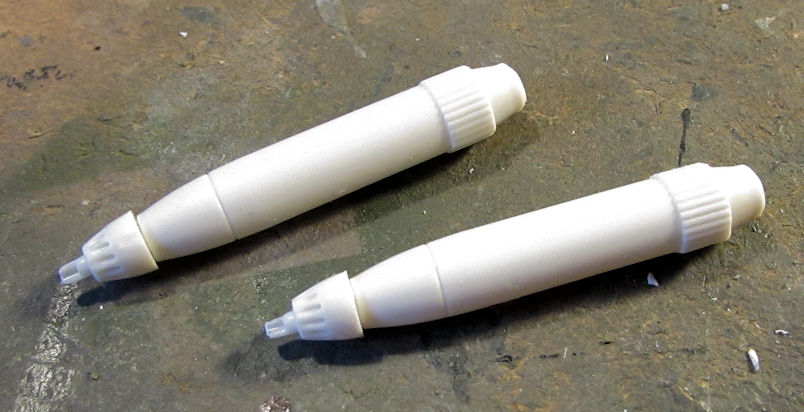 Finally, the main engine halves got assembled: 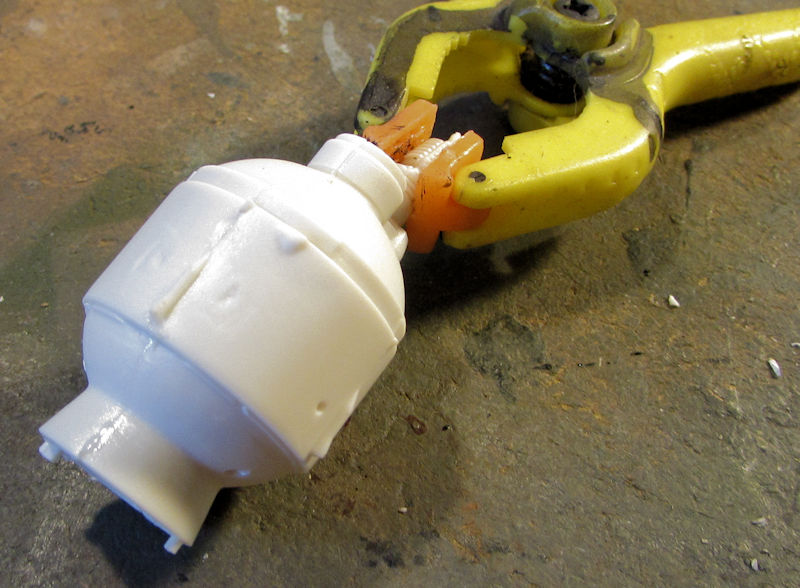 And that's as far as I got on all this so far. I have more to come after Friday and Saturday so stay tuned. Thanks all for looking in, comments are welcome. |
|
|
|
Post by JCON on Sept 12, 2019 23:46:59 GMT -6
More great production Mark!!!
|
|
MARCO
ROLLING ON
  BRAZILIANAIRE
The man from the south
Posts: 782 
Likes: 1,911
|
Post by MARCO on Sept 13, 2019 4:48:41 GMT -6
Nice! And you still amazing me!
|
|
|
|
Post by Dukemaddog on Sept 15, 2019 15:02:46 GMT -6
Thanks Joe, just trying to keep it real. Thanks Marco! Just wait till I really ramp up production.... Now for my latest work I did at Hobby Day this past weekend. All this is armor and at least three of these are brand new models started during Hobby Day. The one model I continued to work on was the twin 128mm AA guns that go with the Austratt turret. I did get the first of two barrels built: 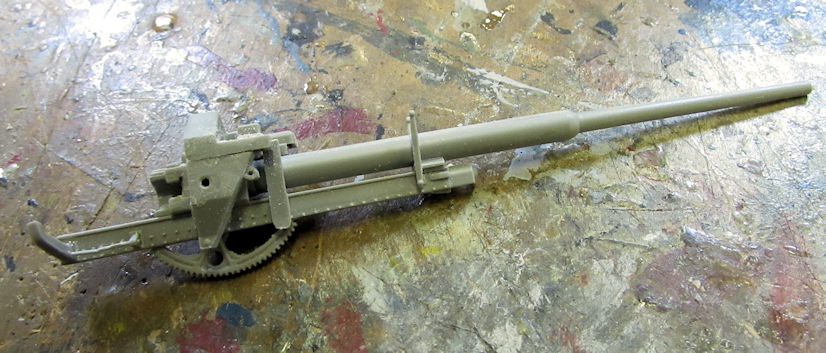 After doing the second one the same way, I then assembled the whole gun. It took awhile and had me highly frustrated due to the way the instructions aren't clear and the steps they tell you to do only make the assembly more difficult. I finally got most of this beastie completed: 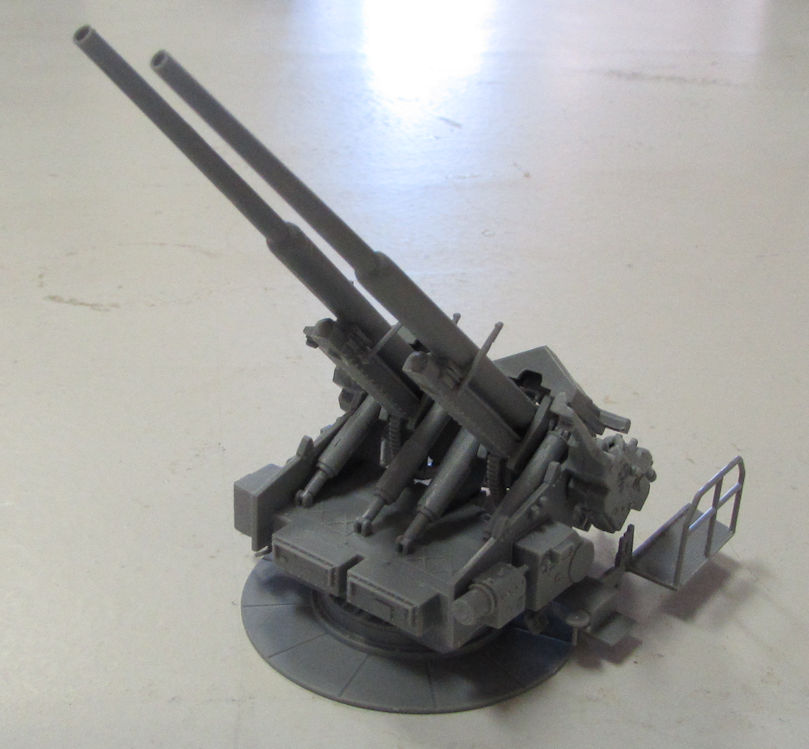 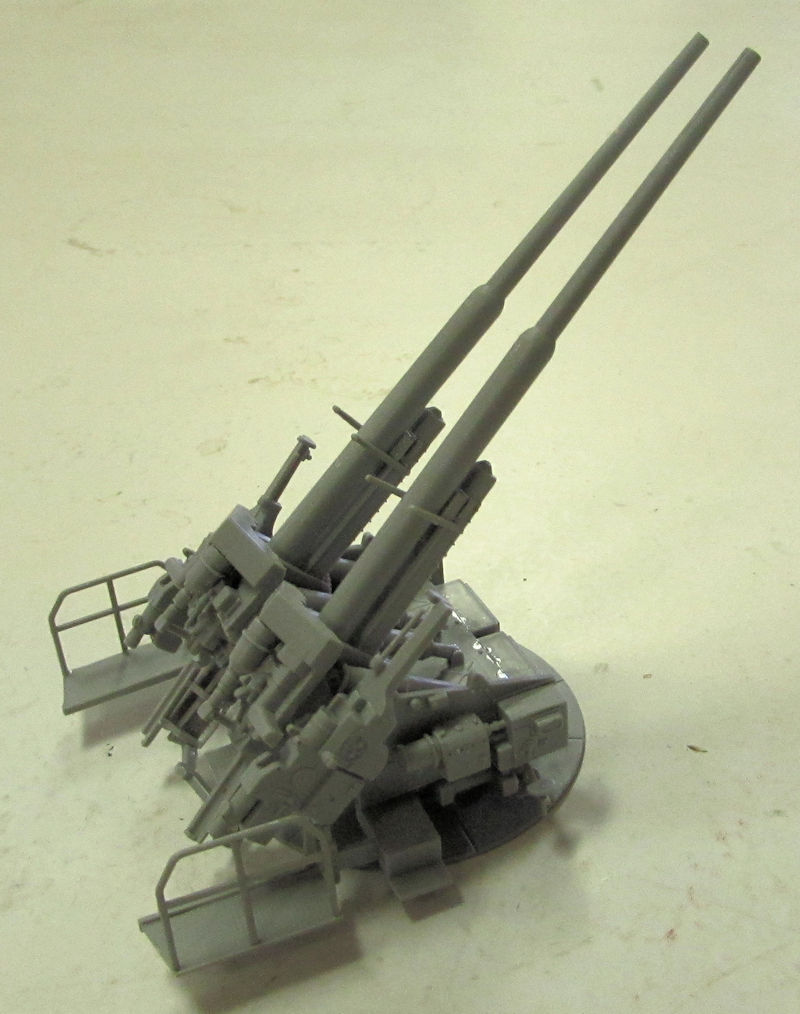 This gun is almost ready for paint after a few more fiddly bits get installed. After that I decided to try something different... hey, who left this engine lying around? 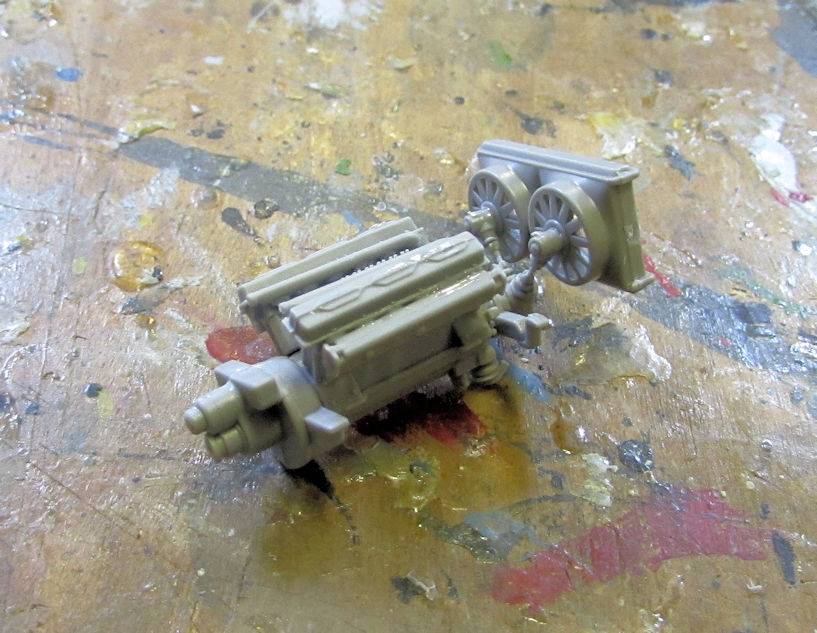 Okay, that above is the V-12 engine that goes to my Bereg Coastal Defense gun. There were fifteen parts on that I had to assemble to get that to this point. By this time, I was tired of tiny pieces so I jumped ahead and built the command and control cabin for this as well as the turret. Here is the turret all assembled. You can see the gun that goes on this in the background: 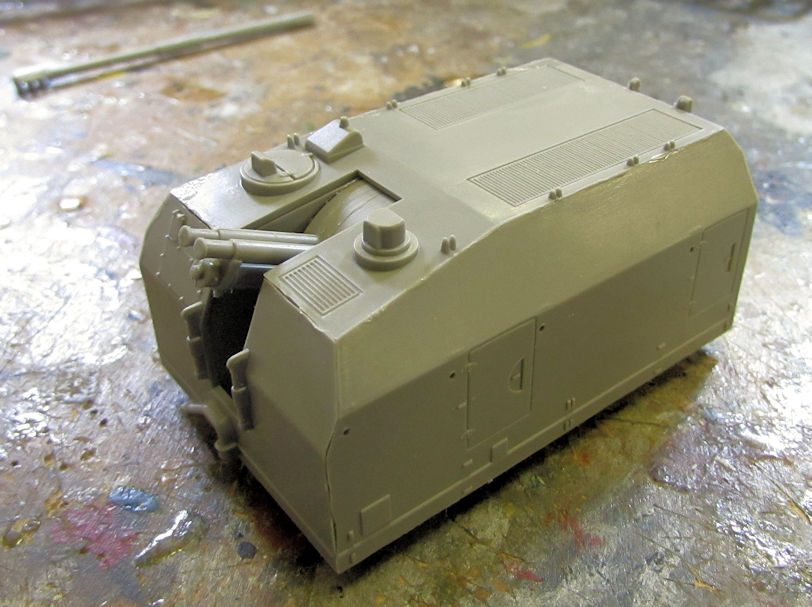 Here it is lined up behind the C&C cabin as it will be when installed on the chassis: 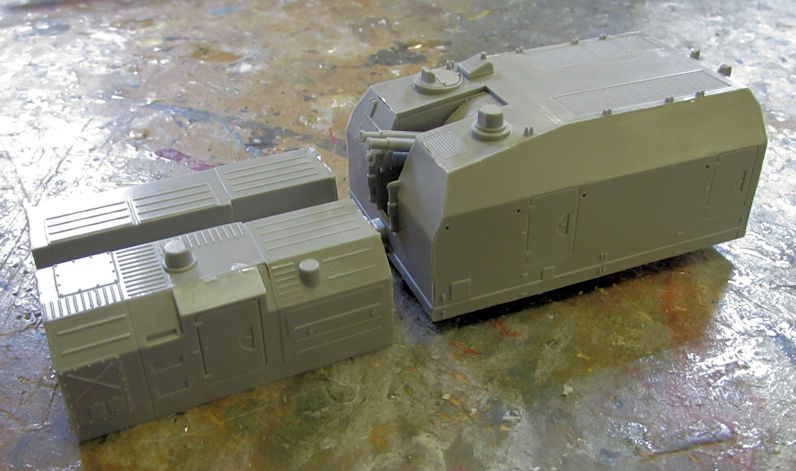 Next I pulled out the ACE BTR-3K and started on it. First I assembled the lower hull. There are five pieces that make this up: 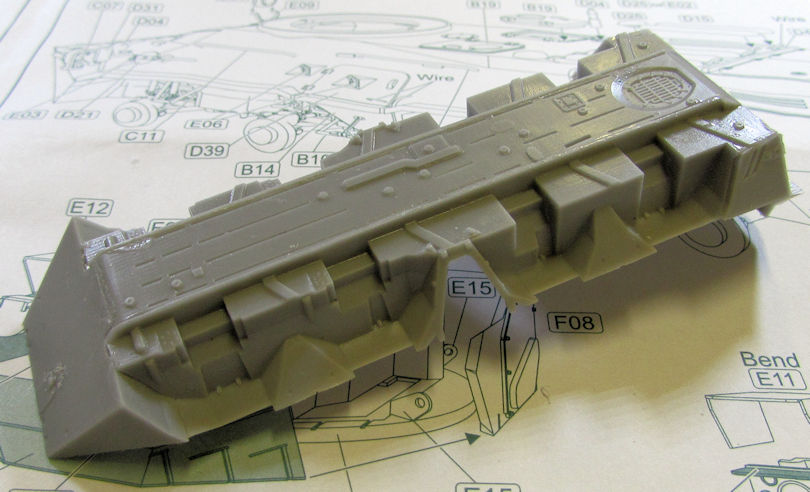 Then came the upper hull. Three more pieces: 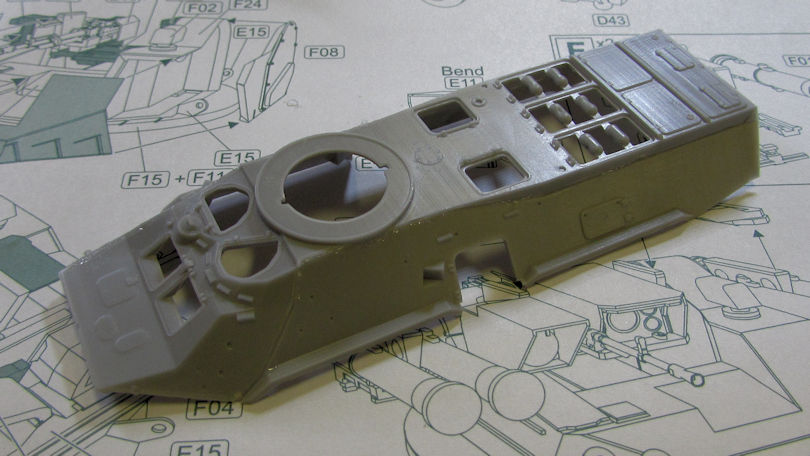 Here's the top sitting on the bottom. Putting these together will be interesting: 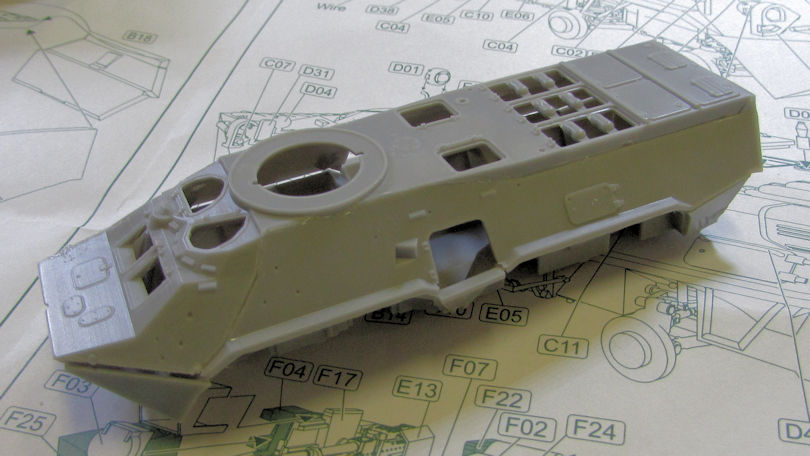 Finally I started another car; this one a Type 770 Cabriolet. I started of course, with the chassis. This was tough as the connection points were not clear in the instructions: 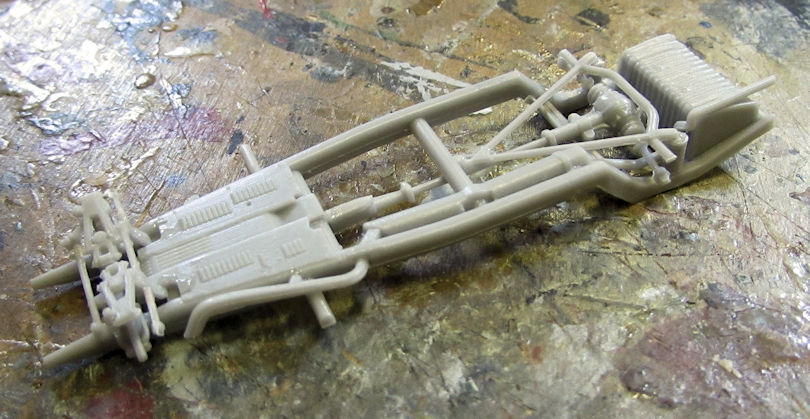 After that I built the interior and the upper body. Here it is all together: 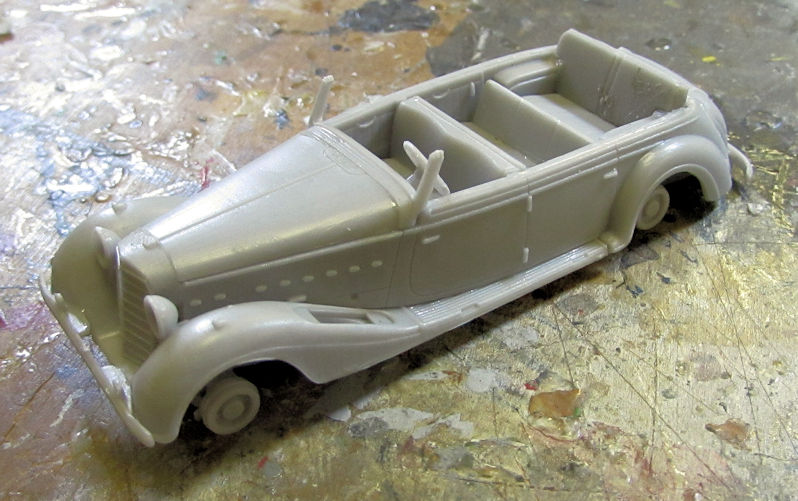 Later I realized that the stance was not correct so I had to pull the front suspension off and rebuild it properly. I don't have pics of that, but this little car is almost ready for paint. That's all I managed to get done on Hobby Day Friday and Saturday. I was surprised at how well I did given everything that was going on both those days. This will probably be the last update for a couple weeks due to the start of a fairly large job so enjoy! Thanks for looking in; comments are welcome. |
|
|
|
Post by dogfish7 (R.I.P.) on Sept 15, 2019 17:46:57 GMT -6
Excellent building Duke. 
|
|
|
|
Post by JCON on Sept 15, 2019 19:59:37 GMT -6
Well done Mark and glad you got a job!!!
|
|
|
|
Post by JED on Sept 17, 2019 14:07:27 GMT -6
Late catch up,great looking stuff Duke
|
|
|
|
Post by BUCKY on Sept 19, 2019 21:45:02 GMT -6
Great progress, Duke!!
|
|
MARCO
ROLLING ON
  BRAZILIANAIRE
The man from the south
Posts: 782 
Likes: 1,911
|
Post by MARCO on Sept 20, 2019 4:39:13 GMT -6
I loved the "noised" twins
|
|
|
|
Post by Dukemaddog on Sept 29, 2019 22:38:02 GMT -6
Thanks guys for the great comments! I apologize for not responding sooner. This job has been very tough on me: 1.5-2-hour commute, then working for ten-twelve hours before heading home again. I've missed a number of meals and have been totally unable to log in to see anything until today. Monday I am done and hopefully will be able to catch up a bit before starti9ng the next job.
Thanks again guys!
|
|
|
|
Post by RLFoster on Sept 30, 2019 1:09:07 GMT -6
No problem, Mark. You've got to make money to spend money...or something like that.
Look forward to the next update from the production plant.
|
|
|
|
Post by JED on Sept 30, 2019 7:41:14 GMT -6
When you're ready Duke,not good missing meals mind!!
|
|
|
|
Post by Dukemaddog on Oct 2, 2019 17:22:56 GMT -6
Thanks guys! Job is over so now I hope to have a bit of time before starting another one. Stay tuned, I hope to have something to post soon.
|
|
Ernie
SETTLING IN
   Just goin' where the plastic takes me.....
Posts: 358 
Likes: 853
|
Post by Ernie on Oct 3, 2019 0:15:25 GMT -6
Glad you made it through the job, and now have a bit of time for some rest. Model on!  |
|
|
|
Post by Dukemaddog on Oct 3, 2019 14:28:57 GMT -6
Yeah, hopefully I'll make some progress soon. Still trying to get caught up on some household chores....
|
|
|
|
Post by Robbo on Oct 4, 2019 15:25:13 GMT -6
I'm watching here too Duke
|
|
|
|
Post by Dukemaddog on Oct 5, 2019 12:59:07 GMT -6
Sounds good. Thanks Ian for stopping in. Hopefully I'll have something for you to see soon.
|
|
|
|
Post by Dukemaddog on Oct 15, 2019 14:24:35 GMT -6
Wow, after a considerable time, I finally managed to get back to the workbench. Here's my latest progress on several models. I'll start with the church. Since I was putting a brown wash on the Austratt turret base, I also experimented with it on the side of the church building: 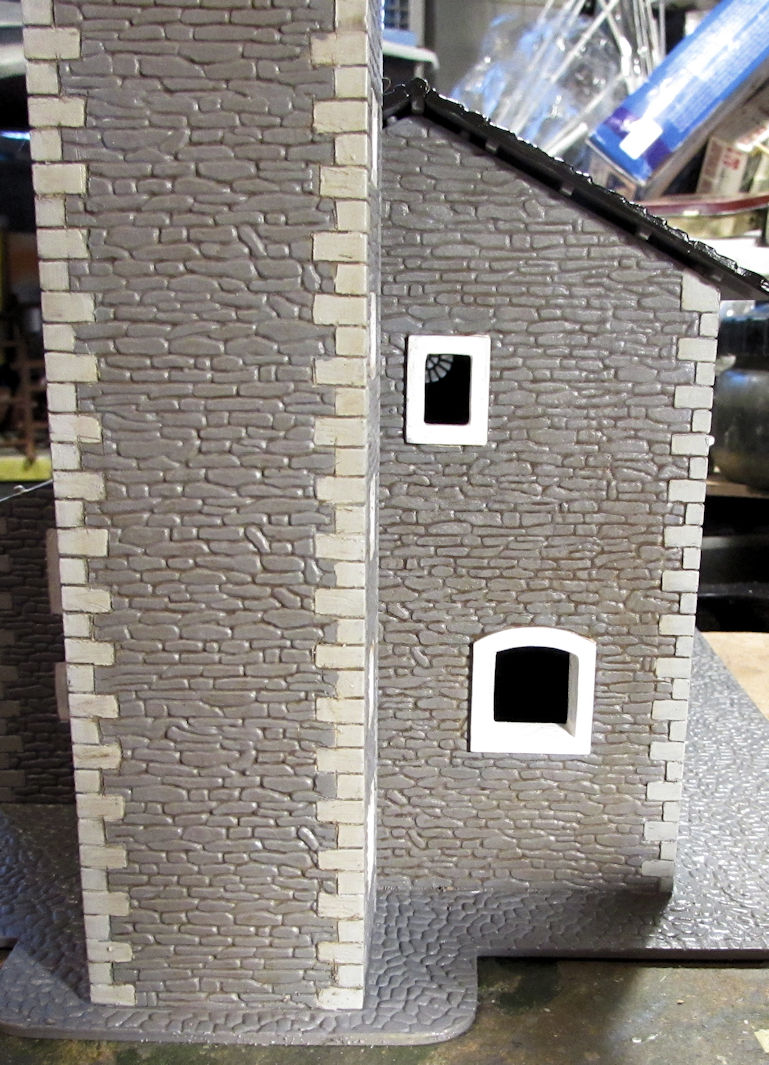 Later on I'll drybrush some lighter grey over that to see how it looks. Speaking of the Austratt turret, here is the base with the brown wash on it. It can barely be seen in these pics but I assure you it is there and visible: 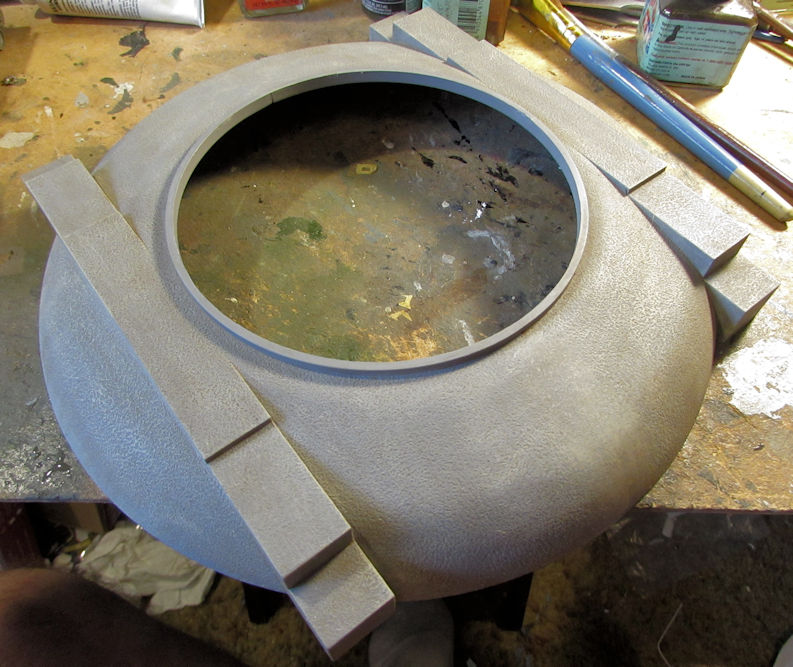 I had also tried a dot filter on the sides of the turret as well, but it is not very visible here either: 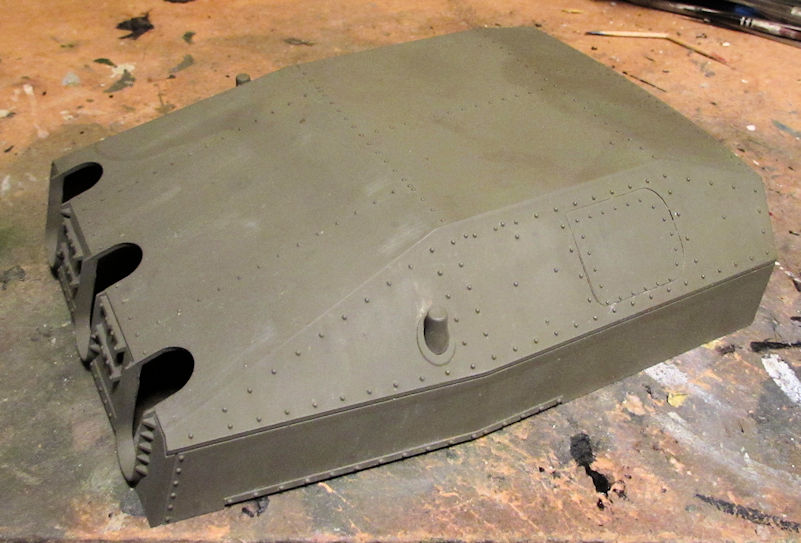 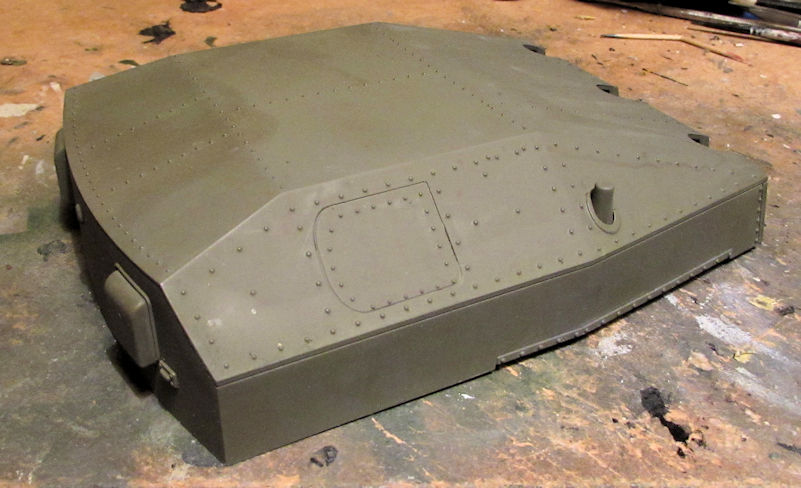 Later on I glossed this turret, then did a brown wash on the rivets, protrusions and seams and then dull coated this: 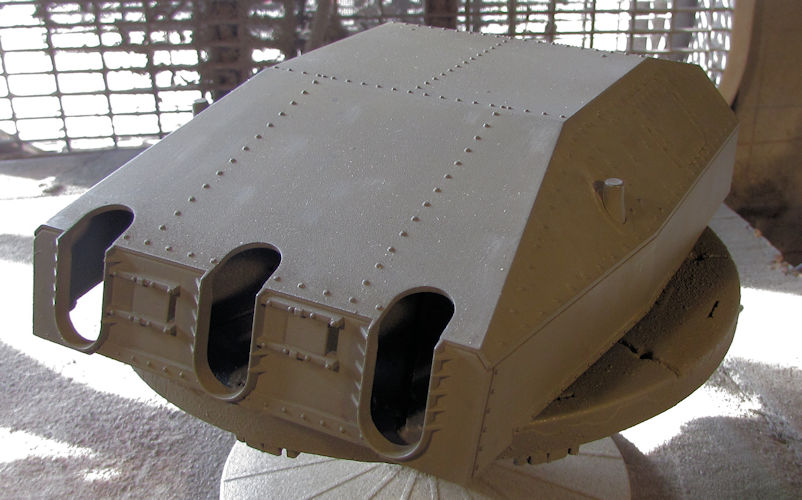 Again, not very visible in these pics; all the effects can be seen better in person. After all this, I've declared this beastie done. Moving on, I experimented again with a dark earth drybrush on a portion of the church roof. The left side is not drybrushed, the right side is: 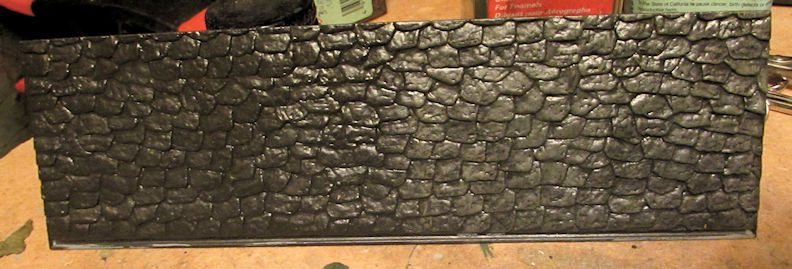 That drybrush was done over a base coat of Oily Black paint on the tiles. Continuing on with ground elements, I was able to move forward on my George Creed Tribute Build for my friend. I first shot a modulation of a lighter green over the cab, trailer and missile: 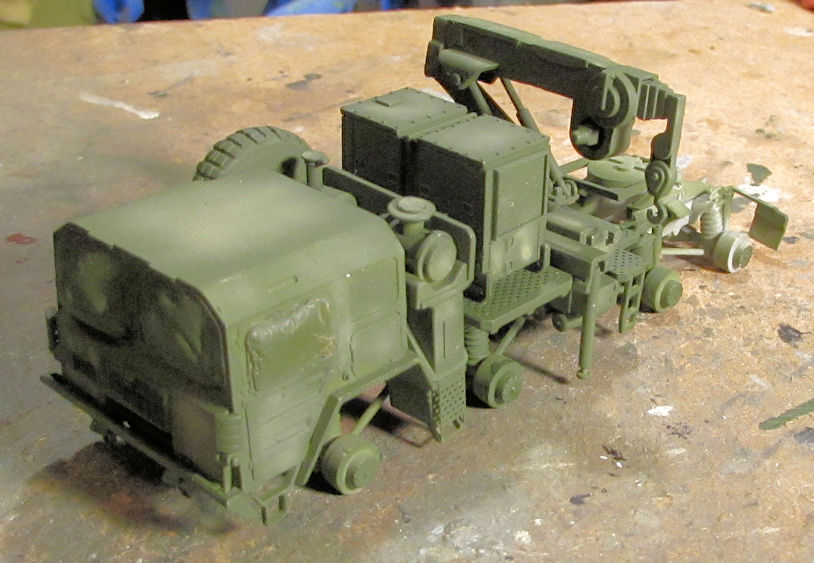 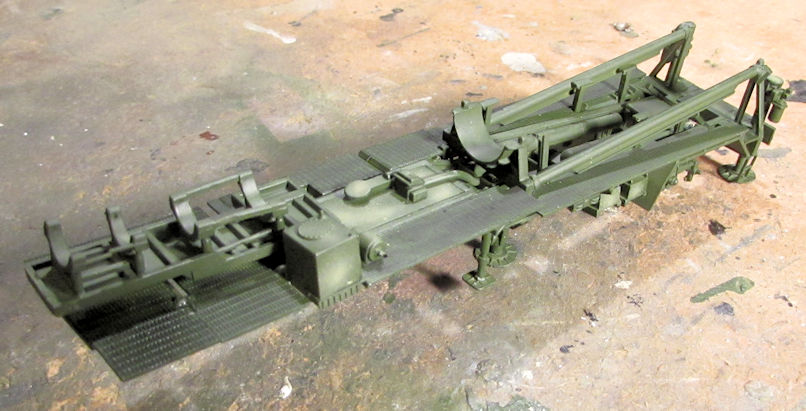 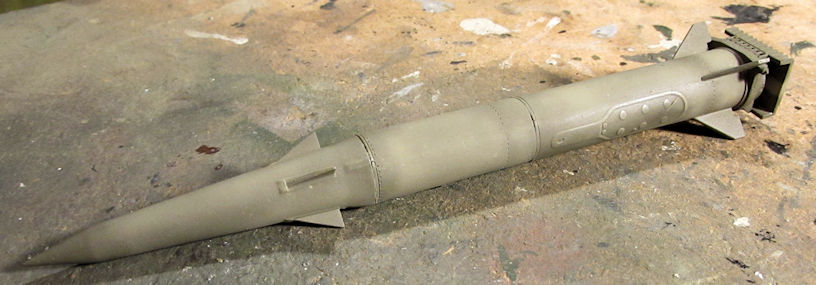 The missile was also drybrushed at this time. After that, just for fun I fitted the missile onto the trailer to see how it looks: 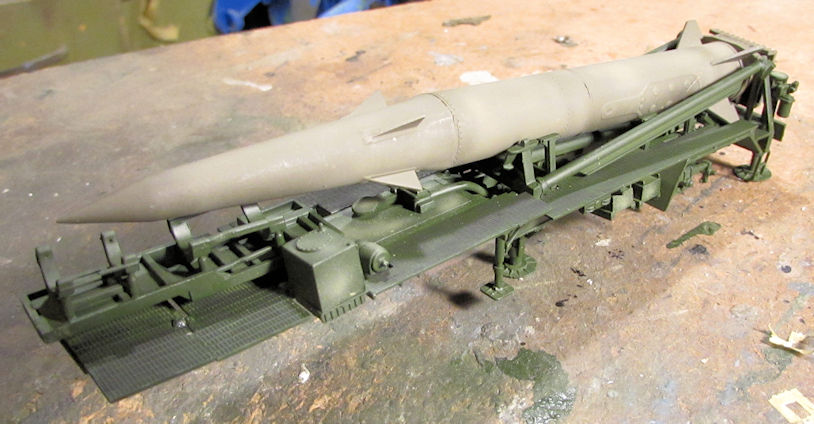 I then detail painted the tractor portion with some Oily Black on the chassis and suspension as well as finished off the painting on other parts: 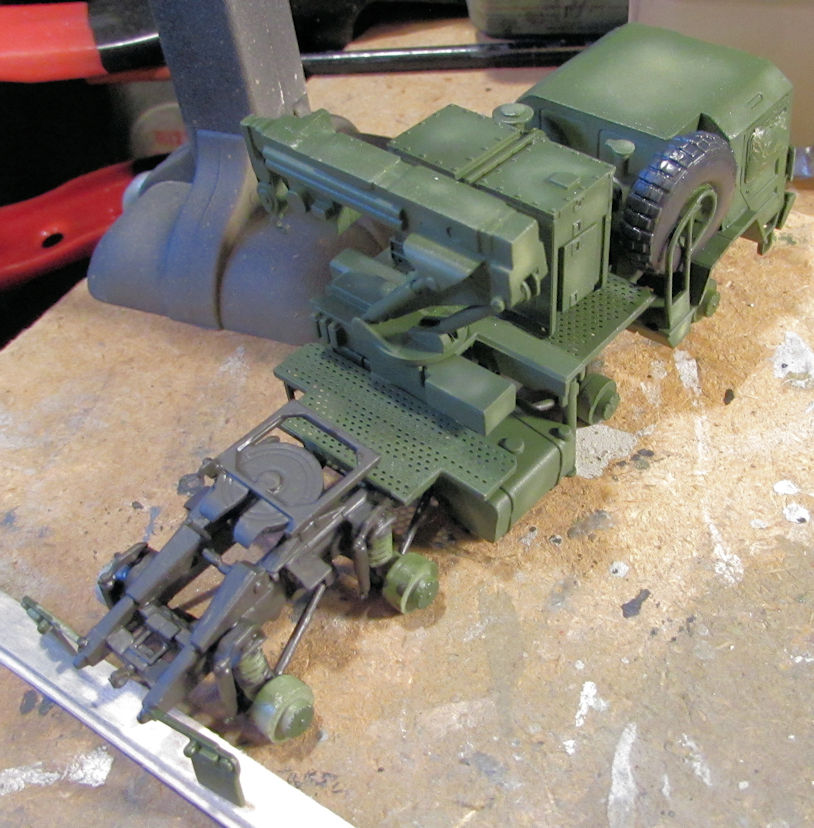 That chassis and suspension later got a dry brush of steel over it. After that it got glossed for a wash. There seemed to be no markings on this tractor; at least the instructions didn't show any which I thought as odd, but I moved on. I wanted this done so I glossed the trailer and the missile and added the decals to both of them: 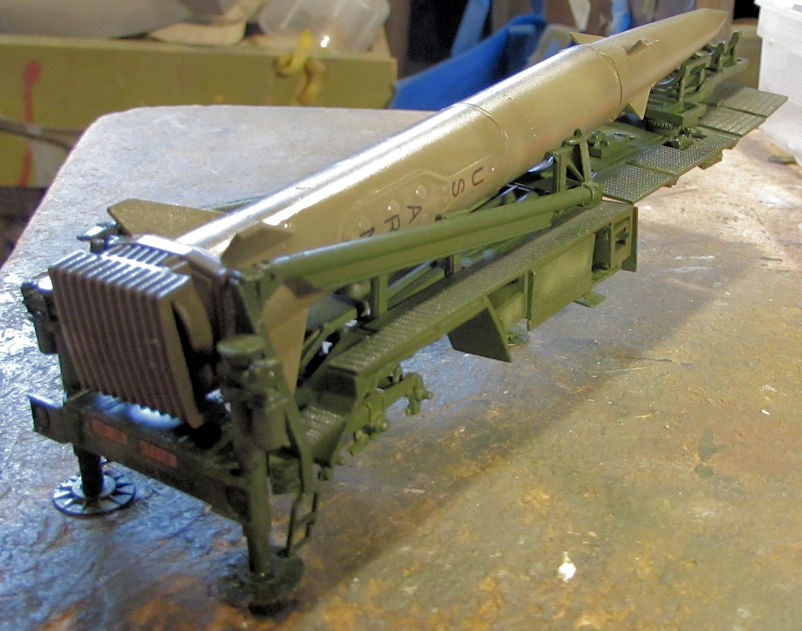 Here is the missile and trailer all dullcoated after the decals had dried: 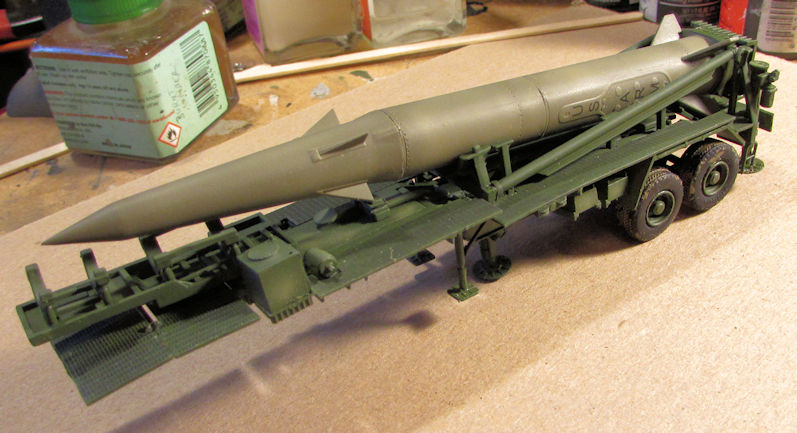 My George Creed Tribute Build is finally done. After this I also moved ahead on my Israeli Nagmachon. There was a lot to before the photo etch went on. First off, I painted the photo etch. Then I glossed the model and added the decals plus a medium brown wash: 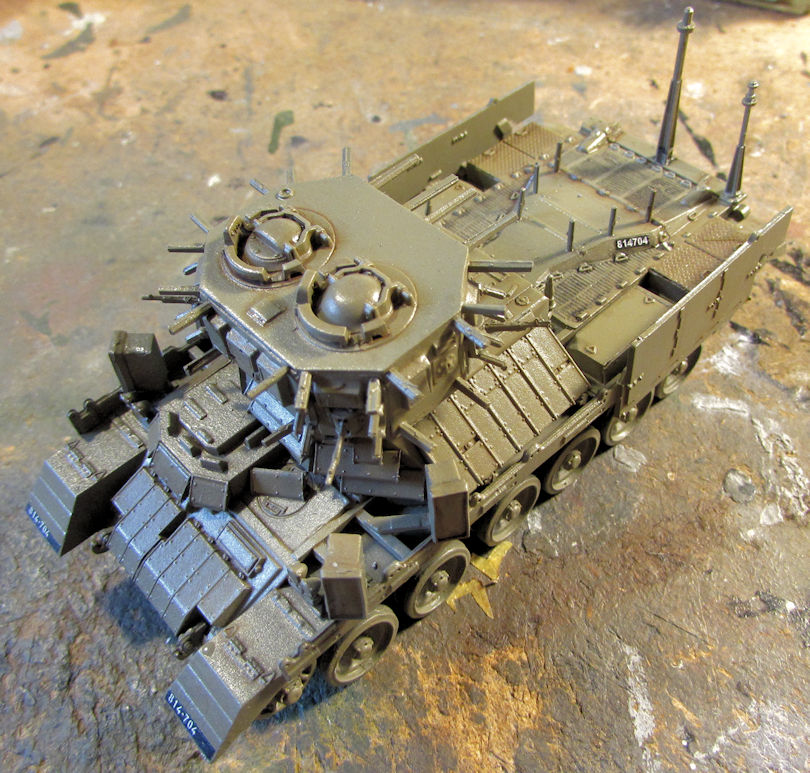 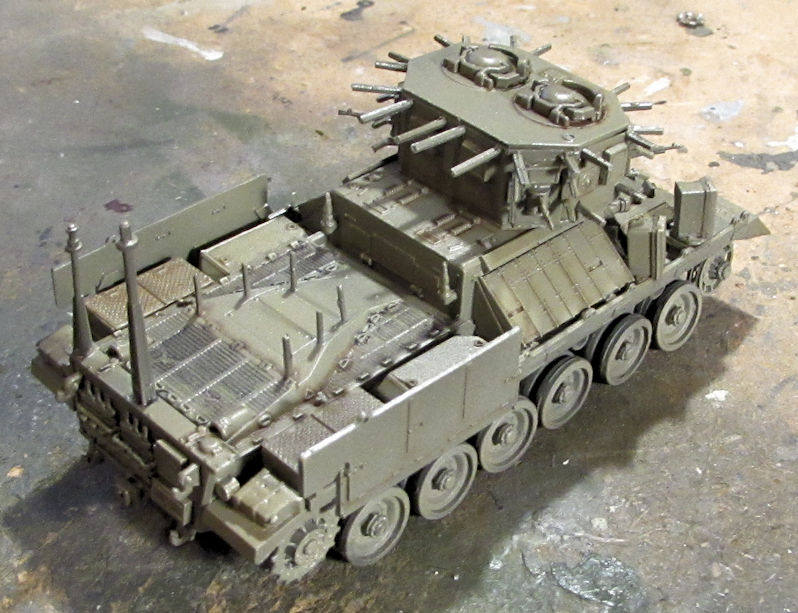 Next came the dull coat and drybrush of a light sand over the details, as well as the painting of the machine guns: 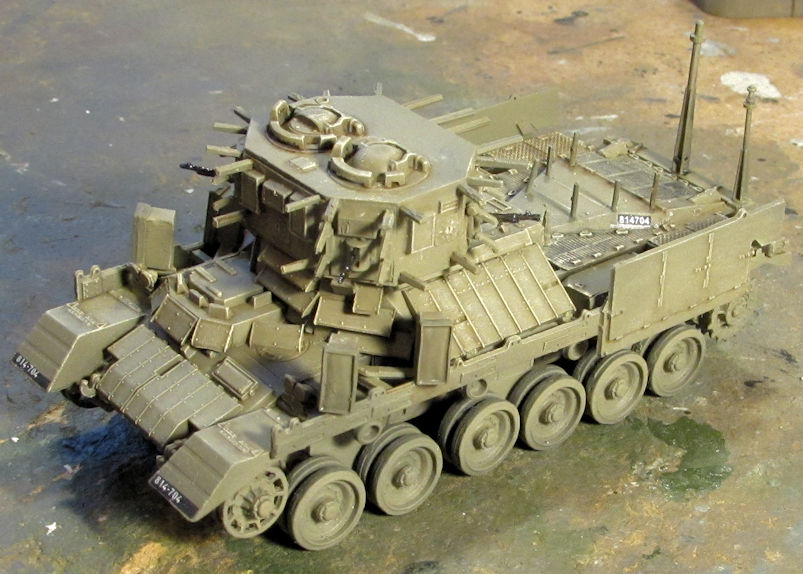 Finally the tracks and last side skirts were installed. This one is ready for the photo etch screens: 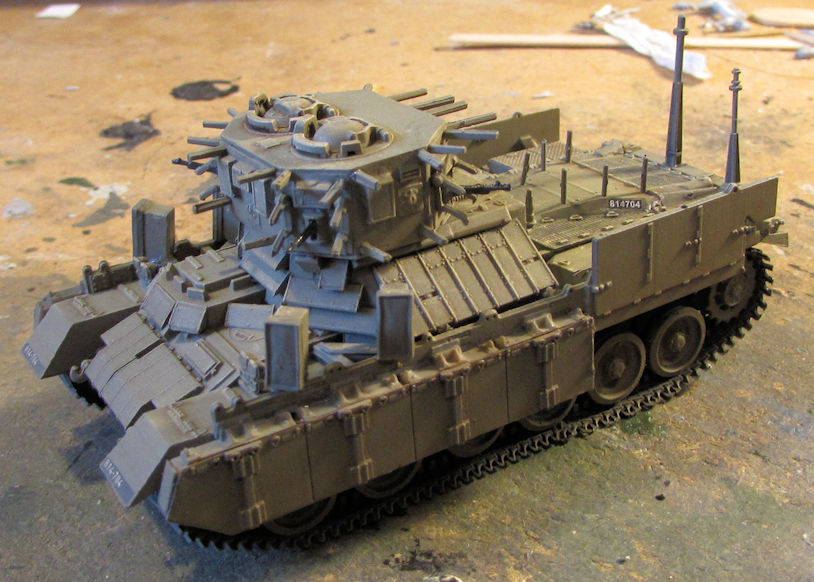 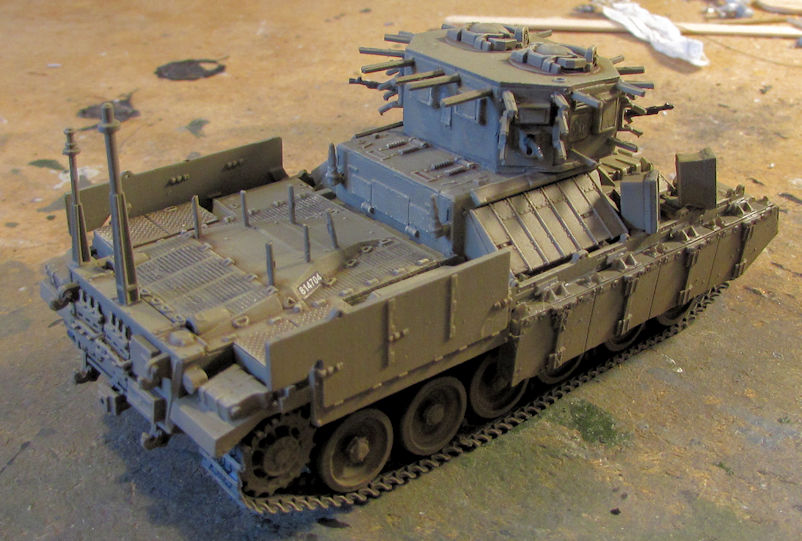 And finally, I did manage to get some progress done on one of my aircraft. The Israeli Sufa needed more seams and gaps filled so I added some more Mr. Surfacer 500 to them: 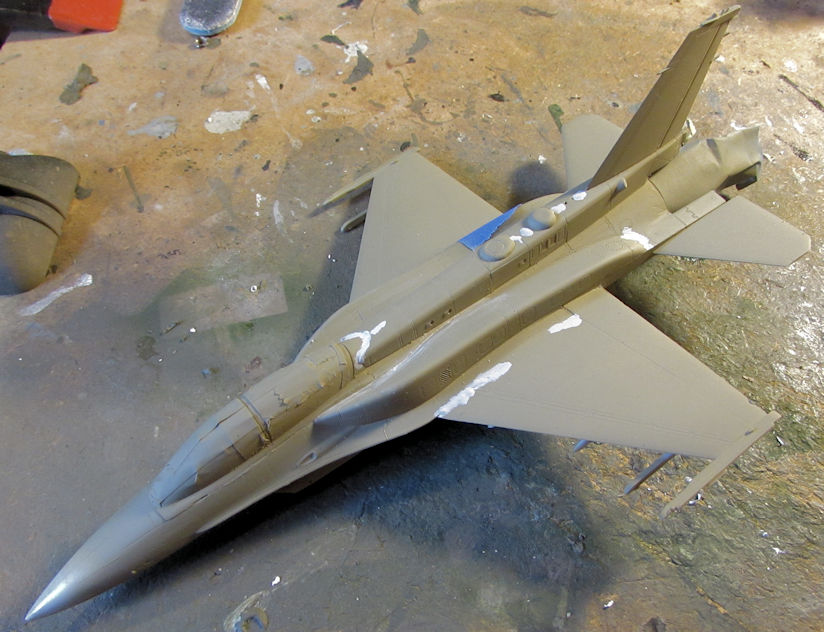 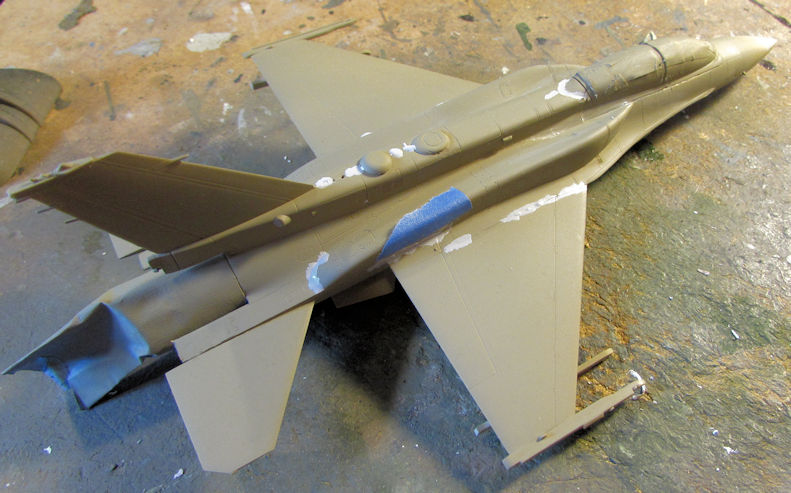 After some sanding and repainting, it looks much better. It still ain't perfect, but I'm far more happy with this: 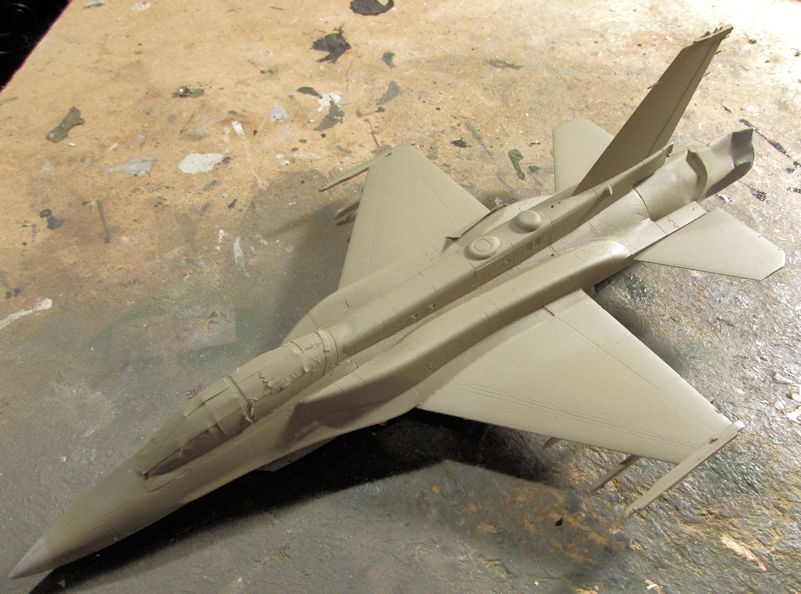 Next up will be the other two camouflage colors. And that completes my progress for this month so far. Hopefully I can finish that Nagmachon and Sufa this week. Thanks all for looking in, comments are most welcome. |
|
|
|
Post by dogfish7 (R.I.P.) on Oct 15, 2019 14:30:08 GMT -6
Wow! You sure got some paint time in! 
|
|