|
|
Post by ogrejohn on May 24, 2019 16:47:15 GMT -6
Nice work Mark! That turret looks an awful lot like the ones on my Graf Spee.
|
|
|
|
Post by Dukemaddog on May 25, 2019 11:57:19 GMT -6
Thanks for the great replies guys! I appreciate it.
John, this turret is actually from the Gneisenhau, sister to the Scharnhorst so that is why it looks a lot like Graf Spee's turret.
Stay tuned, more to come.
|
|
|
|
Post by Dukemaddog on May 25, 2019 14:39:58 GMT -6
Okay here's more progress on my way to getting some of these models finished. All this is armor so far, along with the turret, since these are all so close to the finish line. First up is the Centurion. Here it is with the decals on: 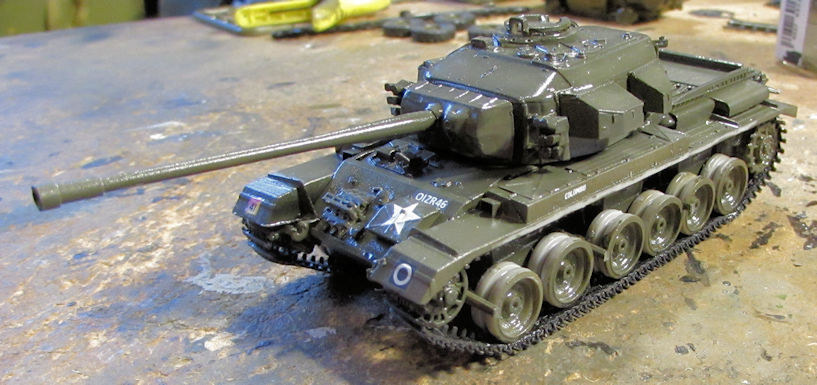 You can see that I also added the tracks to this. Alexey at ACE has you push three tiny stubs through holes and melt the protruding ends to hold the tracks together. The only problem with that technique is that the stubs are too small and flexible to be pushed through such tiny holes. They never make it through the holes, so I pulled out my black tire glue and glued these together using that. I then glued the tracks to the wheels using the same glue. Next I dullcoated this and added the skirts to this model: 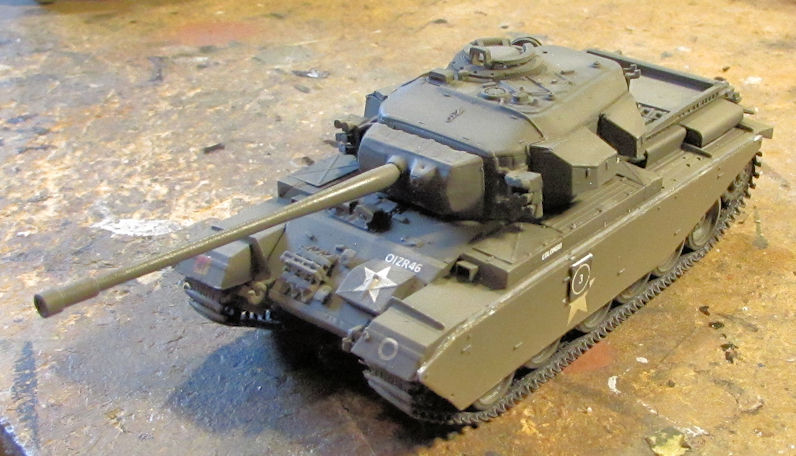 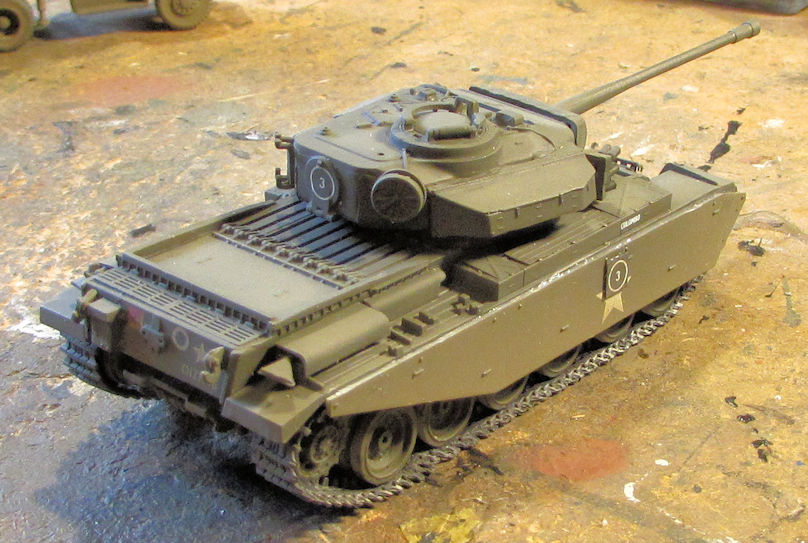 You can see the skirts were pre-weathered like the rest of the tank. After that, I went to add the machine gun to the top of the turret. However, the V-shaped part was far too delicate to remove it from the four large attachment points. The first cut with the newest, sharpest X-acto blade resulted in this: 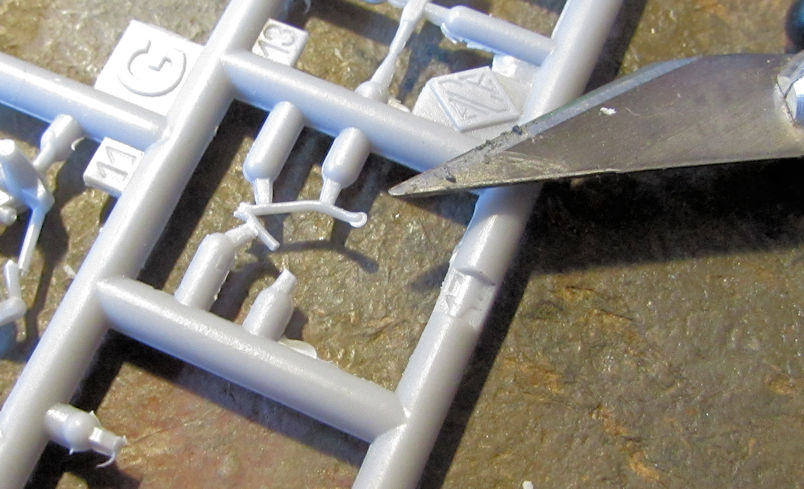 That did not bode well for any attempt to separate the rest of this part and I did not relish assembling four parts of this particular piece to mount the gun. So, I scratch-built a replacement. This is a bit out of scale, but it is sturdy and complete: 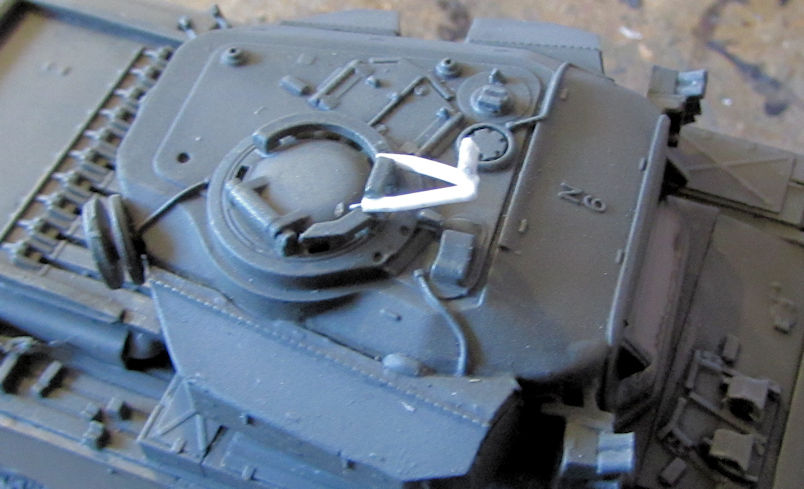 Afterwards, the gun got mounted; touchup painting was done and tools were added. Looks done right? 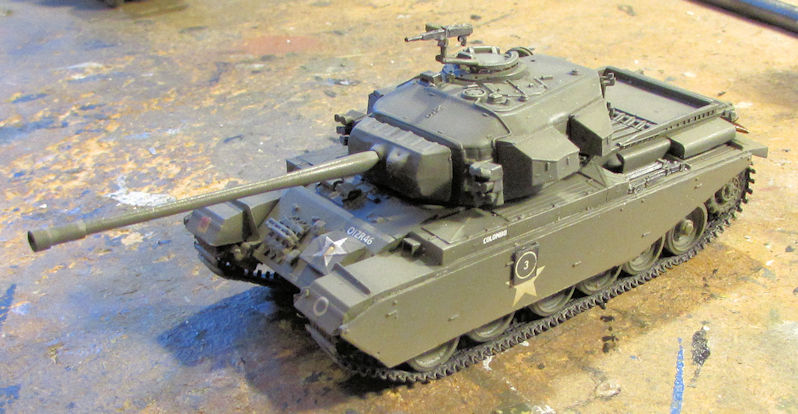 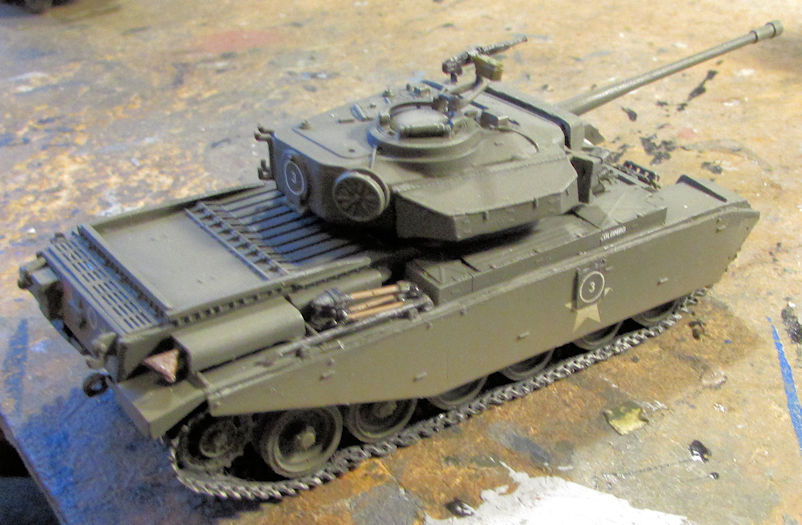 No it isn't. I had realized that I hadn't 'dusted' the roadwheels to match the rest of the weathering so I went ahead and did that. Now I could call this tank done. Pics of it will be seen in the finished armor forums. Moving on, I also added the decals to the B-1 Centauro: 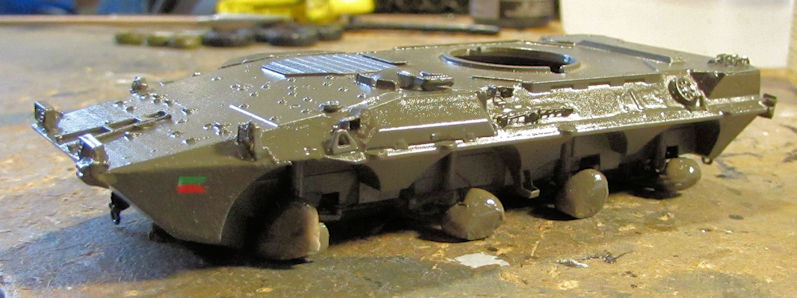 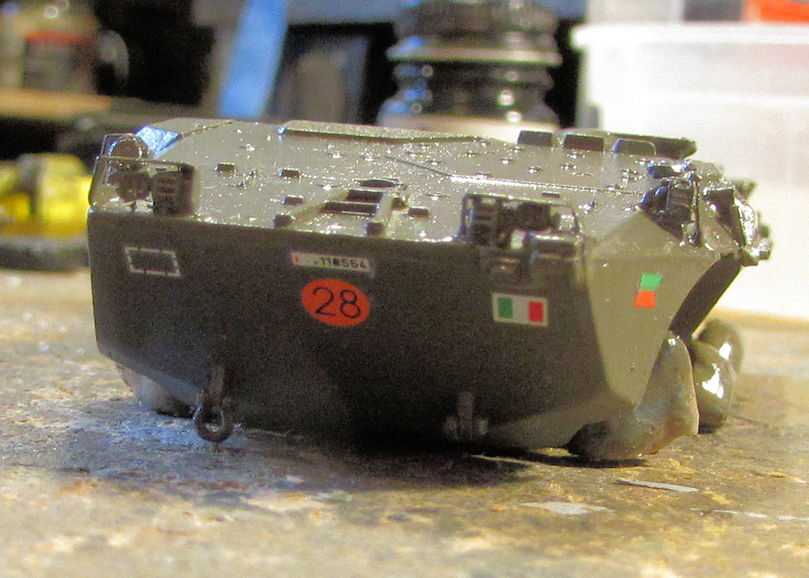 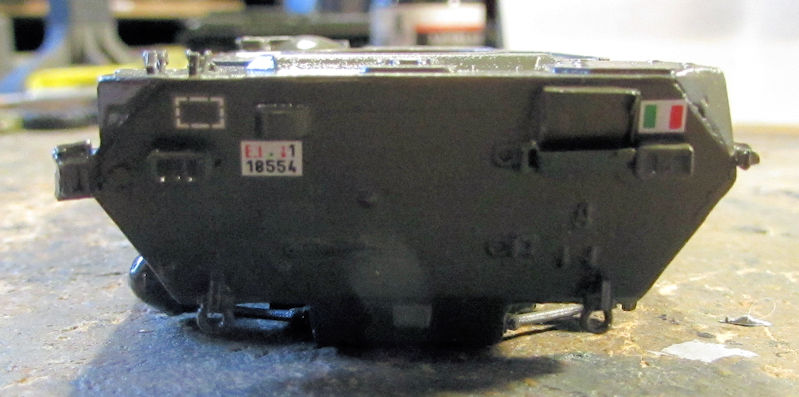 Also, remember that huge shrink mark in the gun barrel? If not, check back a few posts; it's there. Well, it finally got fully fixed: 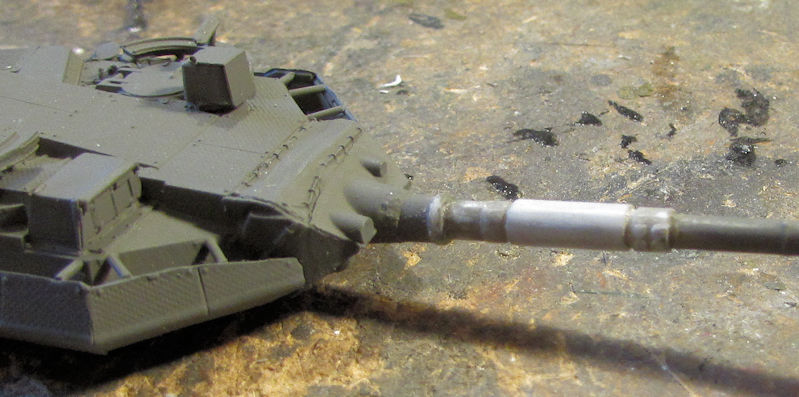 After that this model got the final wash and then dullcoat: 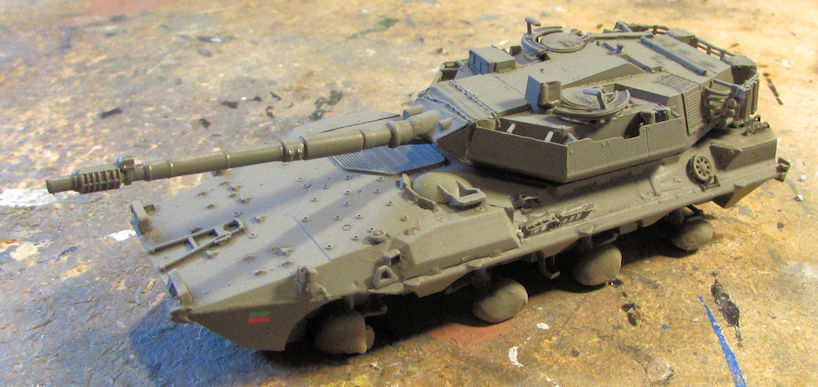 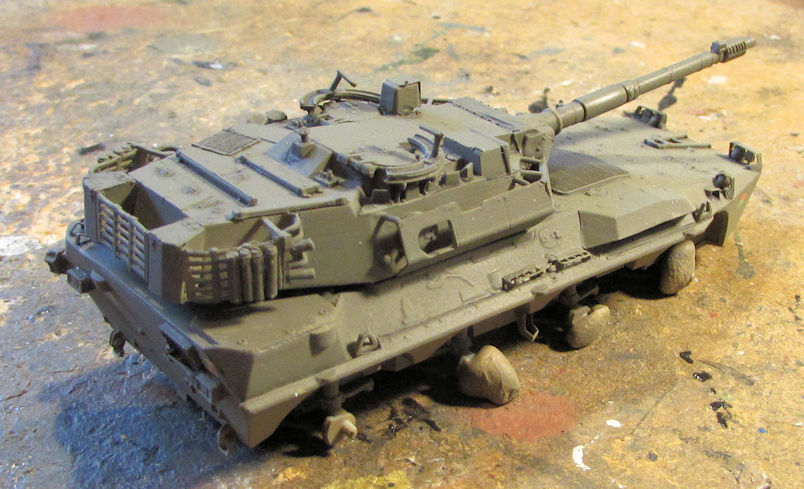 After doing some 'pre-weathering' on the wheels, I installed them on this vehicle: 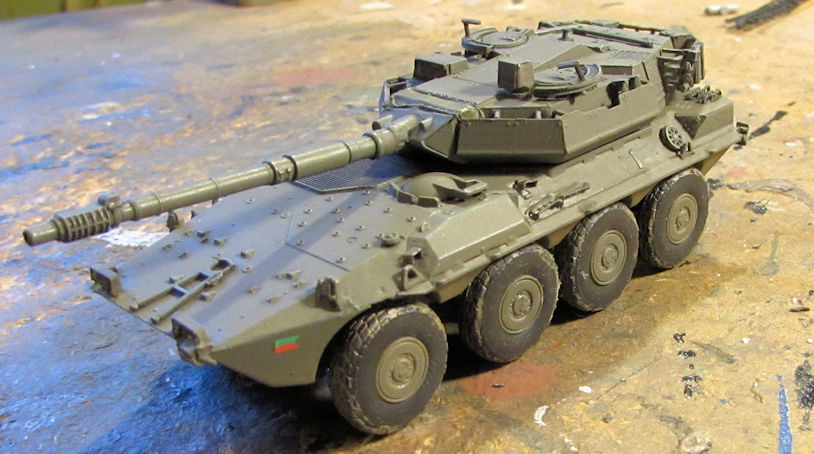 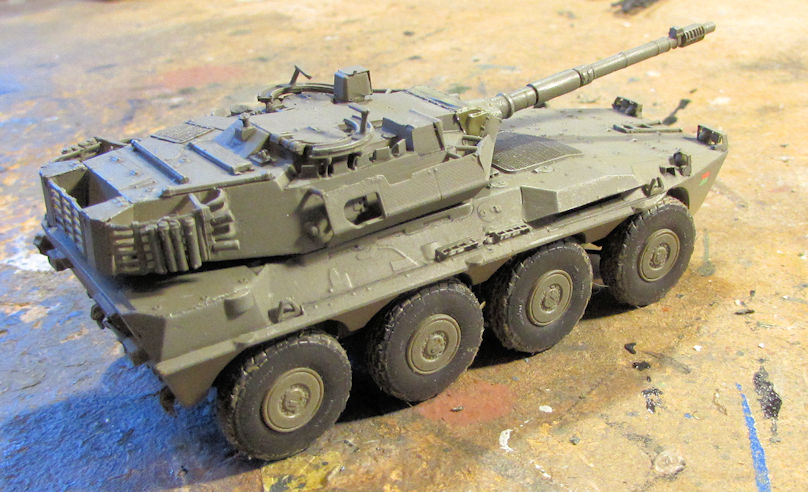 Some final 'dusting' later along with the Centurion, this beastie is done! My next model I moved forward on was the little V-100 armored car. Here it is with the decals. I love that Budweiser logo! 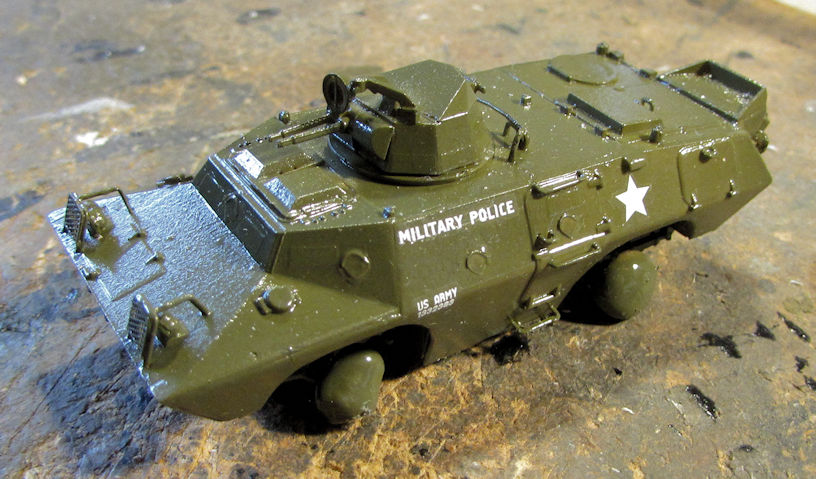 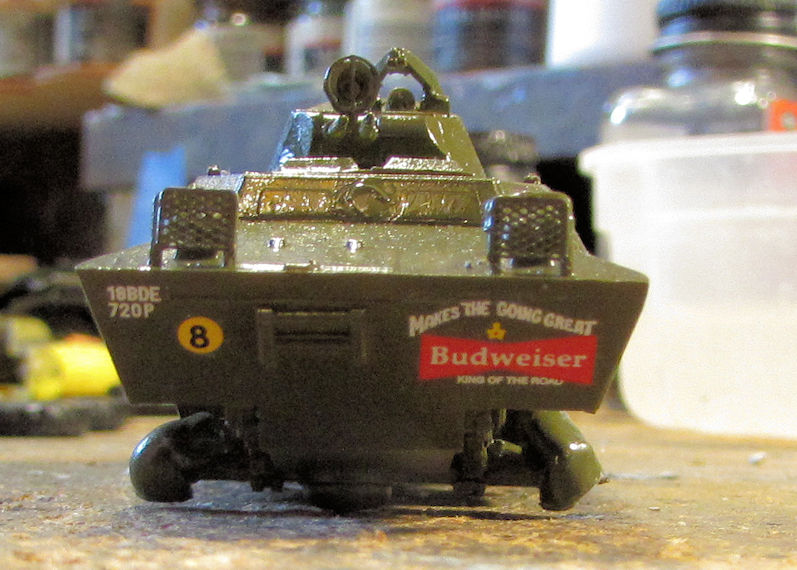 After that I 'pre-weathered' the tires with a reddish brown color to try and match the red clay of the 'Nam and mounted them up. I then dullcoated this and tried 'dusting' it. This was the closest I got to that red clay color: 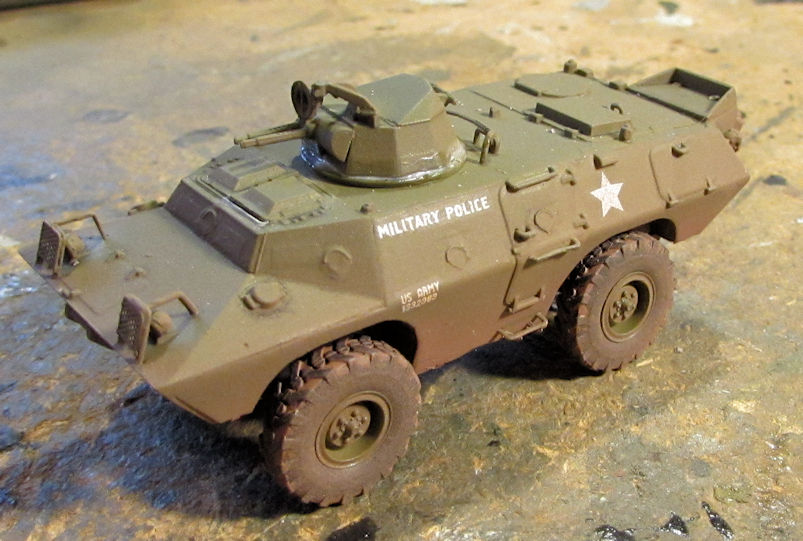 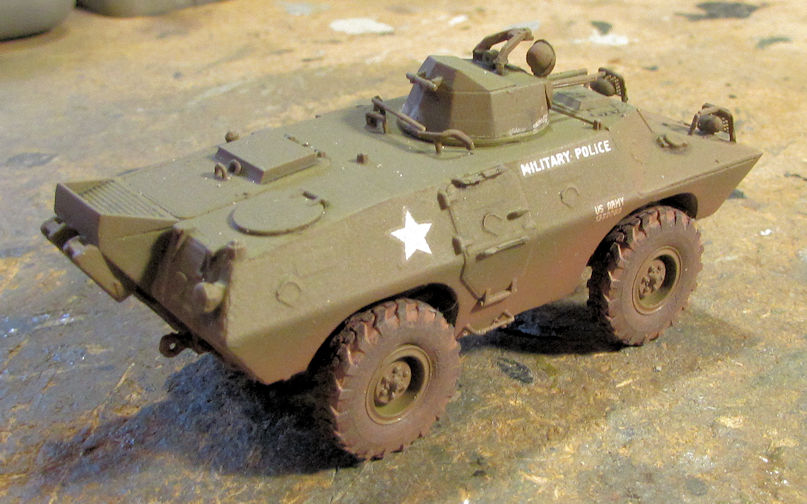 After that, I did some touchups on the details and then added the turret mounted .50 caliber Ma Deuce: 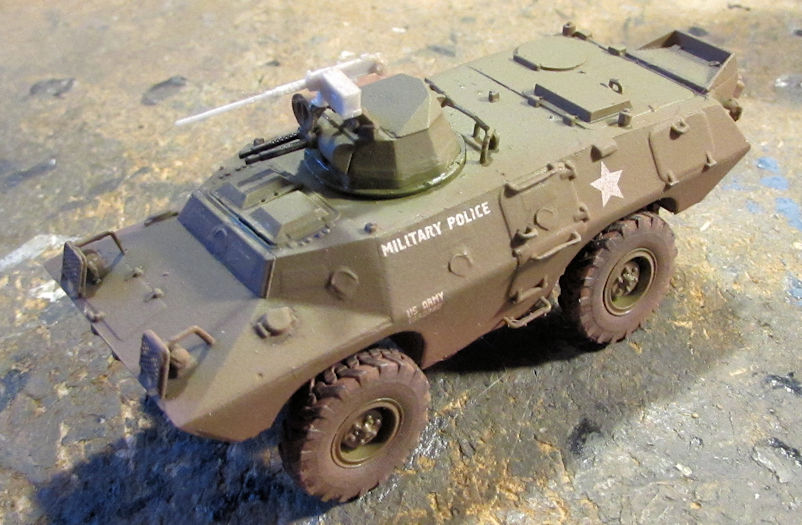 Painting that Ma Deuce brought this over the finish line as well. Moving on, I added the decals onto the Diamond T wrecker: 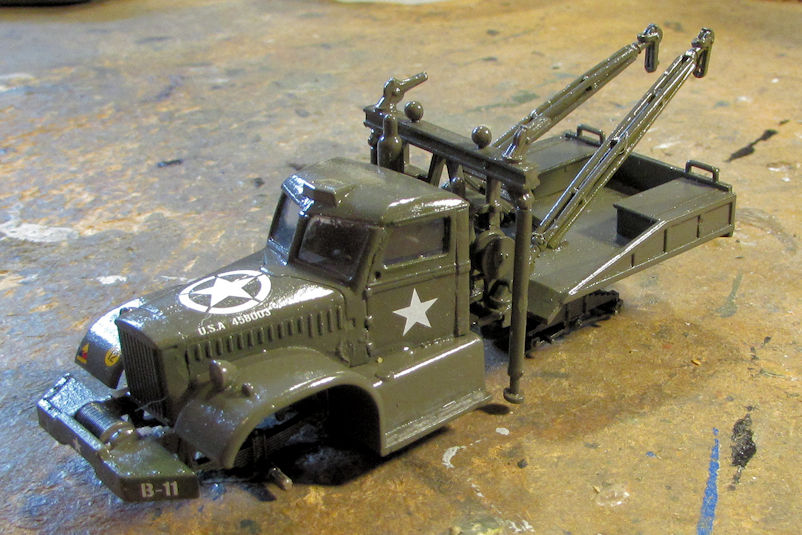 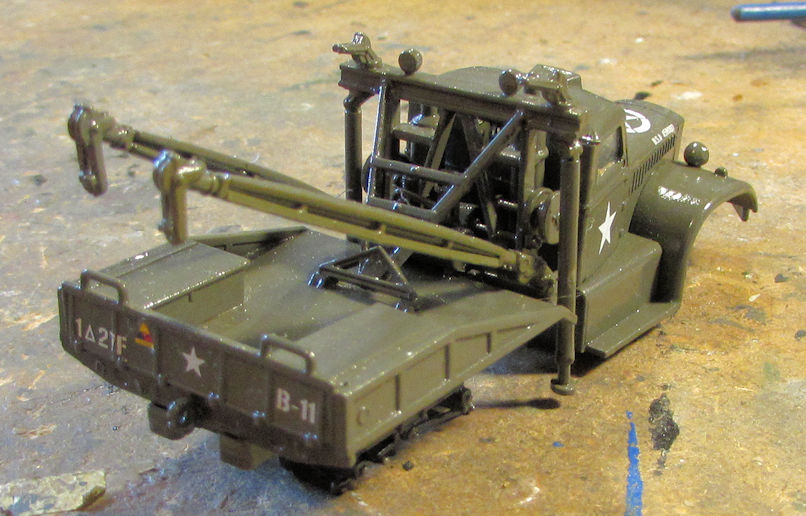 I know the markings on this truck are fictitious. I wanted to build it as US Army truck but; despite having decals for at least three US Army trucks, they only gave you the schematic/layout for a Canadian truck. I spent hours looking online; trying to find pics of a Diamond T Wrecker sporting the numbers, codes, and (hopefully!) that armor logo on the front fender that were offered on the decal sheet. Nothing popped up at all that even remotely had any of the decal sheet codes on it. So, I just winged it and chose what I wanted. Later I can get another one and make it Canadian. Later on I dullcoated this and then added the wheels to it. The four twin wheels on the back were a real bear to do given how delicate the attachment points were for those wheels! What a pain! I finally got them all cemented on: 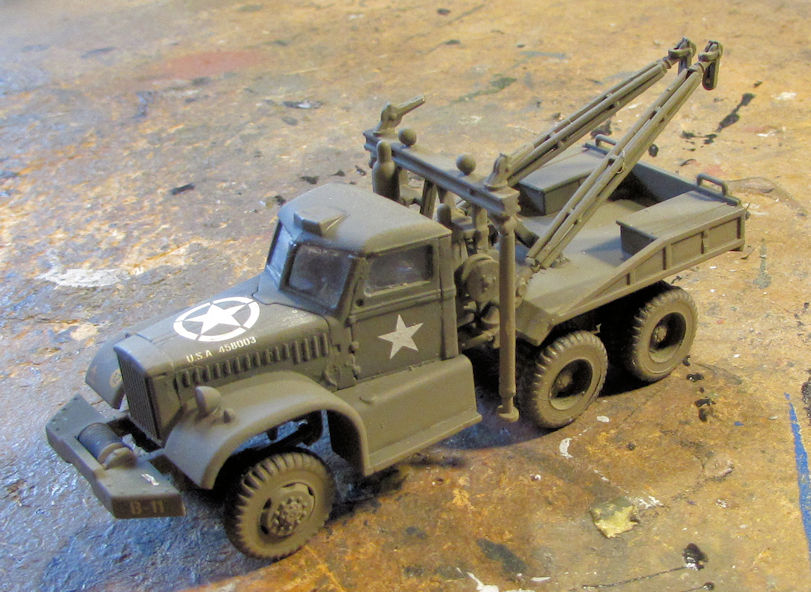 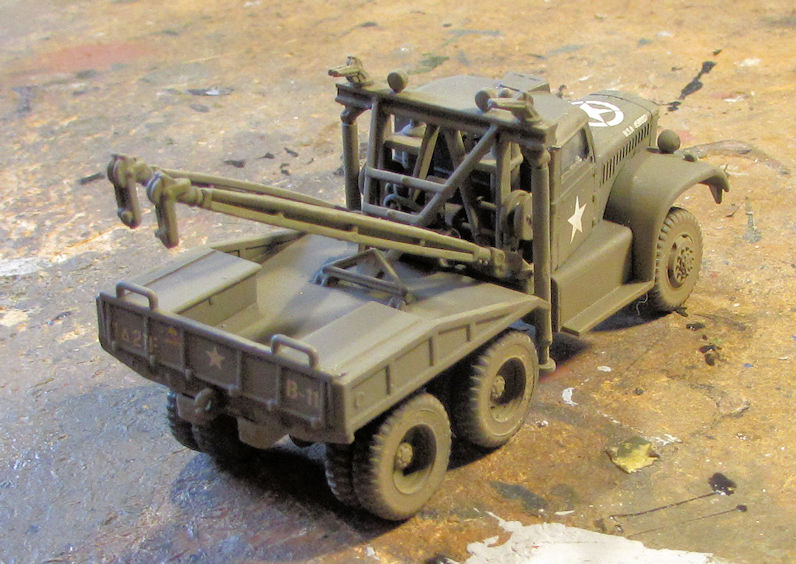 I had forgotten to mask the windows before dullcoating this again so I'll have to fix that. Also, the cab is still not glued down, which will help greatly in fixing the glass as the back wheels are still so delicate. The less I handle that chassis the better. There's a few more things I still need to do with that truck, so it's not quite finished yet. One truck that did get finished is my Italian Trattore truck. I glossed this and added the decals to it: 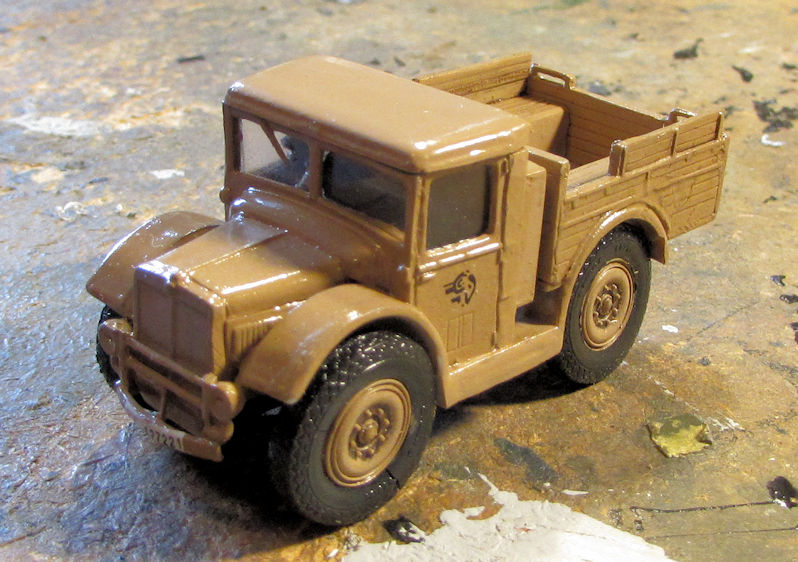 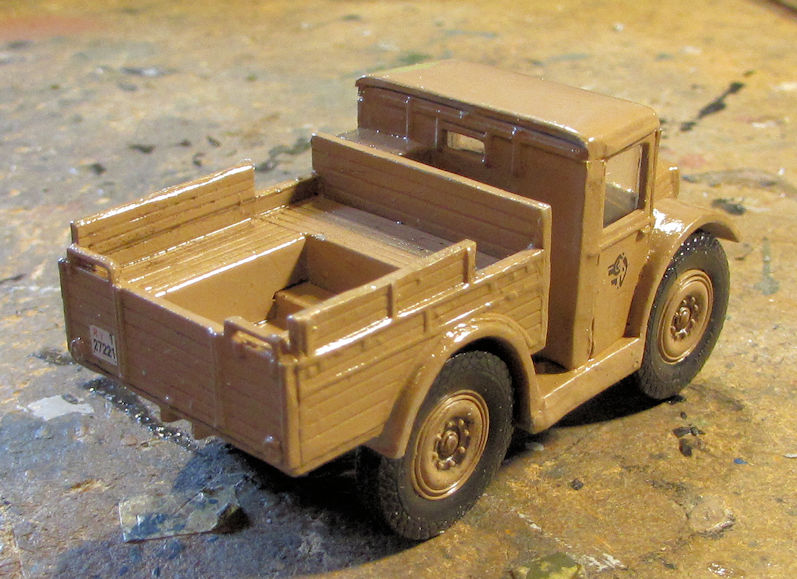 You can see I also started the wash on it. I also noticed one of the tires cracked. Oh well... Later this was dullcoated. I remembered the windows this time: 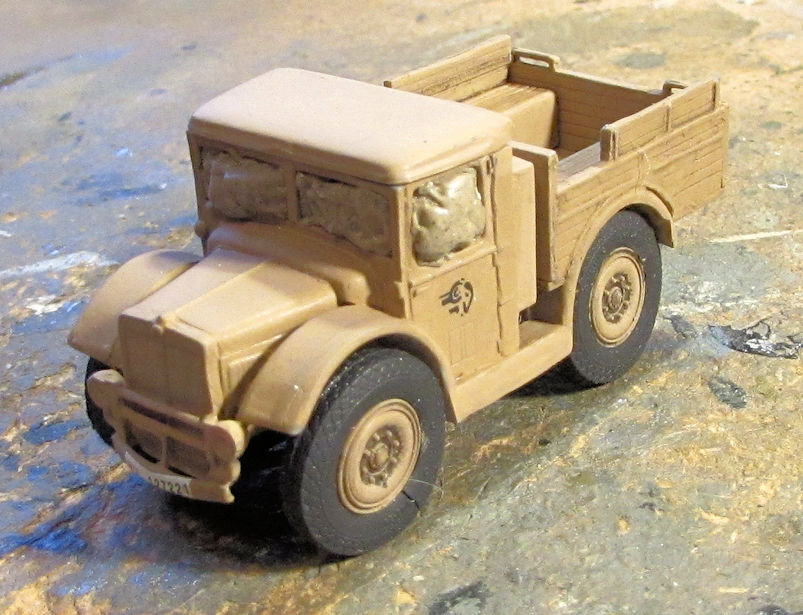 I completed the tilt on this and then called it done. After all that, I needed to finish up the heck Cannons. All that was needed was to assemble and paint the ammo rounds that came in the kit. Here you can see that I assembled the smaller cannon's rounds by fitting them to the barrel and gluing them together. I later removed then from the barrel for painting: 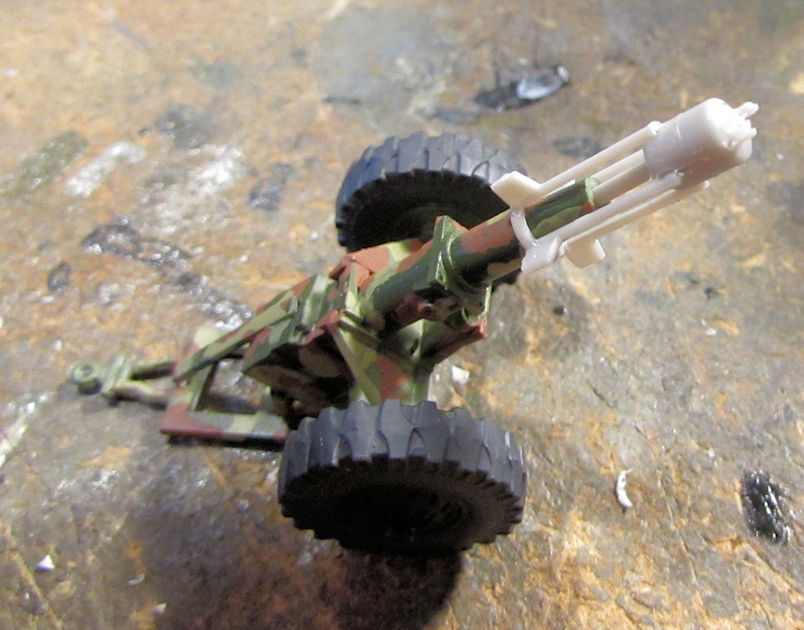 In this pic, you can see two of the rounds for the larger cannon too: 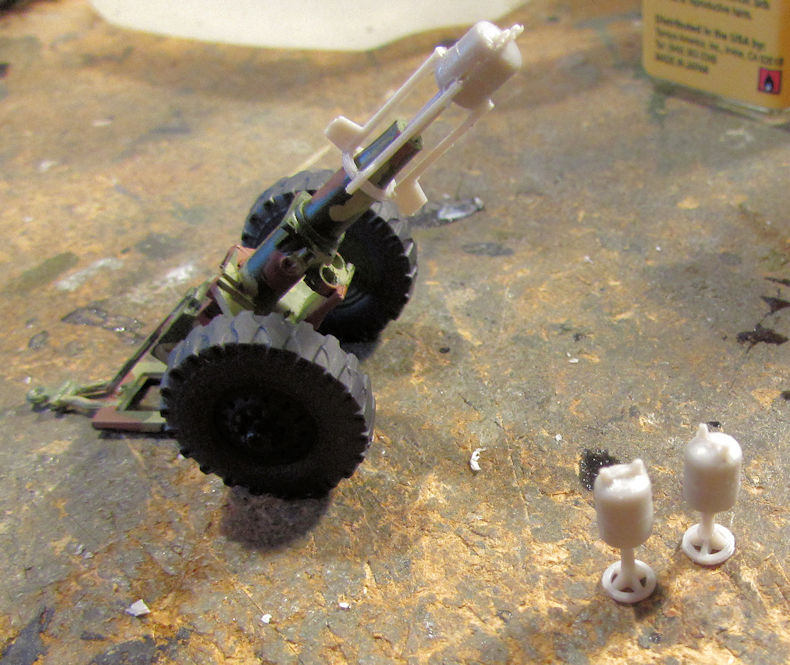 I later painted them all and was able to declare the heck Cannons done. Finally I worked on the Austratt turret. First I tried to eliminate the seam on the base. This was my first attempt: 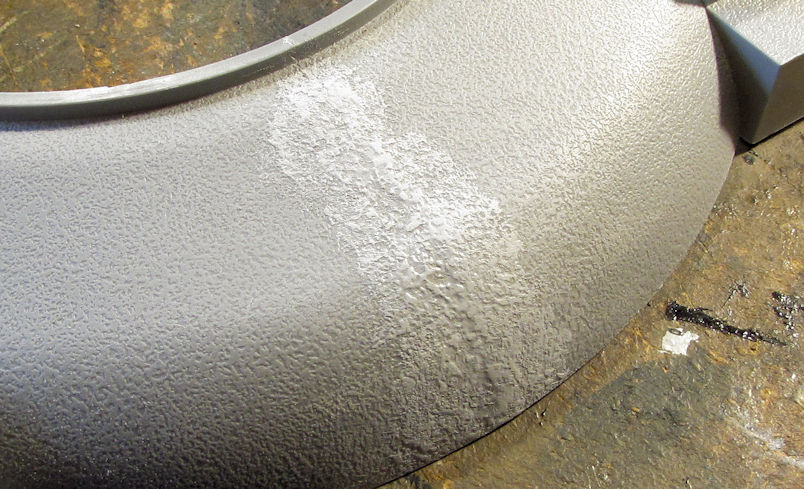 My second attempt was a bit better. Pics of that forthcoming in another update. Next, it was time to paint the turret itself. I started by removing the upper shell and hitting the guns and gun shields first: 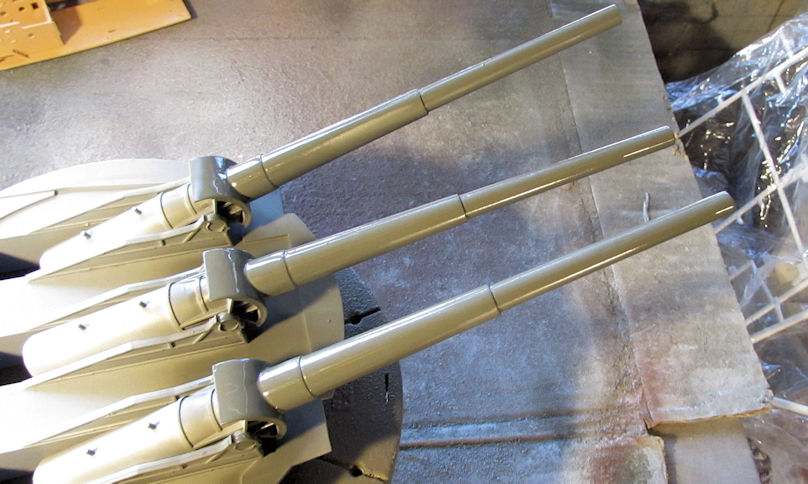 Next I carefully replaced the top and shot it with the green again: 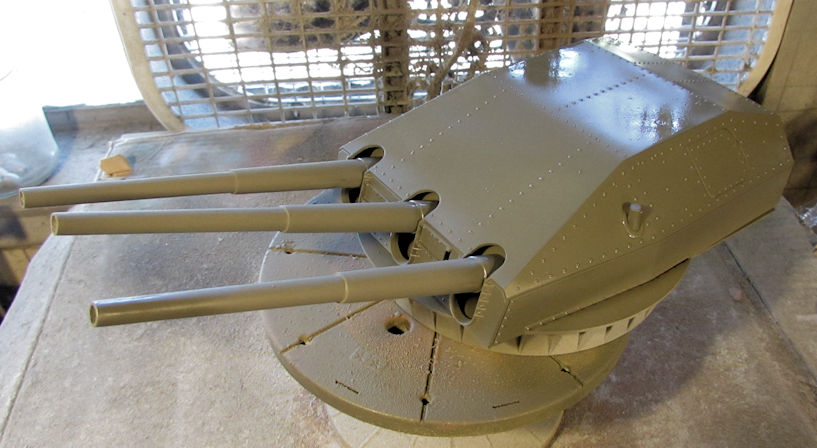 Two thirds of the way through this I ran out of paint in the airbrush and re-mixed some more. It was too thin and ran badly. I tried smoothing it out but this was the result: 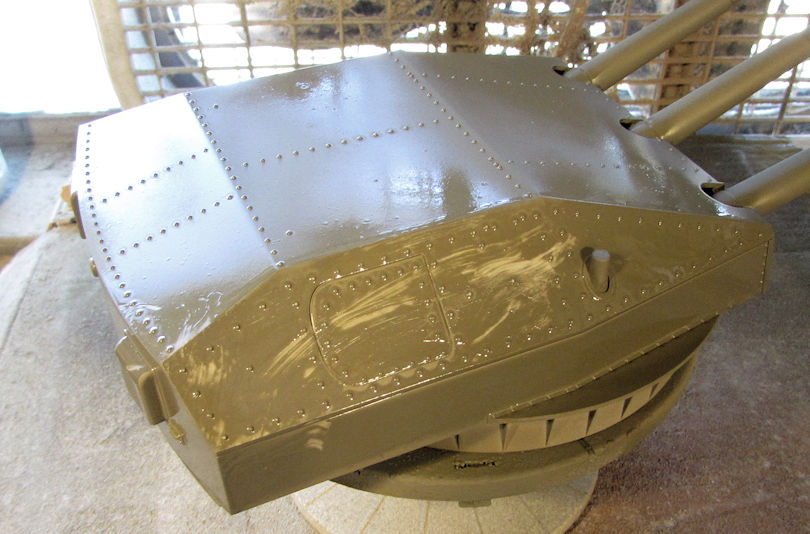 Story of my life! Every time I think I might succeed, something stupid like this happens! So, I soaked a paper towel in Airbrush Thinner and wiped it clean: 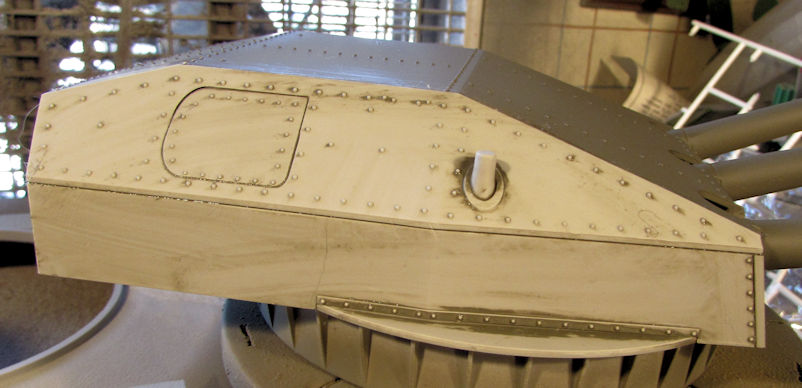 Fresh, properly mixed paint went on after that! It still looks lumpy from debris left behind by the wipe down, but I think I can possibly fix it further. Pics forthcoming on that too. This looks like a great place to finish off this update. Thank for looking in, comments are welcome. |
|
|
|
Post by JCON on May 25, 2019 14:56:02 GMT -6
That gun mount turned out well and lots of great construction for sure taking place!!! Well done Mark, I know you will get the paint on the turret fixed!!!  |
|
|
|
Post by BUCKY on May 25, 2019 21:31:23 GMT -6
Some more great progress, Mark! Everything is looking very good!
|
|
|
|
Post by Dukemaddog on May 26, 2019 13:42:12 GMT -6
Thanks guys! I'm hoping to move forward on these fairly soon.
|
|
|
|
Post by dogfish7 (R.I.P.) on May 31, 2019 16:33:52 GMT -6
My fingers are getting a cramp. 
|
|
|
|
Post by JED on Jun 2, 2019 9:06:12 GMT -6
Even more great work going on Duke,nice recovery with the machine gun mount
|
|
|
|
Post by Dukemaddog on Jun 2, 2019 15:18:00 GMT -6
Thanks Bruce! Mine are cramped also. I have also developed a crick in the neck. Still, progress marches on!
Thanks Jed! I appreciate that.
|
|
|
|
Post by Dukemaddog on Jun 10, 2019 16:27:11 GMT -6
Well, it's been awhile thanks to being back to work on several home repair projects. Despite that, I did manage to get some progress done because of some time on the bench and Hobby Day. I'll start with some aircraft. This first on is the Grumman Duck I had started. I got the interior painted and the windows installed in the sides of the fuselage so it was time to close this bird up: 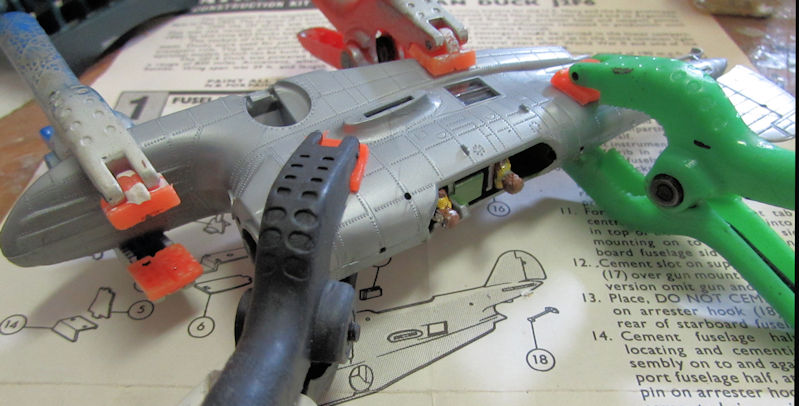 This next one is an ancient USAirfix kit of the Widgeon floatplane. I got it for free, and since I started it at Hobby Day now I know why: No clear parts. Oh well, I started it anyway; adding the pilot to the interior: 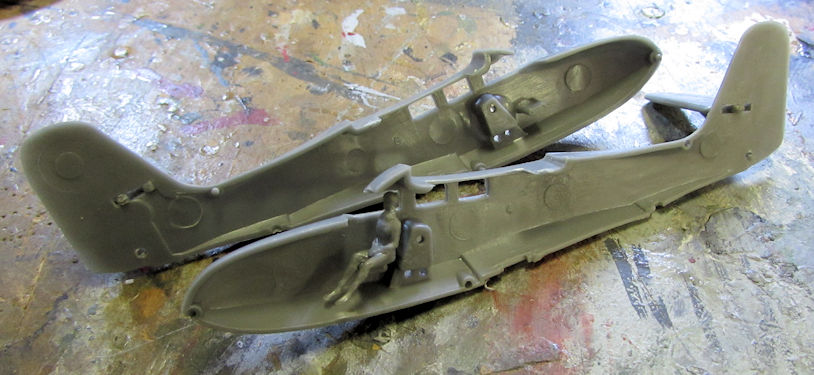 Adding the side windows won't be an issue; doing the canopy is going to be interesting... I went ahead and assembled the wing: 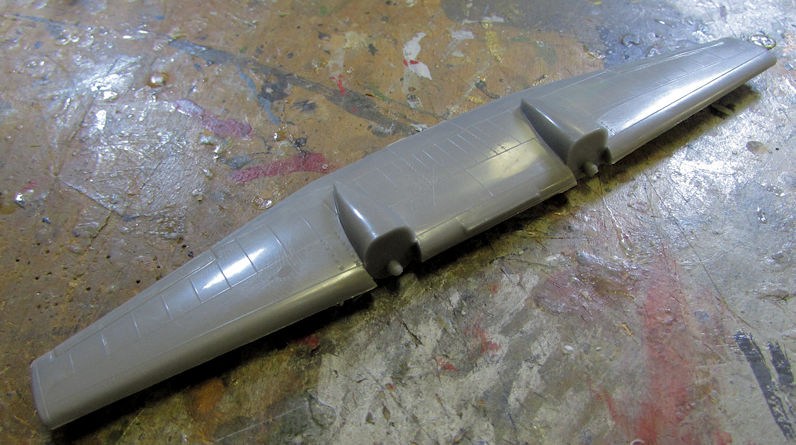 Followed by the engines: 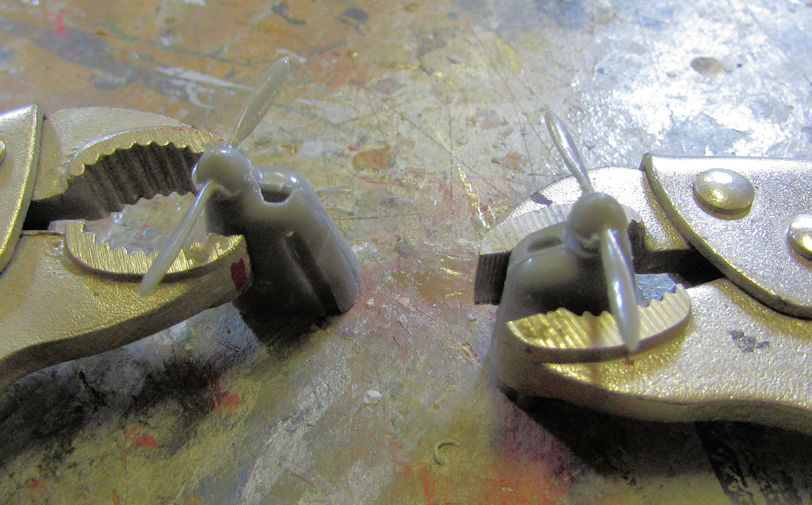 I let them dry for a bit and while that was happening, I assembled the outrigger floats: 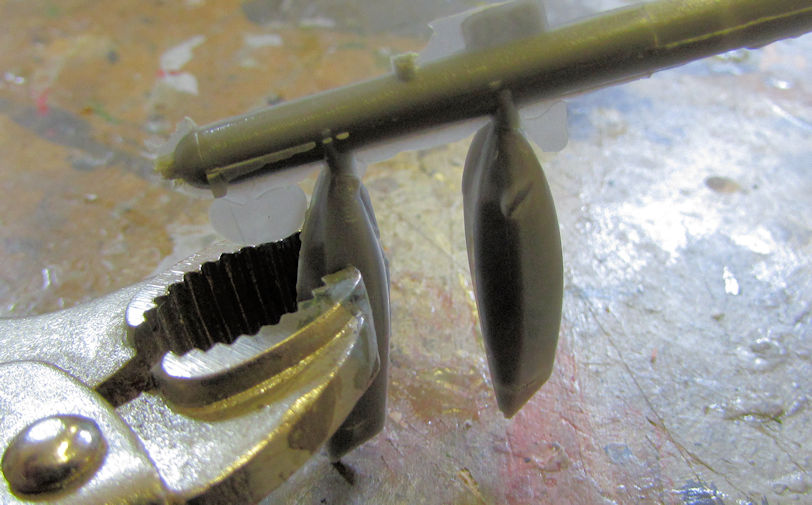 Later on I added the engines to the wing. There's gonna be a ton of sanding to do on that: 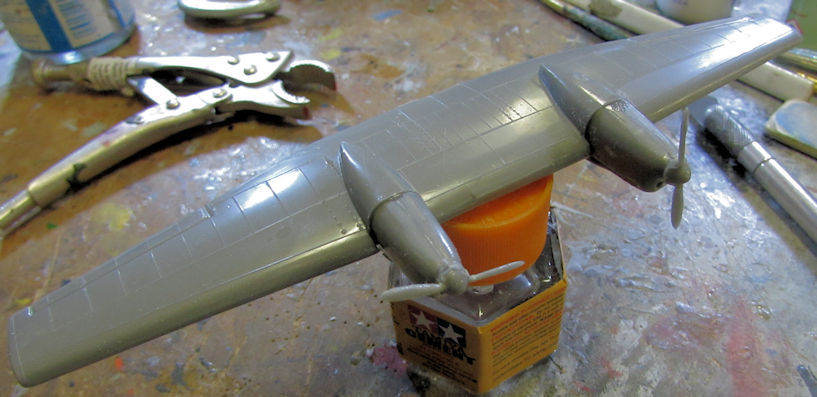 Moving on to my Big Bird, I painted the cockpit and pilots on the Shinmeiwa: 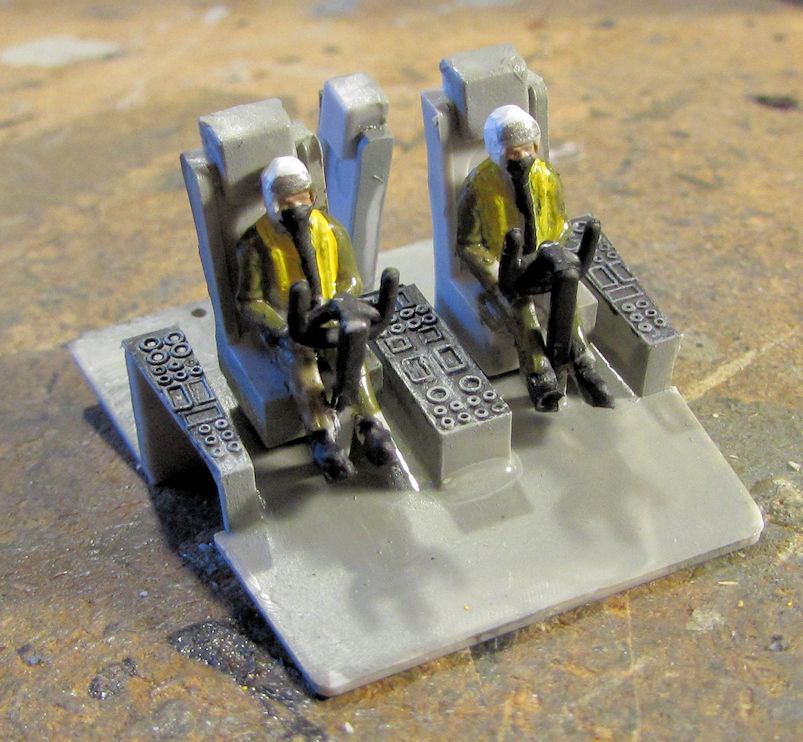 Then I decided to move in and assemble the propellers. I had thought that I just needed to add the cones to the centers of the propellers, but no! Hasegawa had to do this to me: 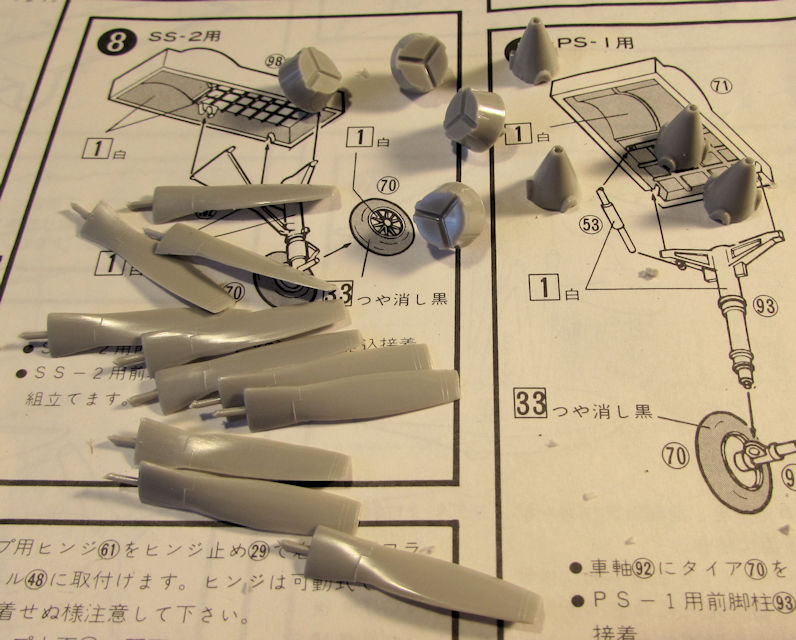 Here's the first one assembled: 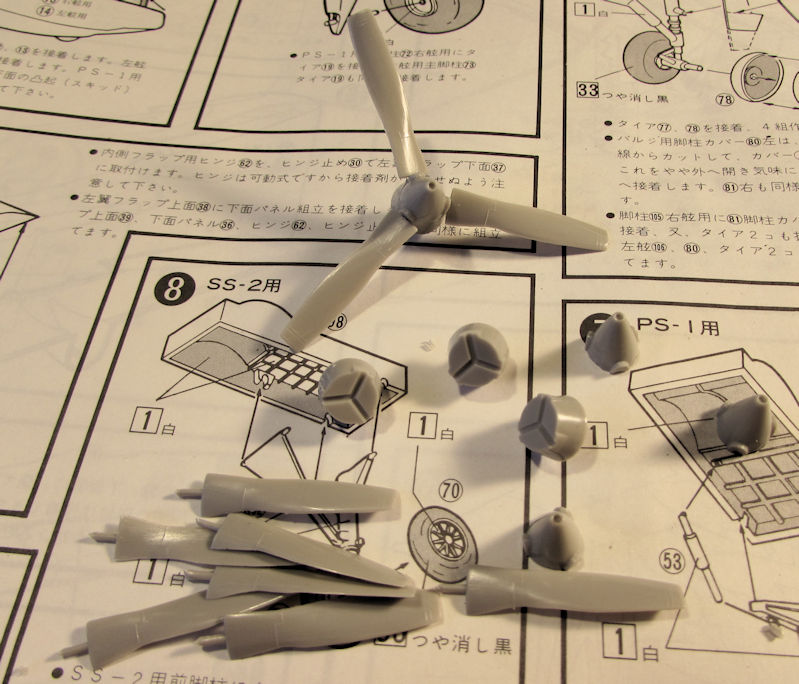 Finally, I got them all done and they are all hopefully the same direction: 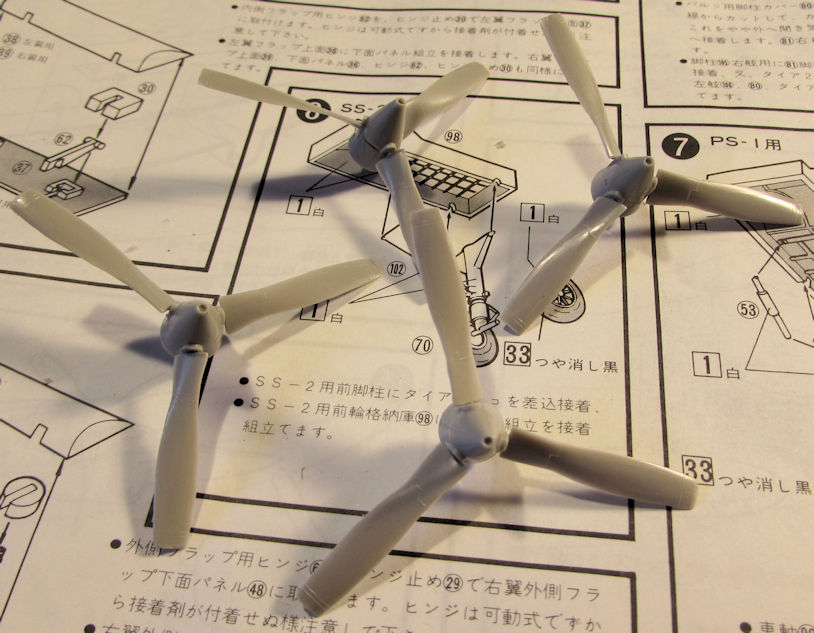 I then went through the kit and assembled everything that was molded in two halves, starting with the wheels which I also painted: 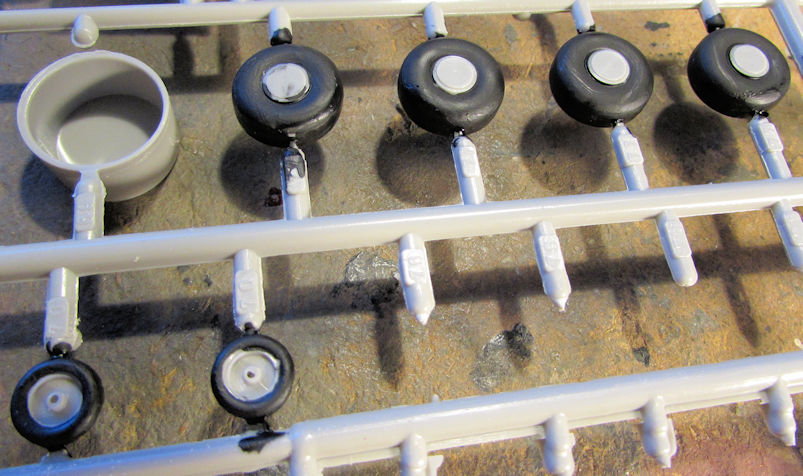 I them realized on the instruction sheet that there were two version options on this plane in the kit. Using Google Translate on my phone, which told me to "paint [certain part} the color of the woman"(?!) I managed to somehow decipher enough "code" to determine which step was for which version. I had to cross certain steps out and edit the sheet to insure I don't mess this up too badly: 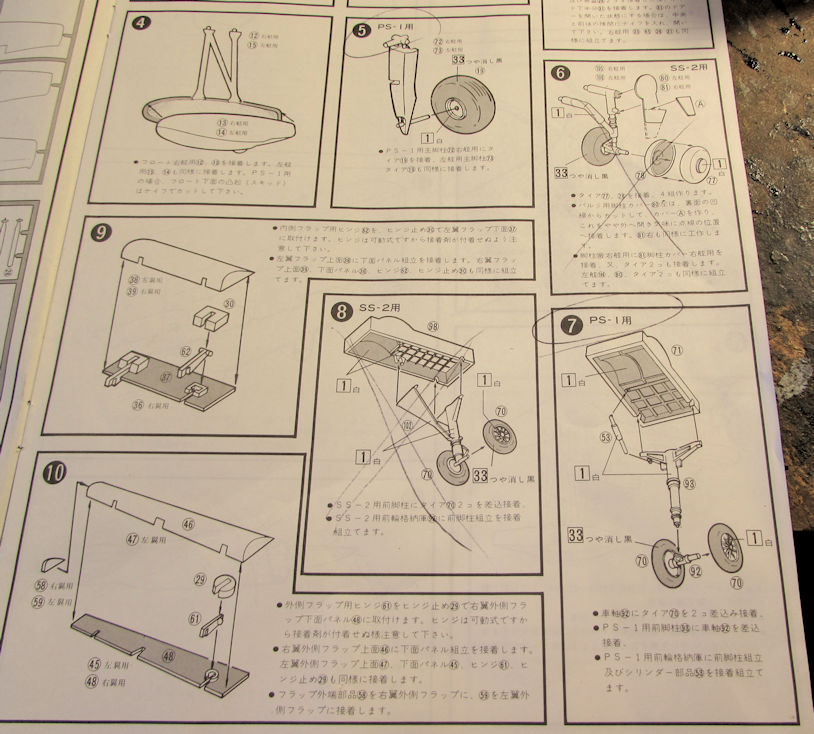 Moving on, I then assembled some more parts: 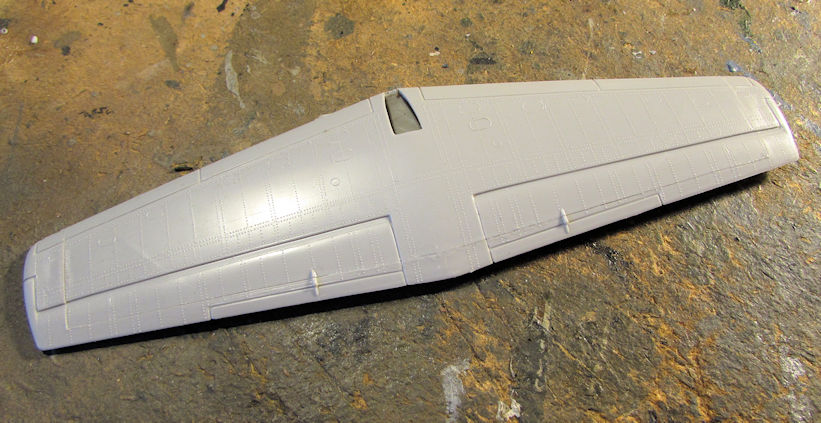 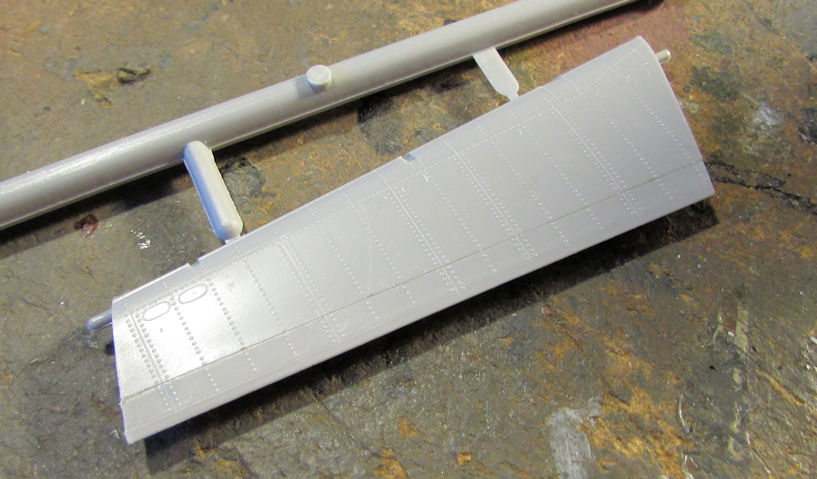 That's as far as I got with that. I then pulled out my Redstone rocket and masked off the base where it needs to stay black: 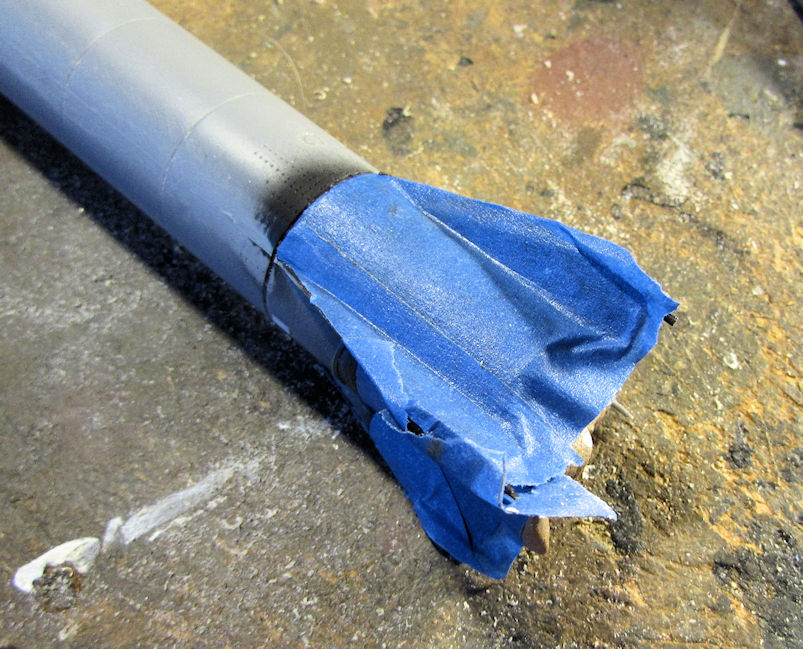 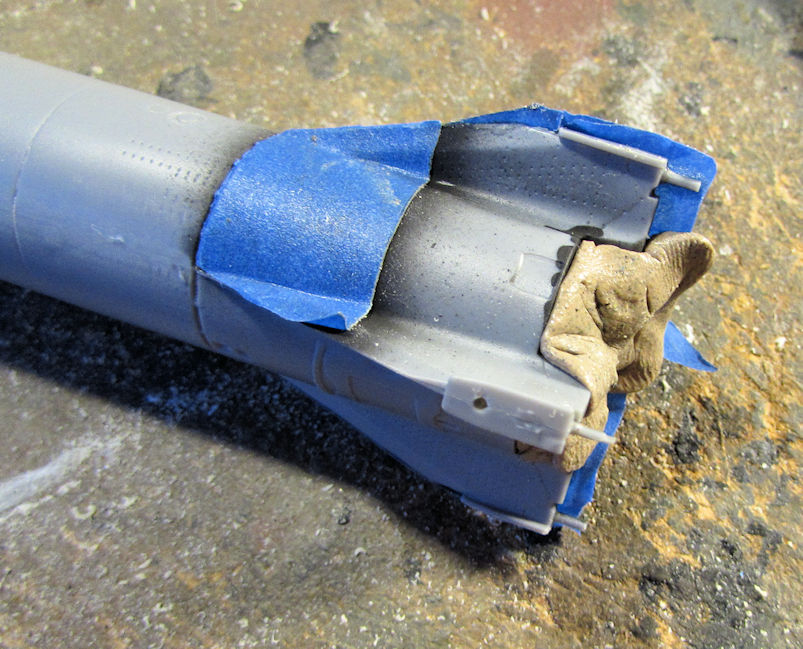 I spent some time trying to polish this as well. Speaking of trying to polish, I spent quite a bit of time sanding the Mr. Surfacer and smoothing out the seams on my Atlas rocket: 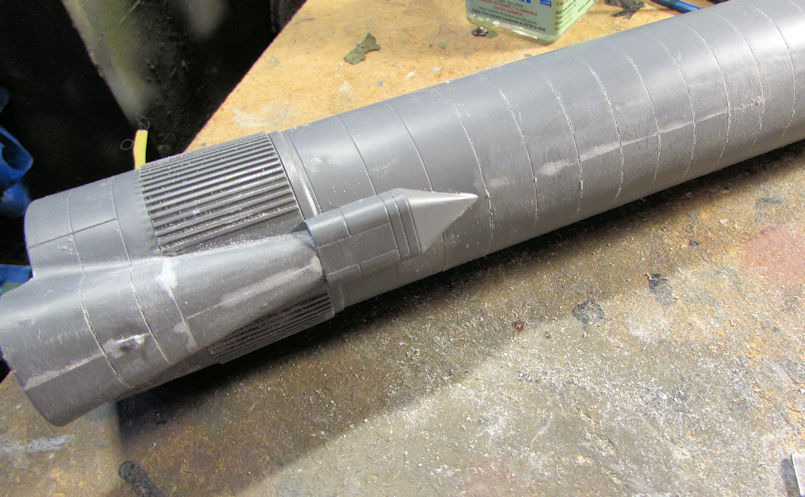 I took some time to make sure the lines were still scribed out: 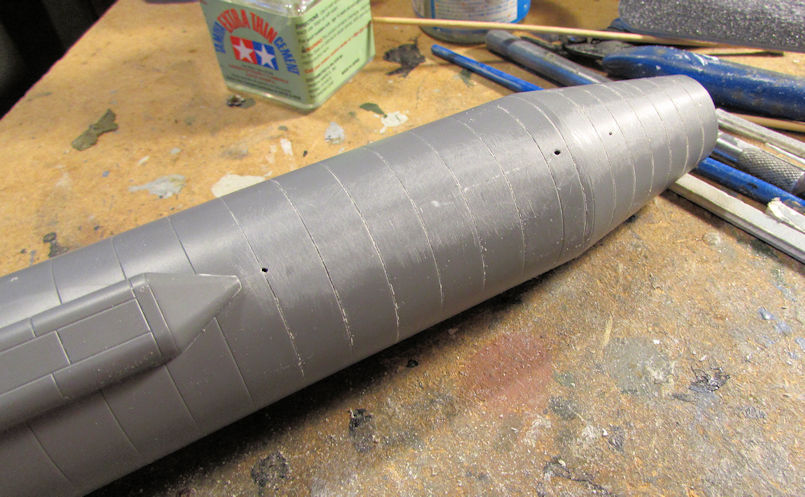 This part was the toughest: 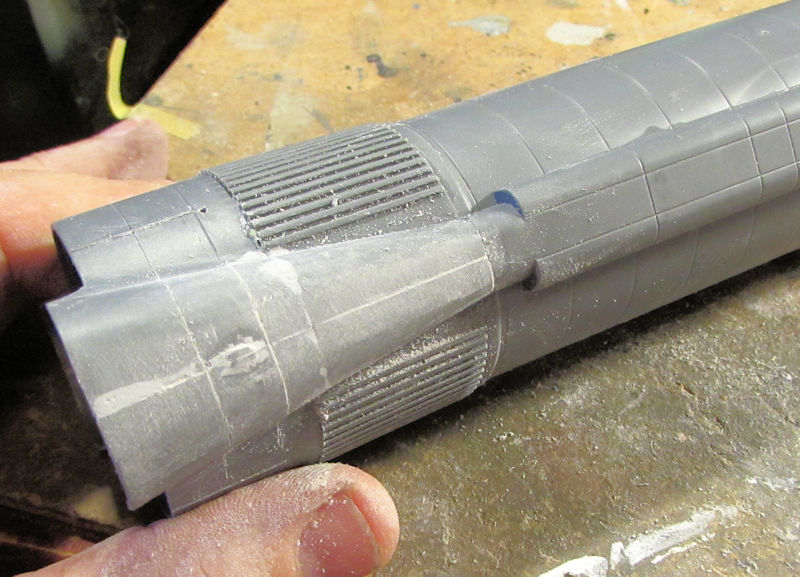 I made some progress in smoothing this out quite a bit, but I still have a long way to go to make this smooth enough for a metal finish: 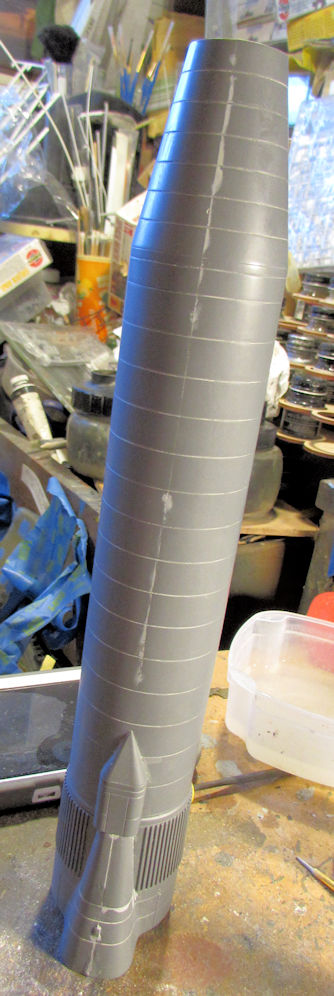 My last little aircraft is an unusual kit I found of a Russian Troop carrying glider. I never knew they had them! I started with the interior. The two upright squares were for holding the benches, but since the benches wouldn't be seen, I decided to leave them off: 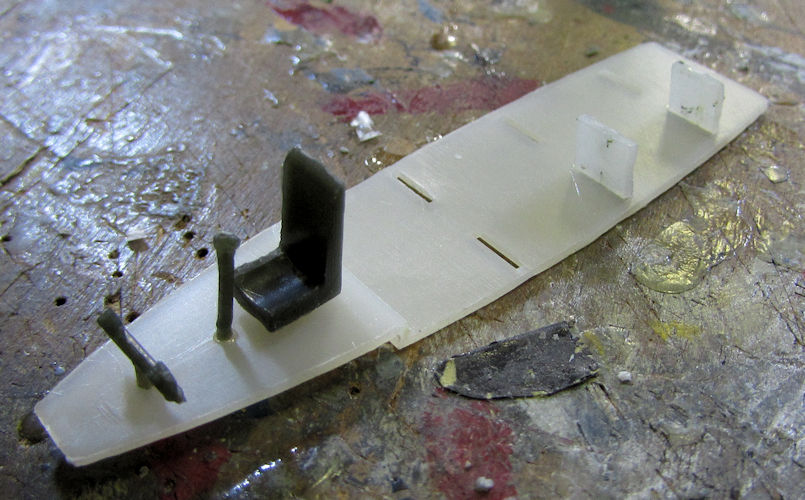 I then added the small windows and side doors to the fuselage halves. Here's a shot of them and the rest of the sprues: 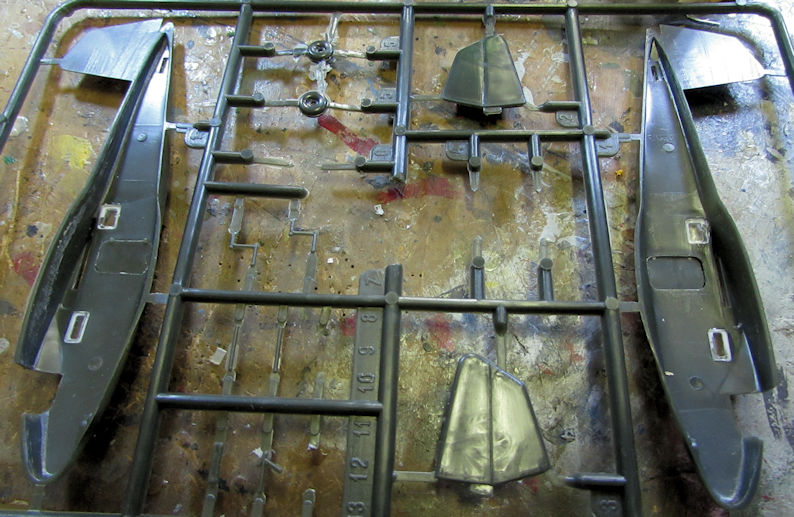 I then assembled the wings. This plastic is interesting; fusing almost instantly with Tamiya Extra Thin. I don't really know why they used two different types of plastic: 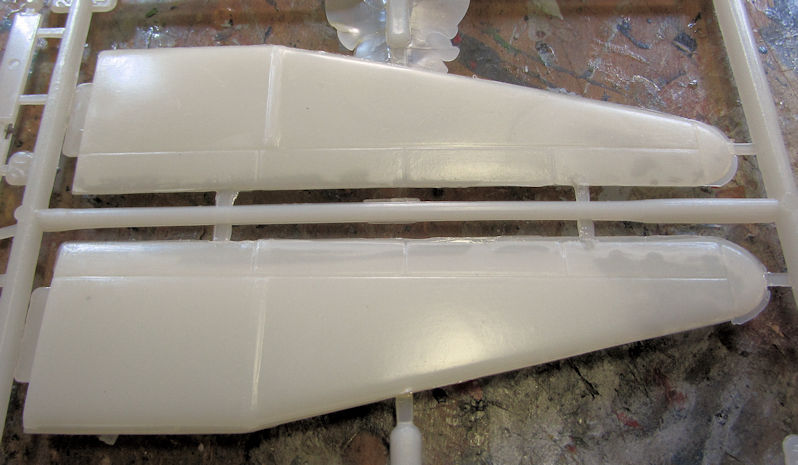 I finally painted the interior of the fuselage and then assembled the fuselage together and added the tail feathers: 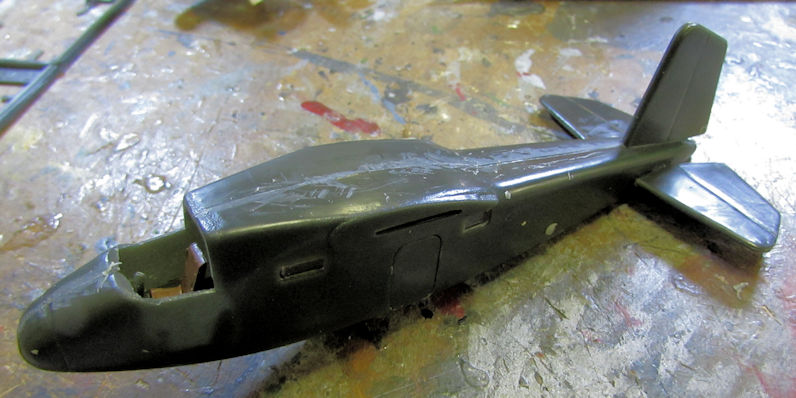 I found that the fuselage halves were molded differently and didn't match the line of the canopy so I sanded it to form: 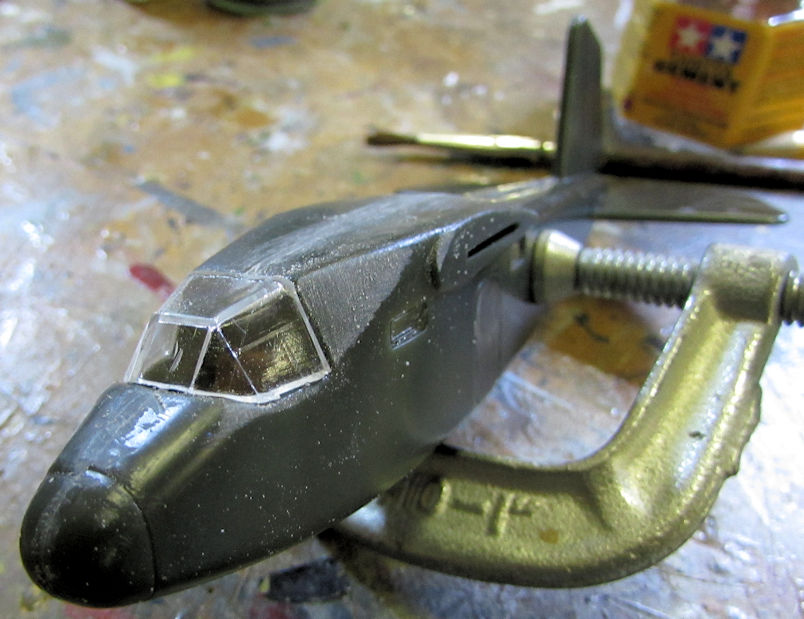 That's all my aircraft progress, now to show my armor. But first, here's some buildings/structures I was working on first. The base of the turret was primed with a grey primer to see how well I covered that seam. I'm not that happy with it: 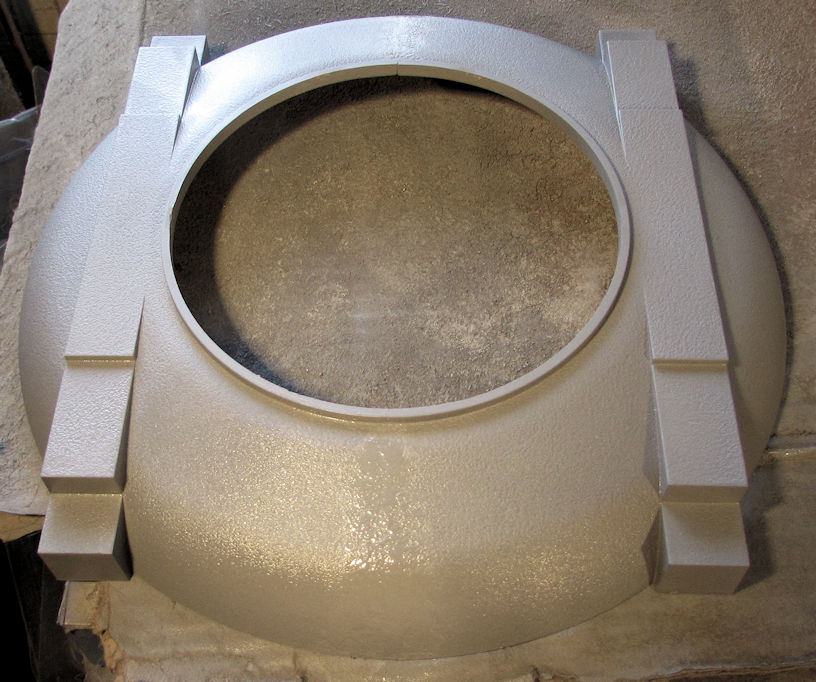 I then pulled out the church and started to seal up the seams along the walls and the base and all the corners with acrylic putty: 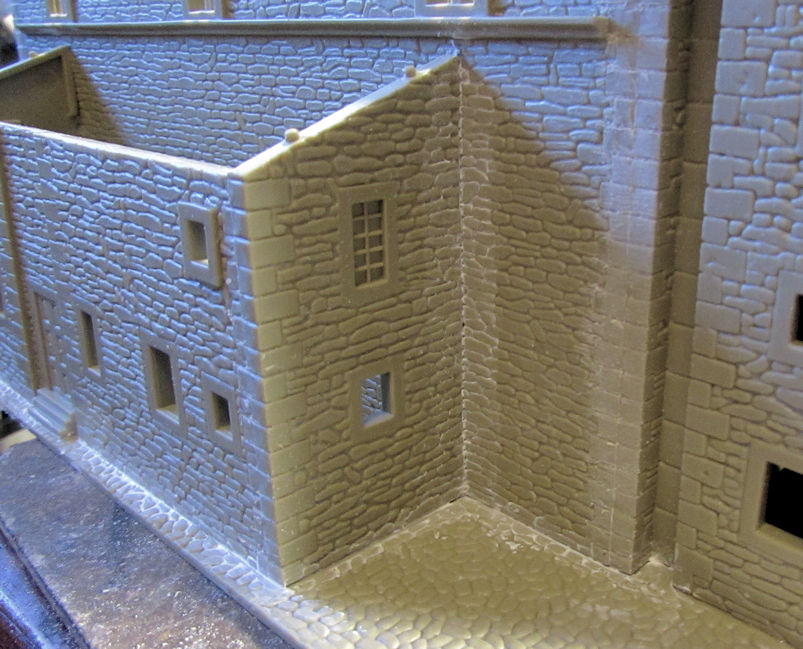 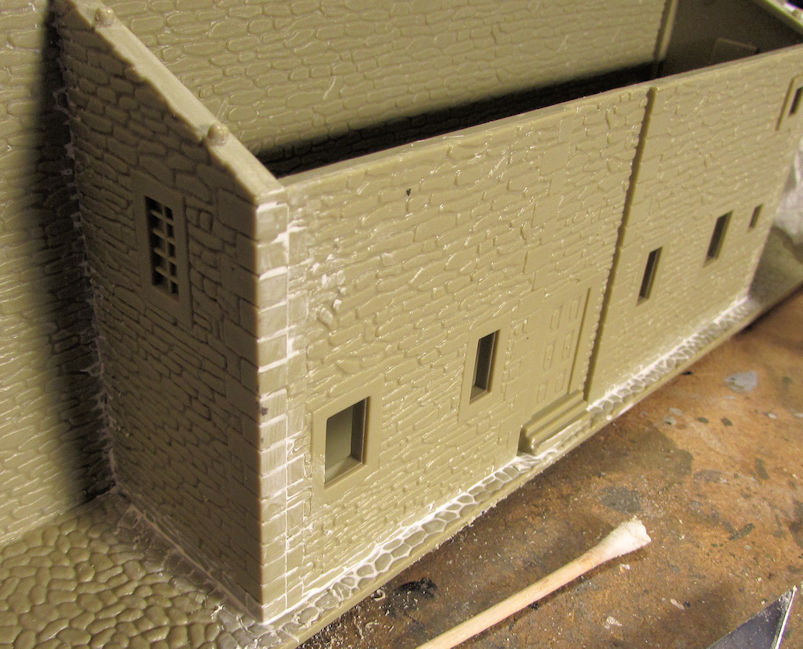 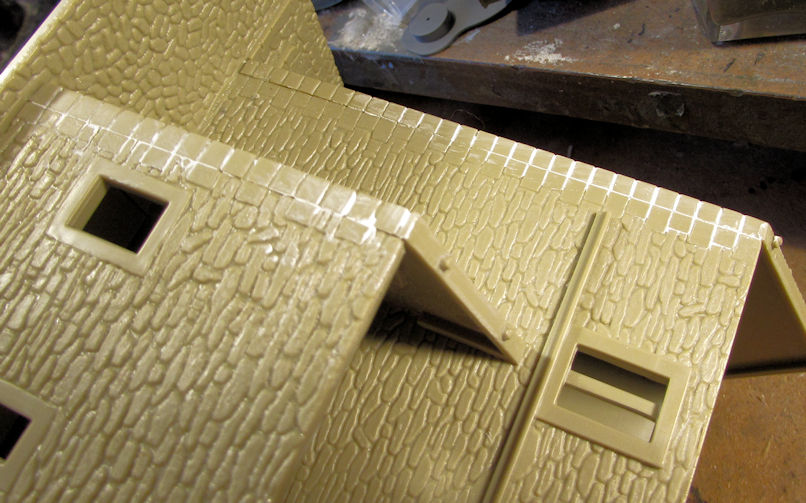 After all of that, I shot a grey primer all over the church too: 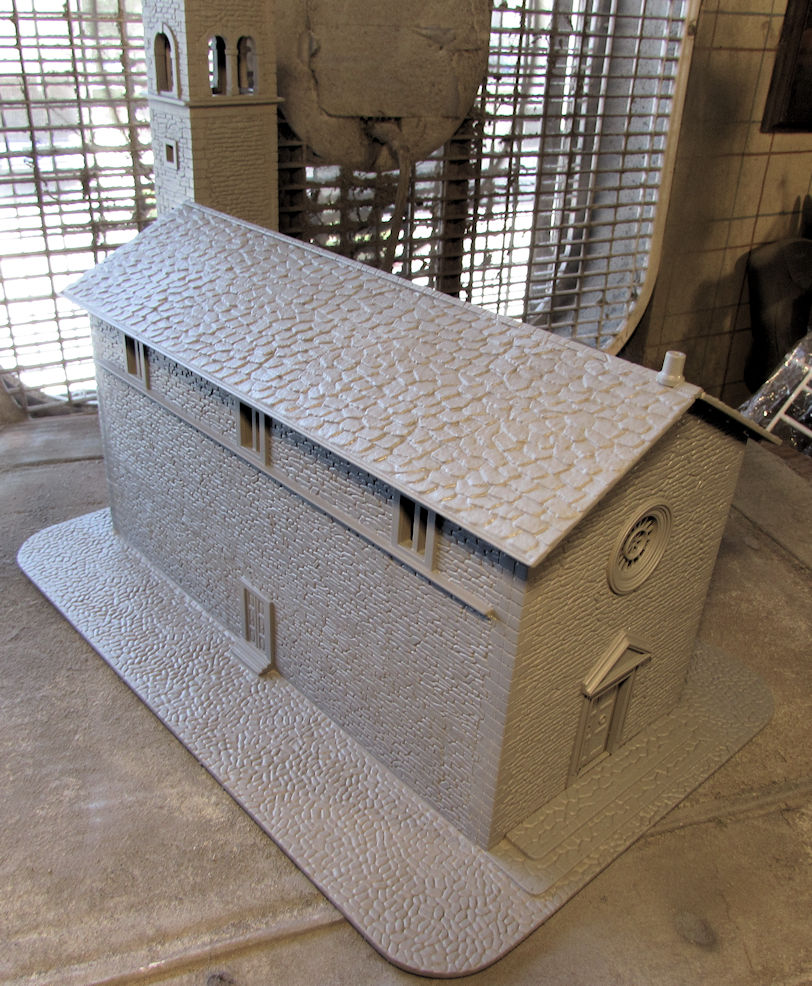 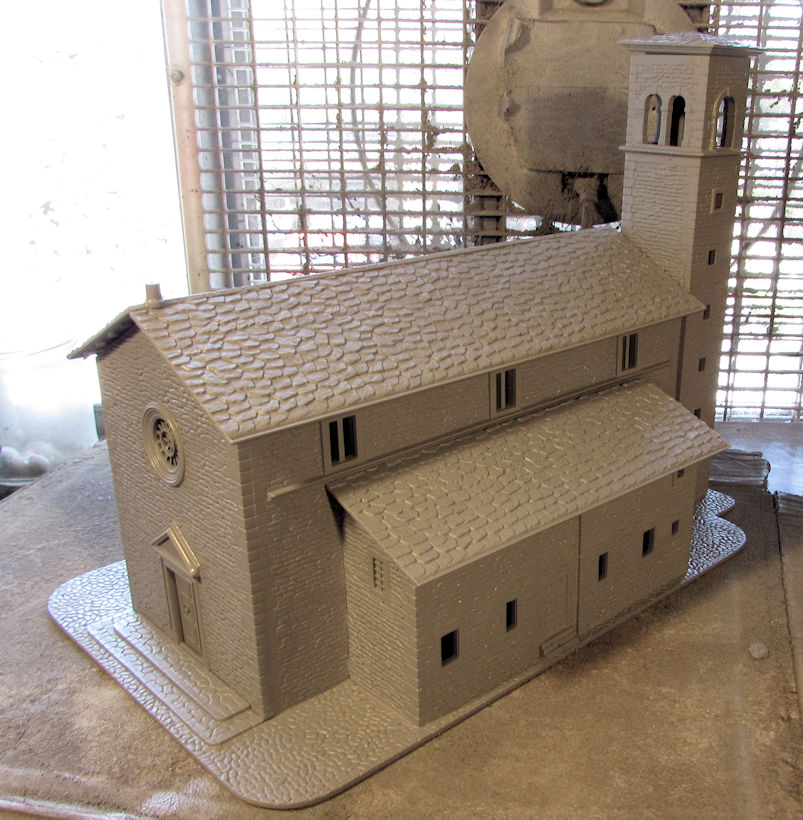 I did notice the roof of the belfry is propped up. That's the let the bats out. I also ordered a brand new cross for this from my church's bookstore/gift shop. I expect to have it in sometime two weeks from now. Finally, I decided to make some extensive progress on my George Creed commemorative build. I assembled the cab, adding the photo etch to it too: 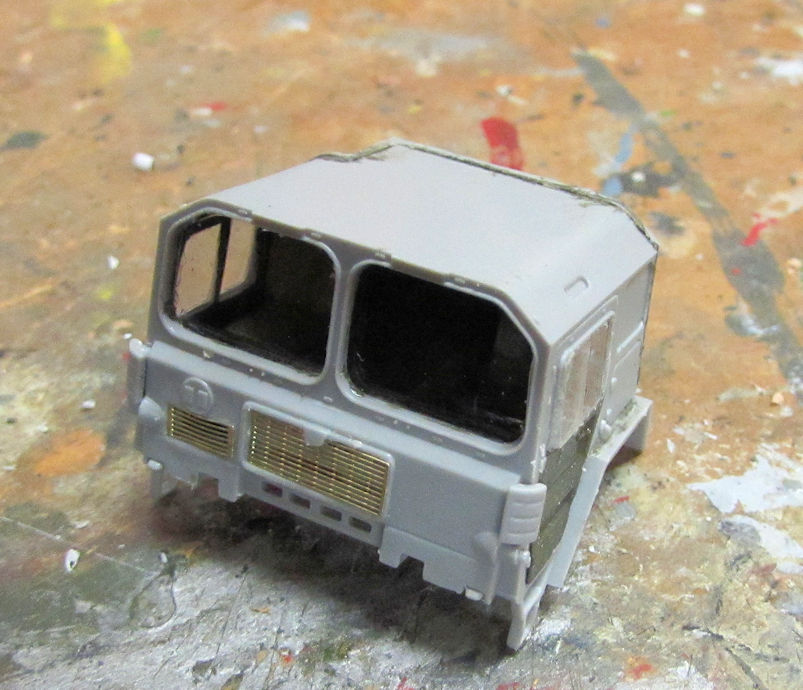 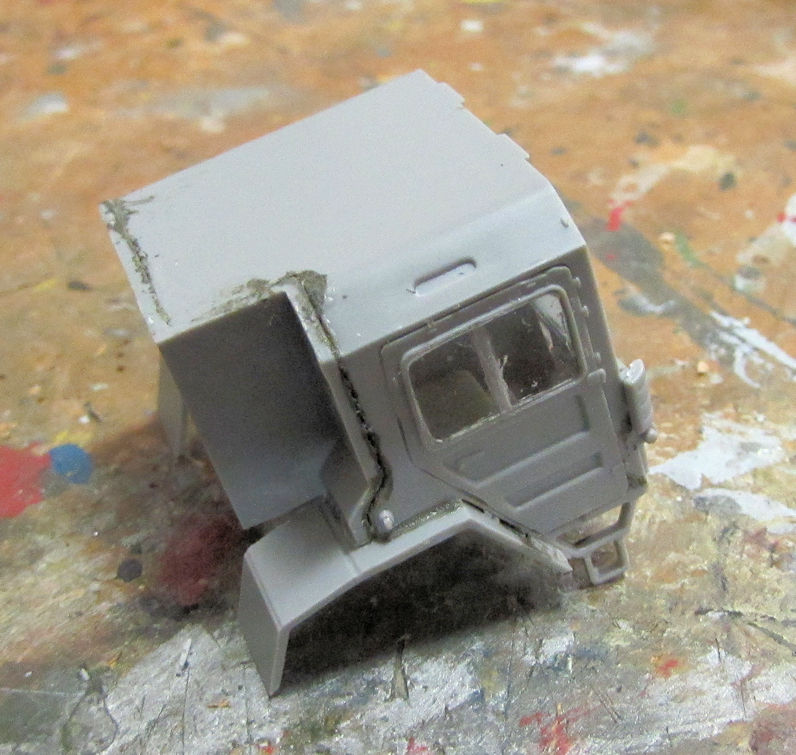 Next I added the photo etch to the chassis and finished with a few more final detail parts: 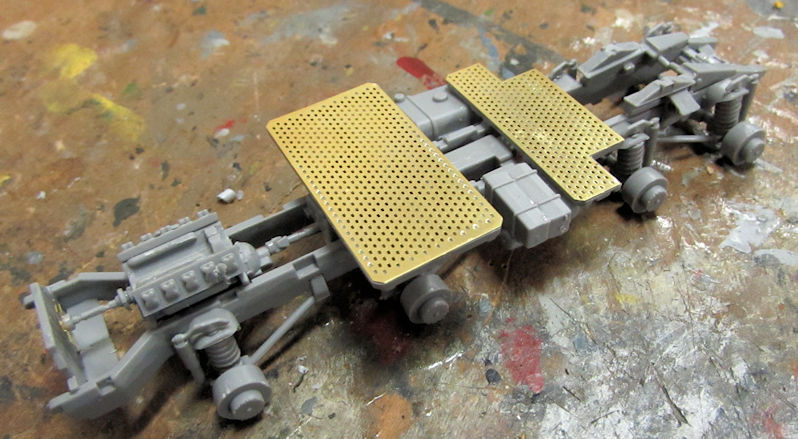 Here's a shot of the cabin dry-fit to the chassis: 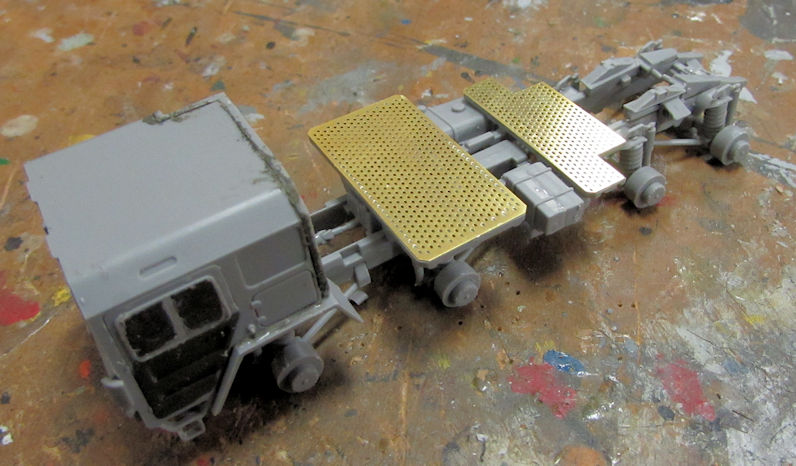 I moved on to assemble the crane for this and later on I added that and other parts to the chassis and cab, dryfitting everything together: 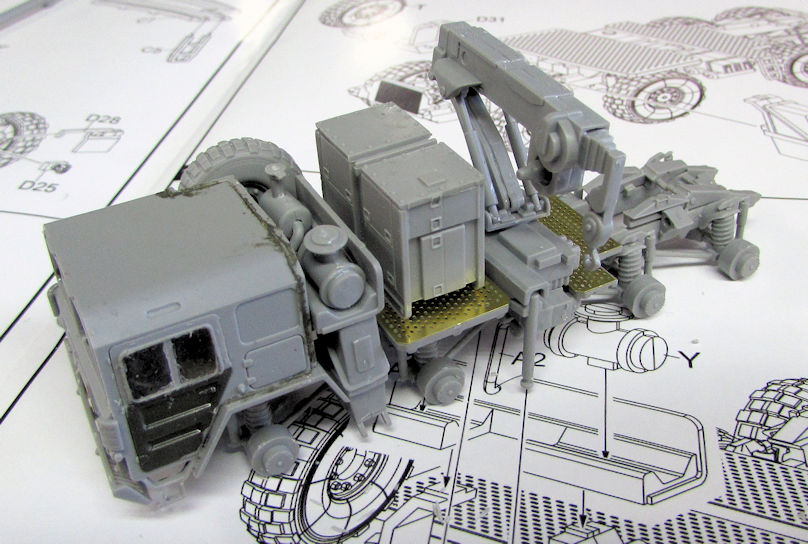 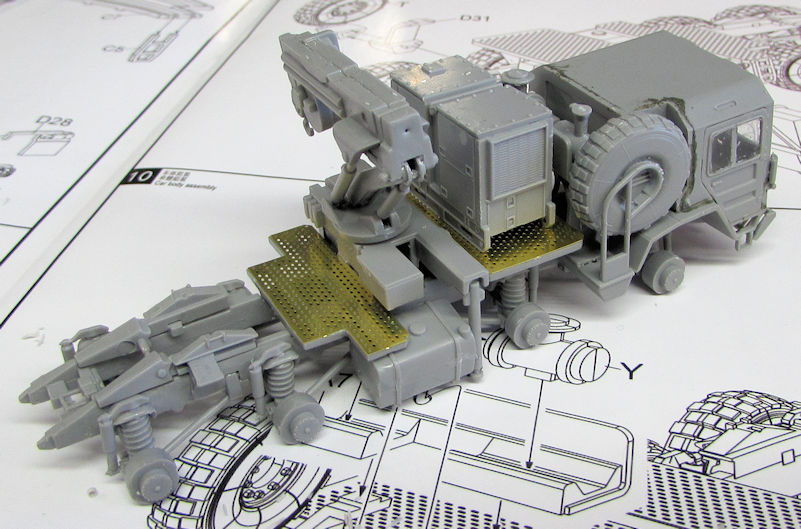 Finally I finished the assembly of most of the trailer; adding the side platforms and other detail parts: 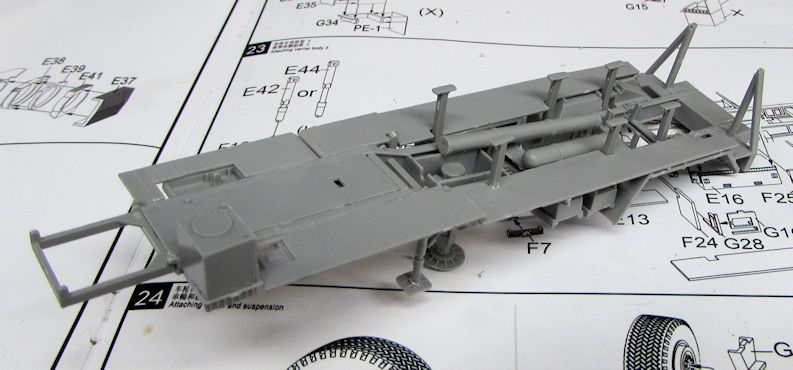 After that I decided to dry fit the Pershing to the trailer to see how it looks: 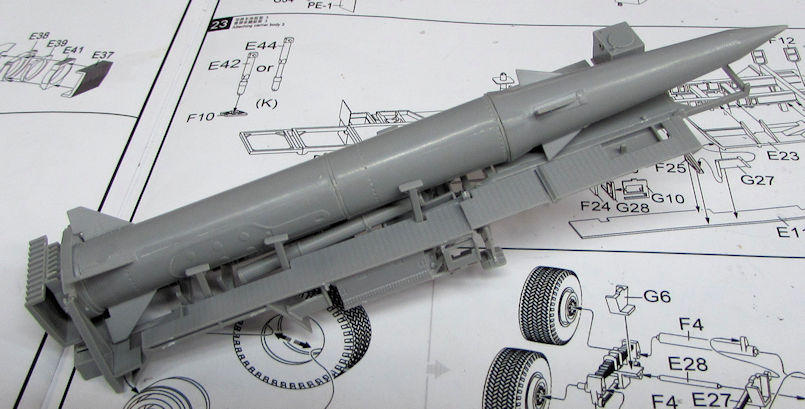 That's all I had for this week. I don't know if I'll be able to get anything done the next few weeks with all the work I have and the very high temps coming our way. Thanks for looking in, comments are welcome. |
|
|
|
Post by JCON on Jun 10, 2019 17:02:53 GMT -6
You've been a busy boy Mark!!! Nice productive time at your bench!!!
|
|
|
|
Post by BUCKY on Jun 11, 2019 10:05:18 GMT -6
I bet those MINIONS are pooped! Great progress on a lot of projects!
Don't forget the COKE truck!
|
|
|
|
Post by JCON on Jun 11, 2019 10:59:41 GMT -6
I bet those MINIONS are pooped! Great progress on a lot of projects! Don't forget the COKE truck! Yeah don't forget the Coke Truck you two!!! |
|
|
|
Post by Dukemaddog on Jun 11, 2019 15:36:25 GMT -6
Thanks Joe and Bucky! Been working hard on moving some of these forward. And no, I'm not forgetting the Coke truck; I did finish off the suspension for it so it should be moving forward some later when I have more time. I just didn't shoot pics of the Coke truck since so little was done.
Don't know when I'll be getting more done, but keep watch anyway.
|
|
|
|
Post by JED on Jun 12, 2019 13:49:49 GMT -6
Some great and busy stuff going on Duke
|
|
|
|
Post by Dukemaddog on Jun 12, 2019 15:34:12 GMT -6
Thanks Jed! Got to find time to get more done.
|
|
|
|
Post by dogfish7 (R.I.P.) on Jun 13, 2019 9:27:22 GMT -6
Don't know how you do it Duke.
|
|
|
|
Post by JCON on Jun 13, 2019 10:21:50 GMT -6
None of us do!!! LOL!!!  |
|
|
|
Post by Dukemaddog on Jun 15, 2019 10:57:30 GMT -6
Thanks Bruce! Lately, I'm not doing it. Too many jobs taking time away. I ain't complaining; I surely need the money. Maybe in a couple weeks I'll have a little time.
|
|
MARCO
ROLLING ON
  BRAZILIANAIRE
The man from the south
Posts: 782 
Likes: 1,911
|
Post by MARCO on Jun 17, 2019 4:55:09 GMT -6
You never stop as usual   And make great works too (as usual)! |
|