|
|
Post by Dukemaddog on Oct 16, 2019 13:01:27 GMT -6
Thanks Bruce! Yes I did and I'm thrilled to have gotten this much done.
|
|
|
|
Post by JCON on Oct 16, 2019 13:40:57 GMT -6
Excellent job!!!
|
|
|
|
Post by Dukemaddog on Oct 17, 2019 13:29:18 GMT -6
Thanks Joe!
|
|
|
|
Post by JED on Oct 21, 2019 0:18:18 GMT -6
When The Duke starts there ain't no stopping him 😂😂
|
|
MARCO
ROLLING ON
  BRAZILIANAIRE
The man from the south
Posts: 782 
Likes: 1,911
|
Post by MARCO on Oct 21, 2019 9:08:37 GMT -6
Nothing nor nobody can stop him!  |
|
|
|
Post by Dukemaddog on Oct 21, 2019 12:12:12 GMT -6
Thanks for the vote of confidence guys! Yes, something can stop me: work that has a long commute. That and a long drive to the IPMS Nationals. Lately I haven't had that but I do have one coming up soon. Until then, stay tuned; I might have more to show soon.
|
|
|
|
Post by Dukemaddog on Oct 31, 2019 17:57:36 GMT -6
Well, after another week and a half, I have a good bit more progress done. It's been a good week so far. Here is the latest progress I got done, starting with my aircraft. The Shinmeiwa was getting on my nerves so it was pulled out to move it along. I started with the inner flaps, trapping the hinge pieces inside with caps. You can see here where I had to improvise when one cap disappeared: 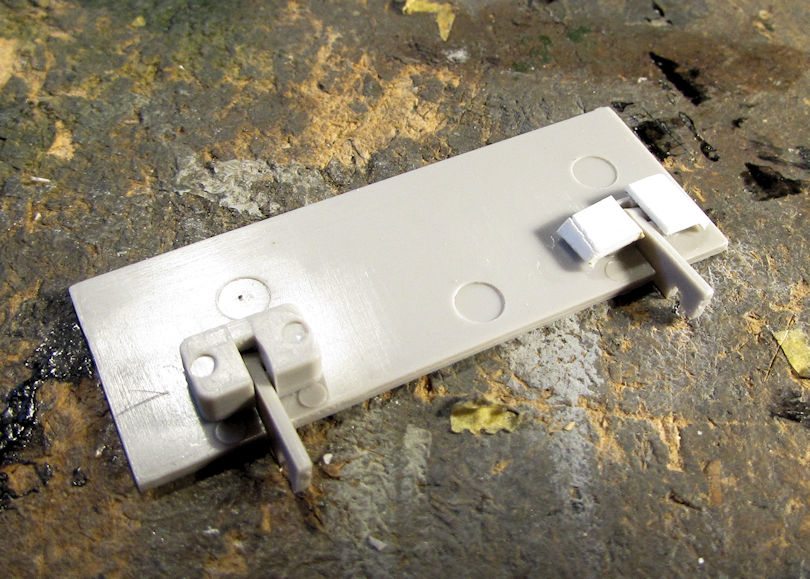 I then got the inner flaps assembled: 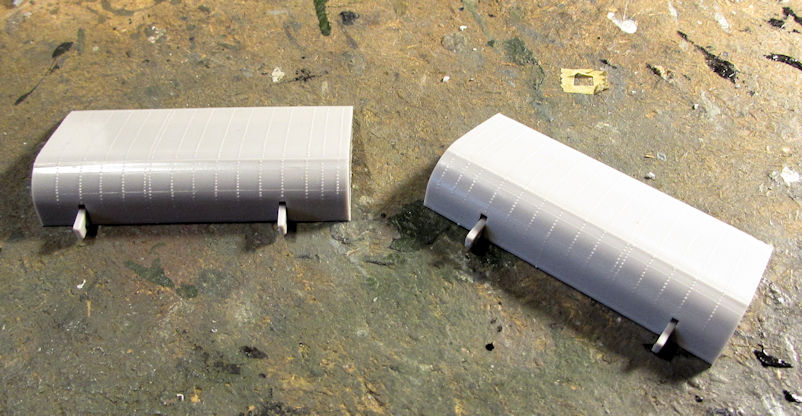 The outer flaps were assembled afterward the same way: 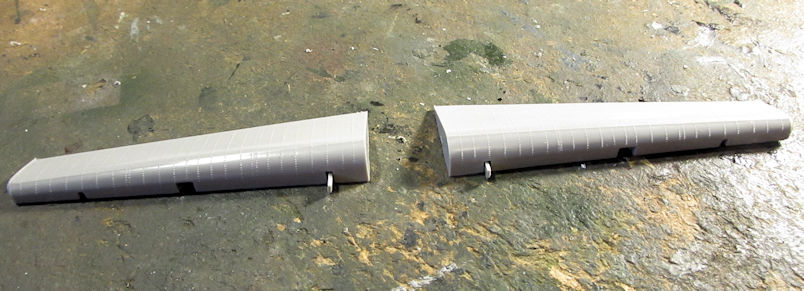 Then they were all dry, I trapped them inside the two wing halves when I assembled the wings. They move quite well in there: 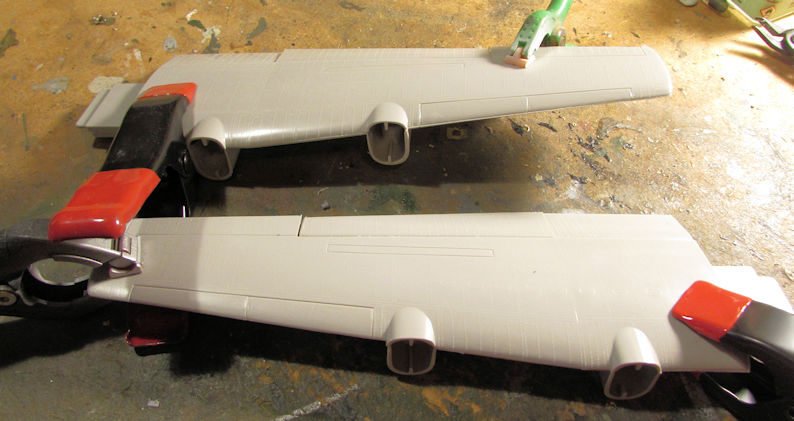 Later while looking at the instructions, I noticed that there were certain fuselage plates that had to be inserted and glued flush when the fuselage was assembled. Yet, there were no tabs or 'shelves' for the plates to sit on, making it too easy for them to fall into the fuselage. So, I glued some sheet styrene pieces to the openings to allow the plates to be placed in place without the threat of them disappearing inside the fuselage: 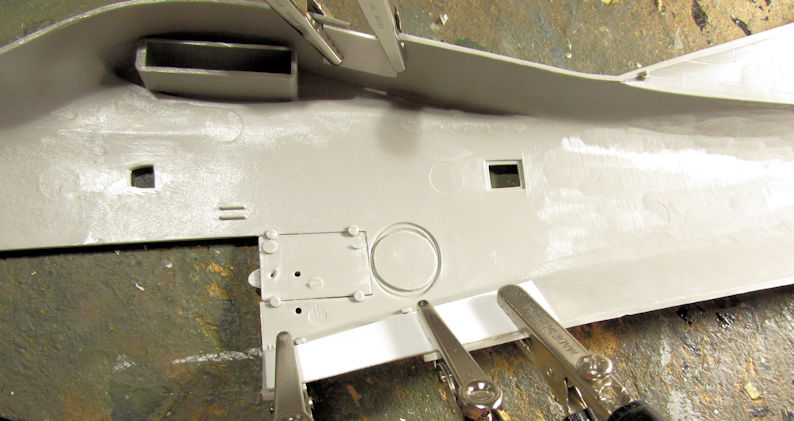 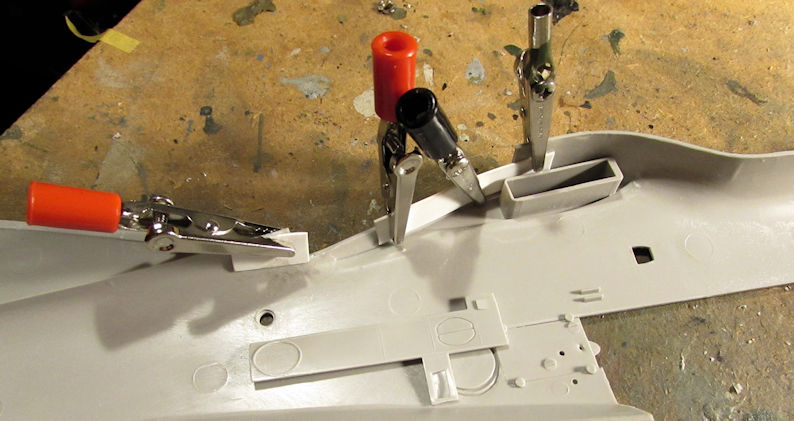 I was ready to move on by then. Because of Frank's fantastic Huey helicopter builds, I decided to bring out one of my two UH-1D's I'd gotten at the recent game convention and start it. This one has special markings for a German SAR bird that looked very cool, so I decided on that one. First step of course was the cockpit and interior: 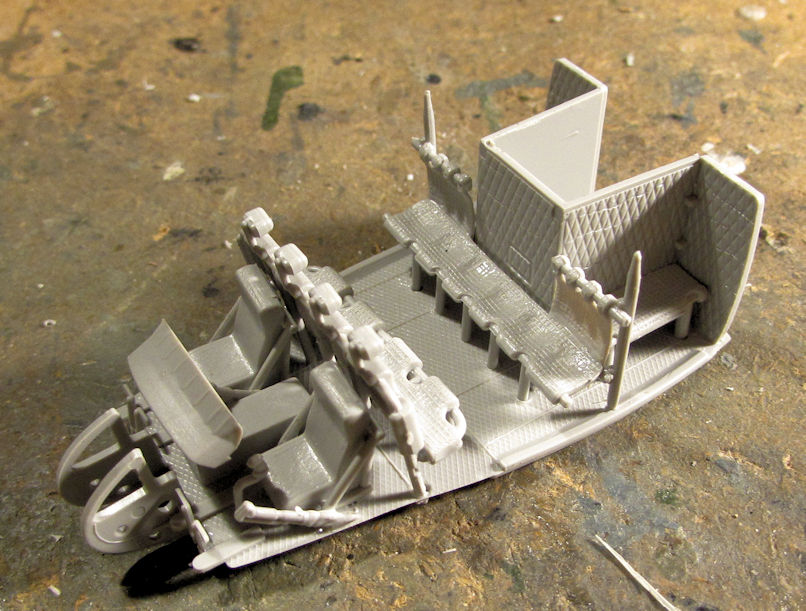 That was as far as I got before I started again on my armor. My first work on my armor was to assemble the main hull of the Terminator. Here it is with the side sponsons, hatches, and various detail bits on it: 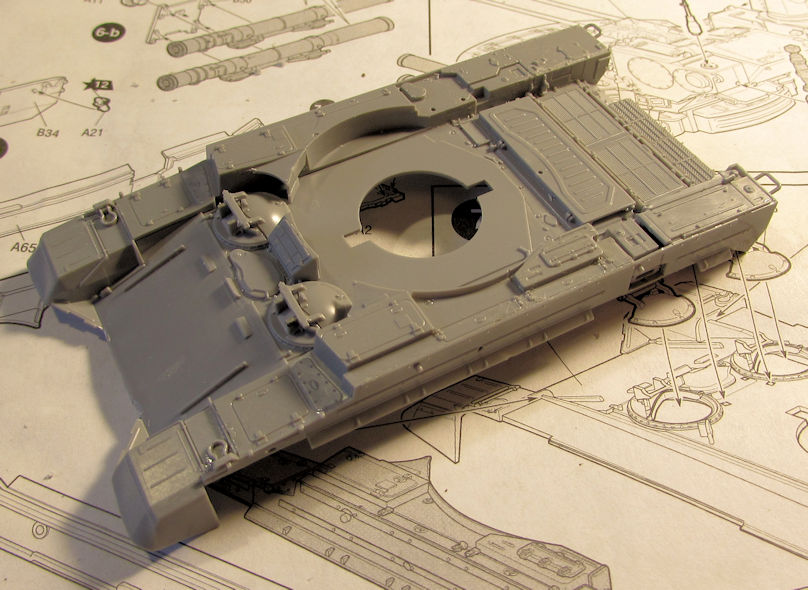 Next I test fit the turret onto this to see how well it turns. It turns well: 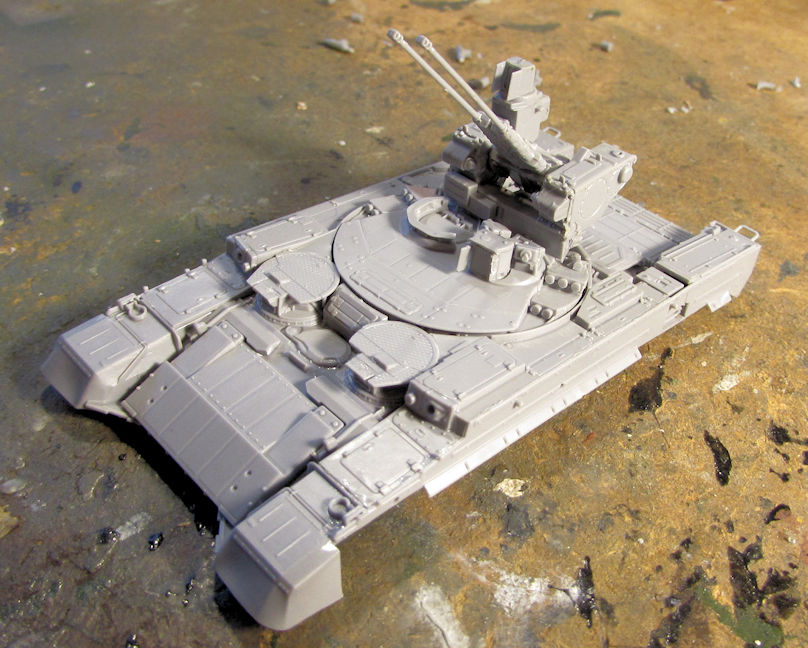 After that I assembled the five pieces of the lower hull: 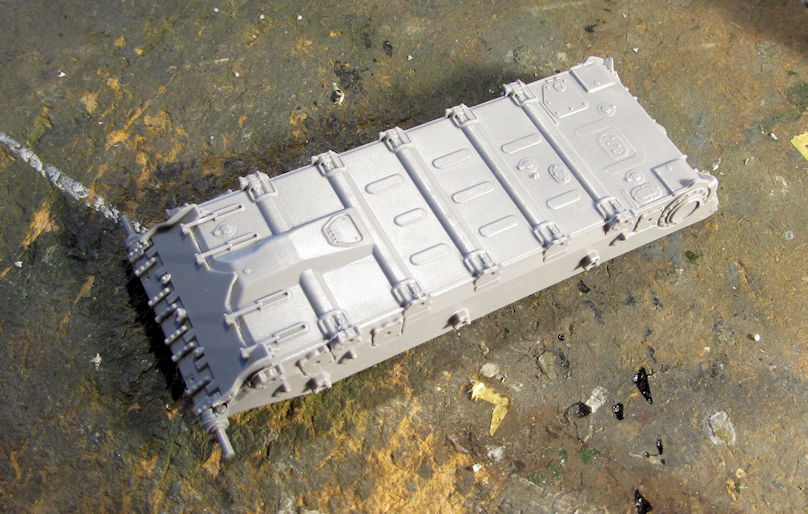 This thing is starting to look pretty good: 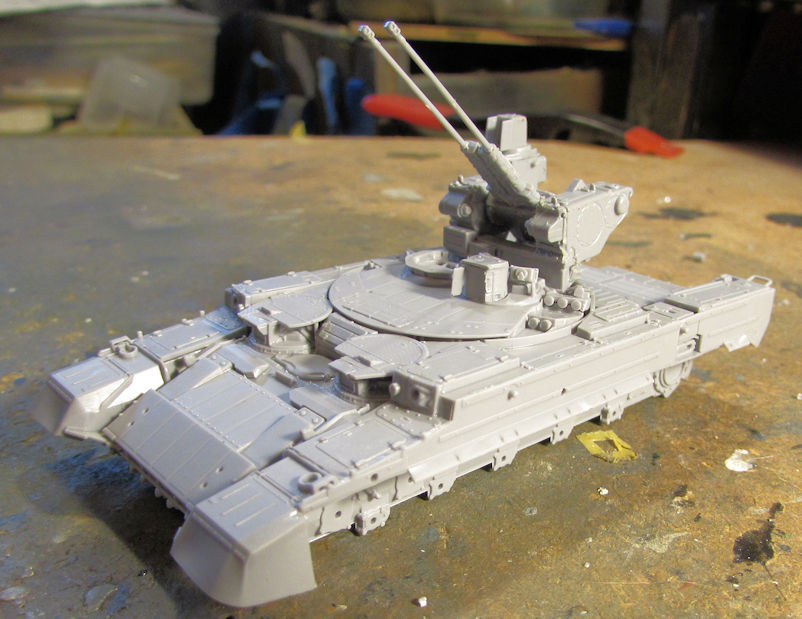 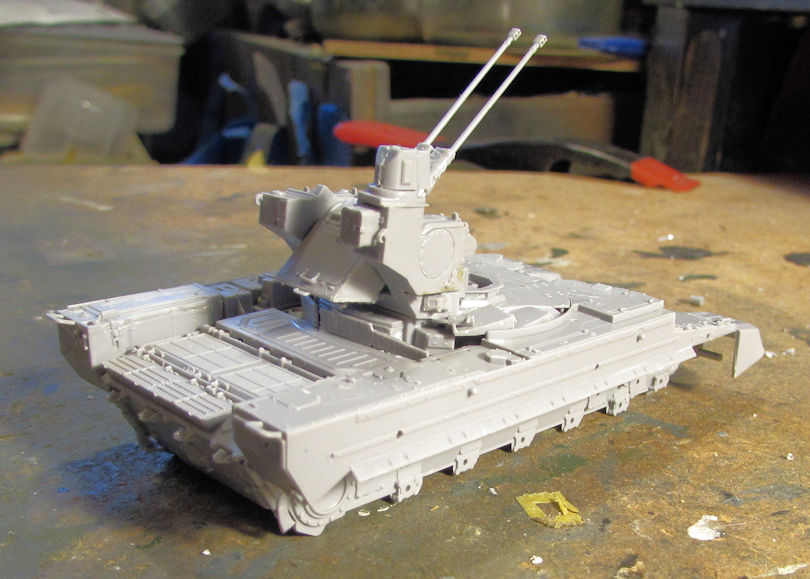 Next up, I decided to get back on my Bereg Coastal Defense Gun. I pulled out the parts to assemble the chassis and went to work, finally finishing when I got this much done: 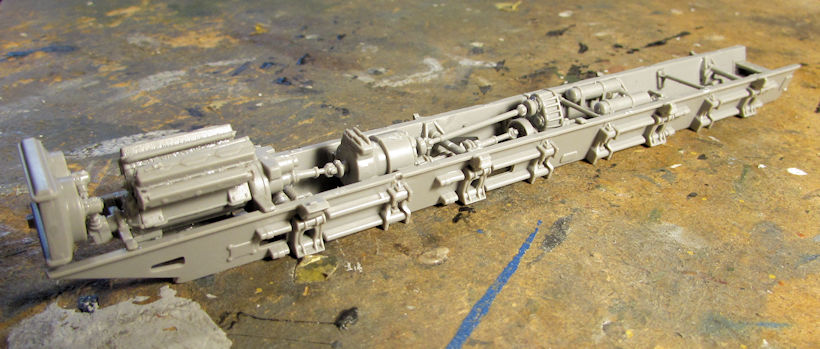 I then assembled the control cabin and floor, along with some bracing pylons: 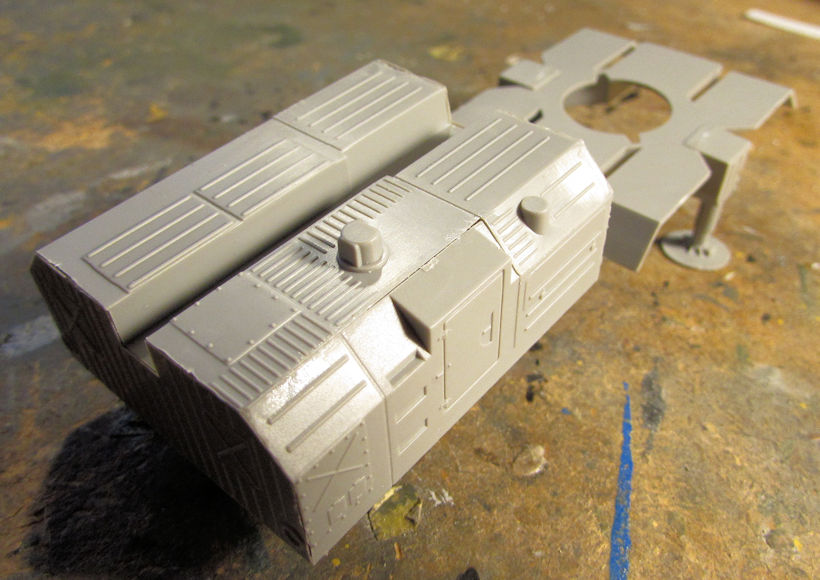 ...followed by the gun barrel to the turret: 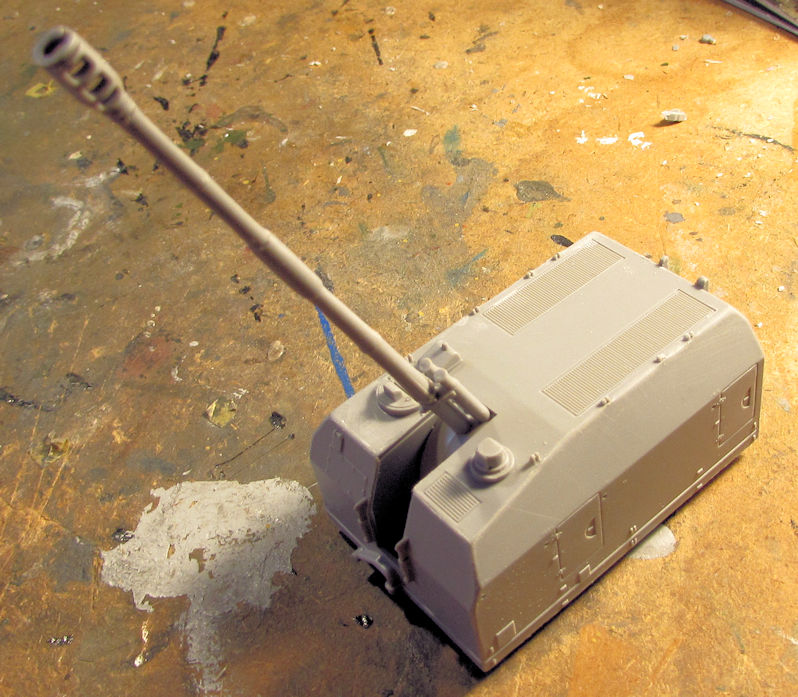 Here is the whole thing dry-fit together so far: 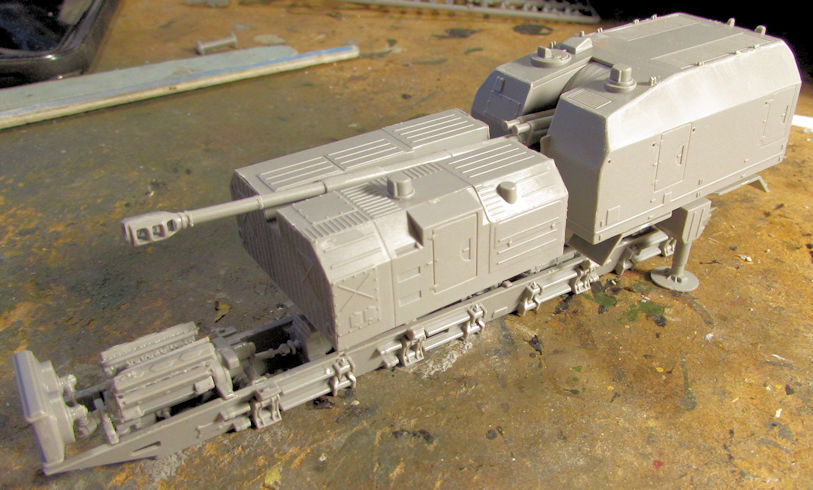 And then I realized, I have three other eight-wheeled Russian trucks I can build with the same chassis. That's when I got sucked in.... I pulled out another one, this time the MAZ Heavy Cargo Truck. I built that chassis: 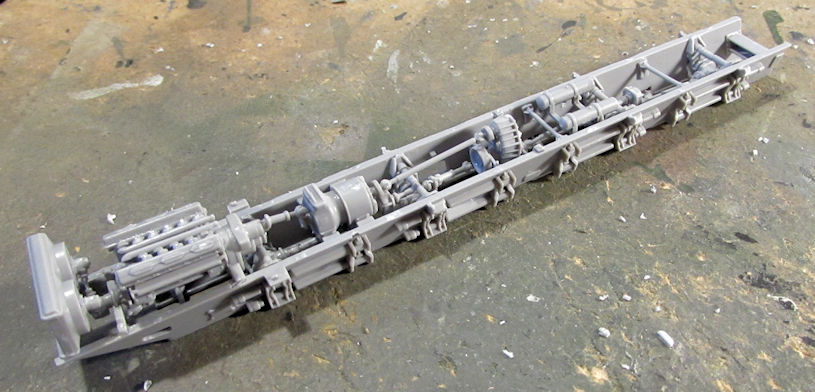 And then I built the cargo bed since it was so simple to do: 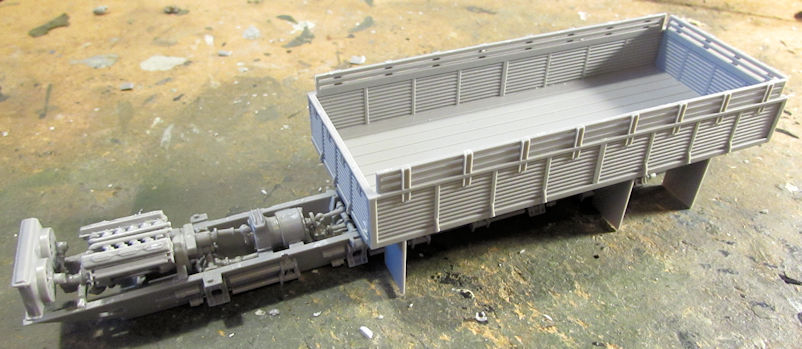 Next was the MAZ Command Post for the SA-10 Grumble SAM system. Yep, another MAZ chassis: 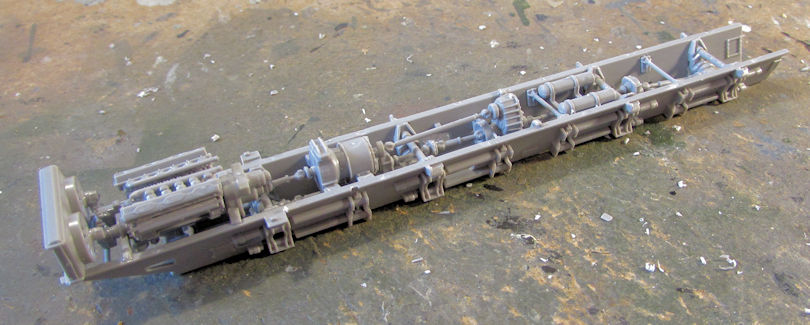 I then started the command post cabin. It wasn't as easy as the cargo bed, but still went together well enough: 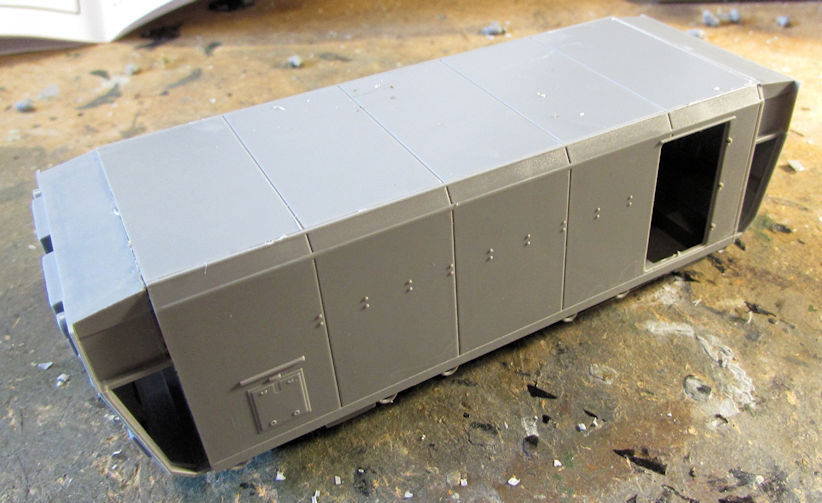 Still more to do on that but here it is dry-fit to the chassis: 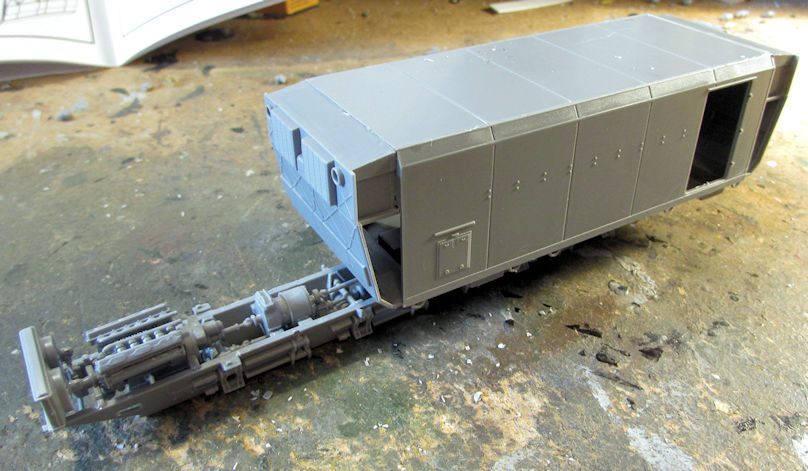 Oh, and here's another one! This is another MAZ chassis, but if you look closely; you'll see it is slightly shorter than the others. This one is for the MAZ Tractor pulling the trailer: 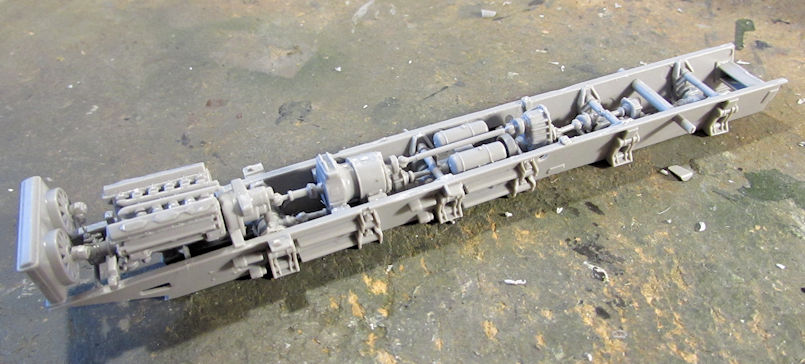 Since I had the tractor started, it was time to start the trailer too, so I assembled it to this stage. I have a few more detail parts to add before it's painted and then after that I'll add the wheels: 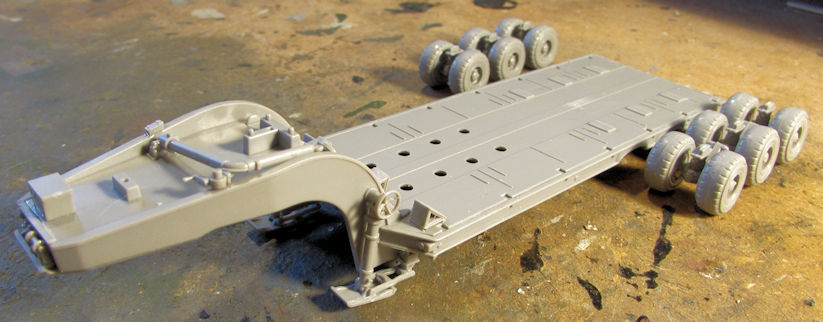 I then realized I had two more (at least) eight-wheeled Russian Trucks to do, but these were different trucks based on the KZMT series of trucks. I pulled out the first one, a KZMT Heavy Cargo Truck. Here's the completed chassis for that one: 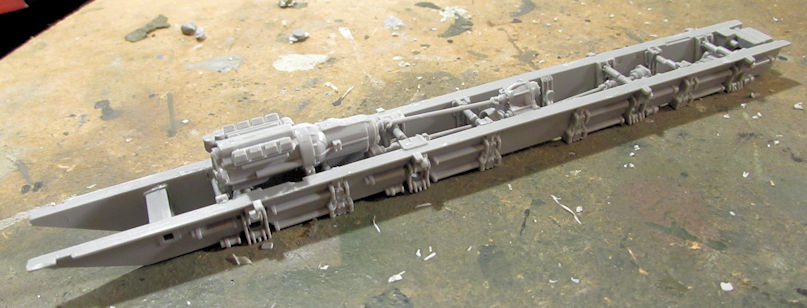 I then built the easy to assemble cargo bed again and dry fit it to the chassis: 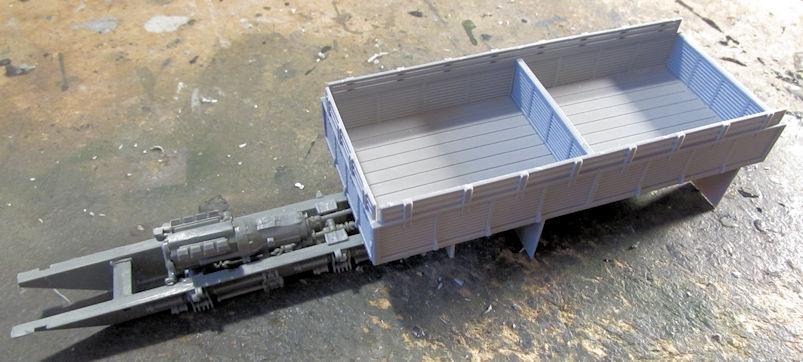 Last, I assembled another KZMT chassis; this one for the Iskandar missile system: 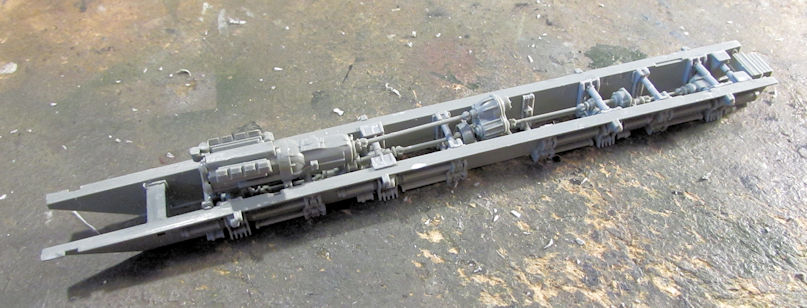 Just for fun, here are all the chassis all lined up for you to see:  This shot shows the extra sub-assemblies on them to show which one is for which truck: 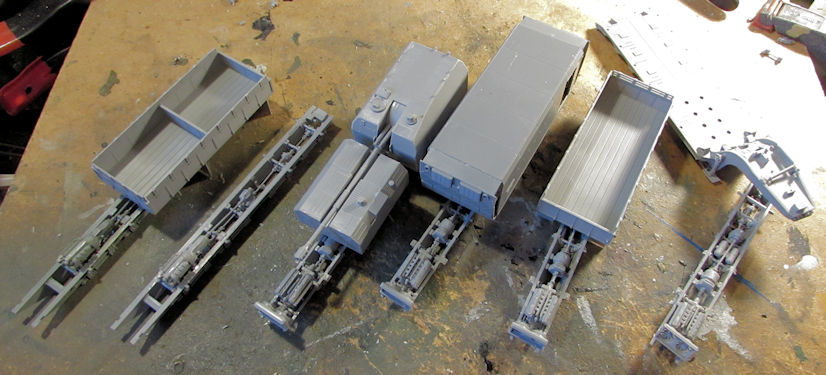 But wait! I started a seventh eight-wheeled truck. This last one is the AA-60 Fire and Rescue truck on the MAZ chassis. This model company kept it real simple though, here is the chassis assembly: 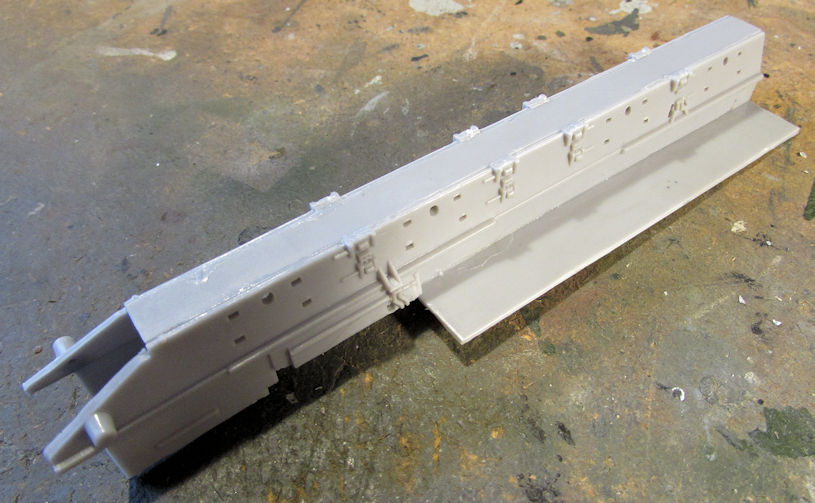 Well, I couldn't stop there. I had to build the rest of the rear body for this truck, but I started with the small cabin behind the driver's cab: 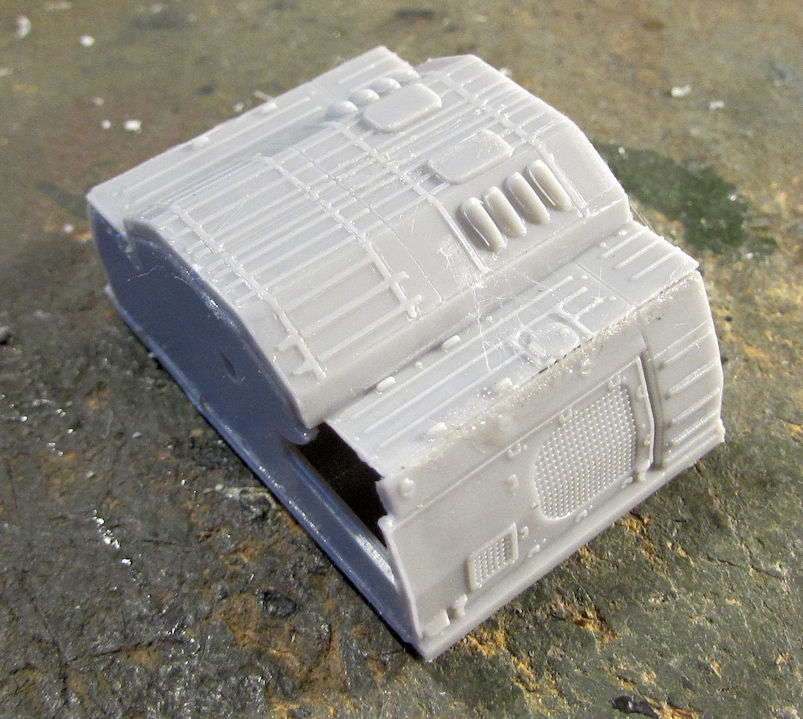 That didn't fit too well, but I moved on. Here is the rear body mostly assembled so far: 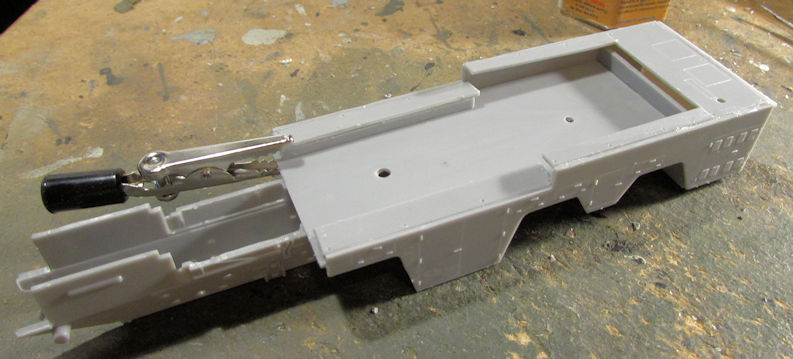 No need to worry about that gap in the back. It will be obvious why when I install this tank I also built: 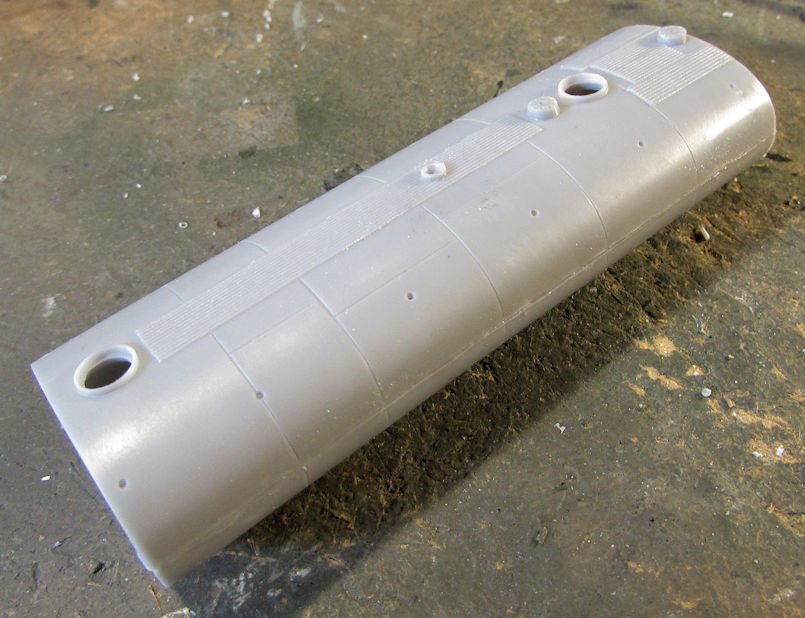 See? No gap, but there are other issues I will have to address. Still, this is looking quite impressive so far: 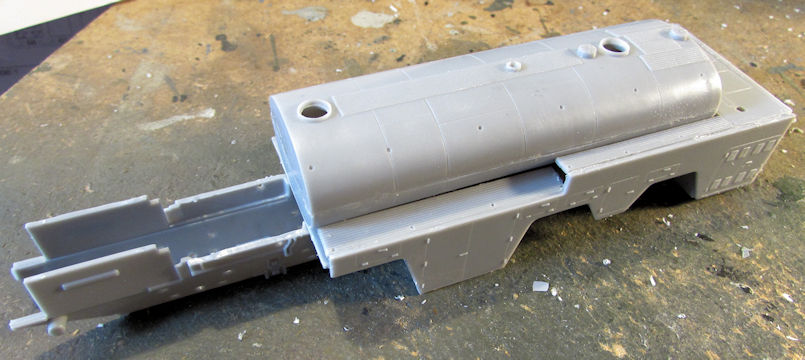 One of those issues was on the small cab; I got started on that one with some Mr. Surfacer 500: 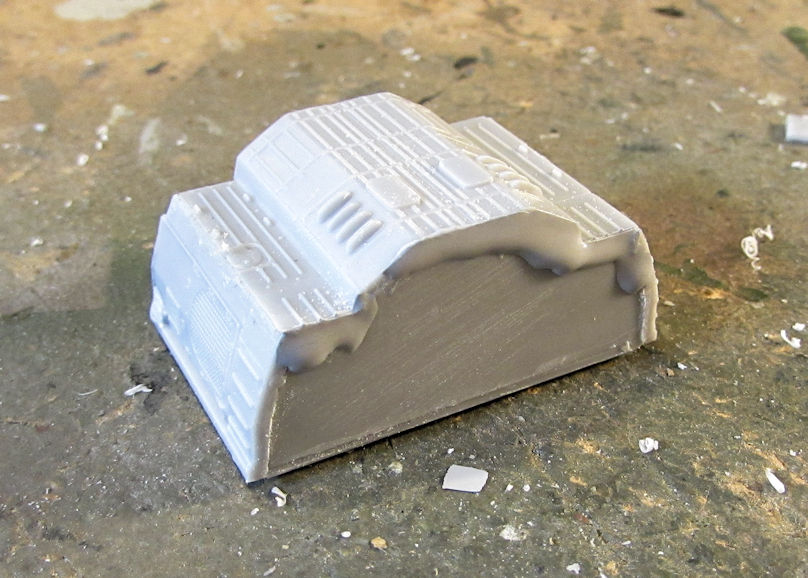 When that dries it'll be sanded down. That's when I decided I'd done enough till now. So, I shall end this update here and I hope you enjoyed the latest tour. Thanks all for looking in, comments are welcome. |
|
|
|
Post by JCON on Oct 31, 2019 19:04:34 GMT -6
Nicely done Mark!!!  |
|
Ernie
SETTLING IN
   Just goin' where the plastic takes me.....
Posts: 358 
Likes: 853
|
Post by Ernie on Oct 31, 2019 22:47:42 GMT -6
Wow! Very impressive and productive update! That is quite a line up of big trucks! I am looking forward to seeing them progress, especially the fire truck.
|
|
|
|
Post by RLFoster on Nov 1, 2019 5:10:47 GMT -6
Outstanding set of models in this update, Mark! Well done! I particularly love the Terminator...that thing just looks mean.  |
|
|
|
Post by Dukemaddog on Nov 1, 2019 11:22:46 GMT -6
Thanks for the awesome replies guys! Robert, I agree, that Terminator does look mean! Ernie, the fire truck is going quite fast, I hope to be shooting paint soon.
|
|
|
|
Post by Dukemaddog on Nov 18, 2019 11:27:43 GMT -6
Here is my latest progress done at Hobby Day and a few days before and after. I was very happy with how much I got done. I'll start with my aircraft; or in this case, helicopters. I finished painting the interior for the HUP-2, so once I get the windows in the fuselage, I'll be able to close this little bird up: 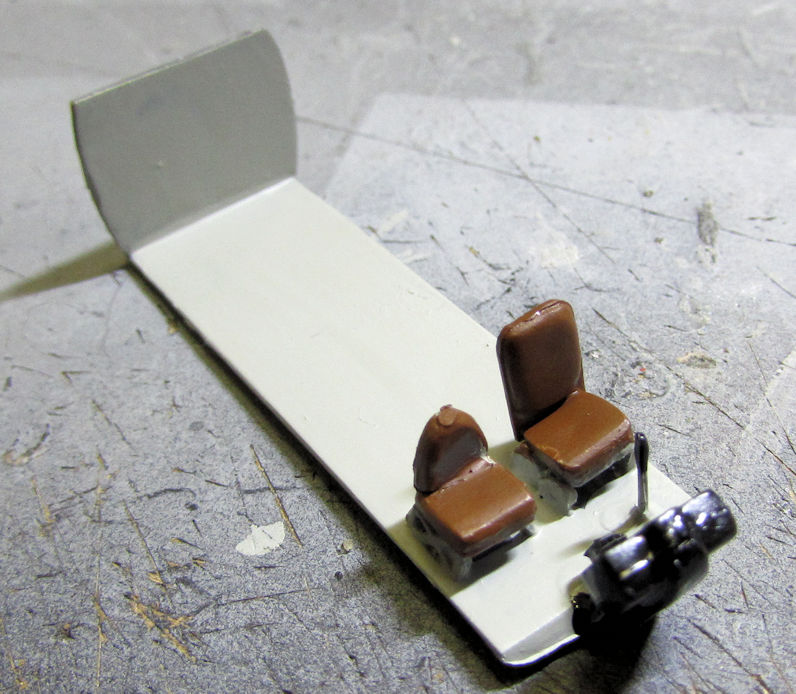 I also got the interior painted on the Huey Hog. This one will be able to be closed up after I apply the instrument panel decals and then install the windows as well: 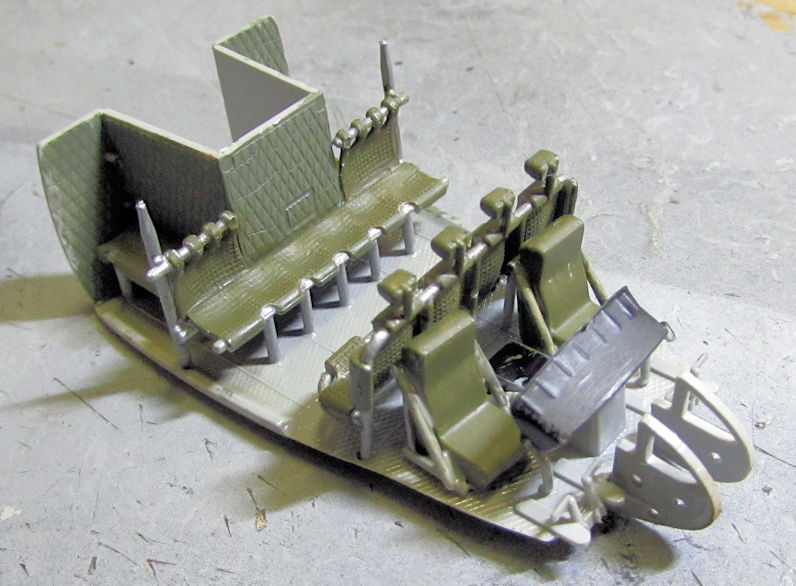 Now here is the work I did on the Gotha I bought from my friend. He had already assembled the booms and the wings, so I started with the cockpit... such as it is: 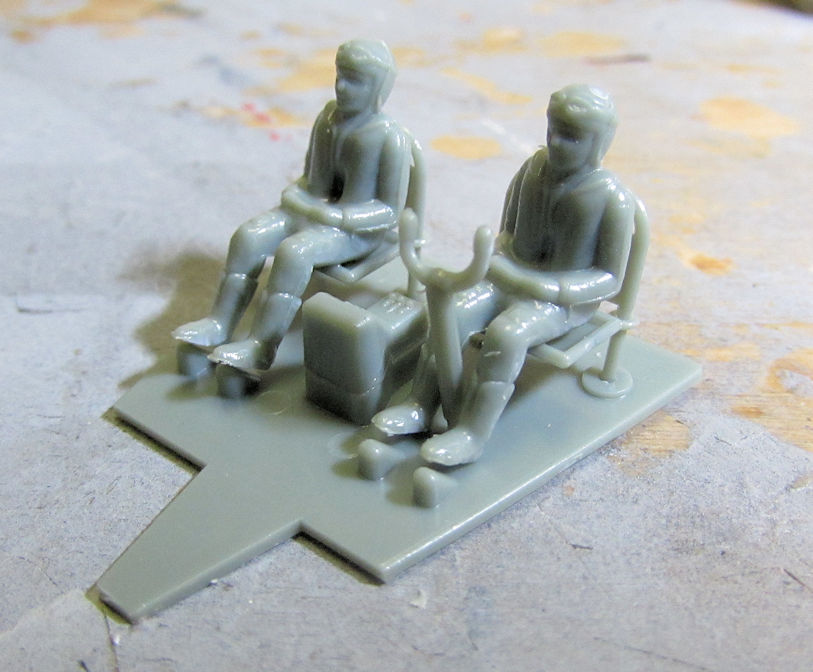 This model gives the option of making this plane a glider or a powered transport aircraft. I decided that since I haven't got this in powered form yet, I'll build it with engines: 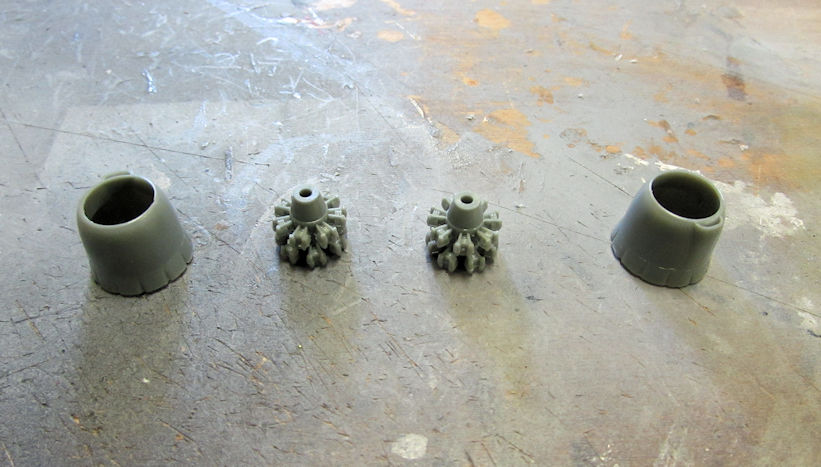 As those were drying, I then added the engine nacelle parts to the wings that will hold those engines and the booms: 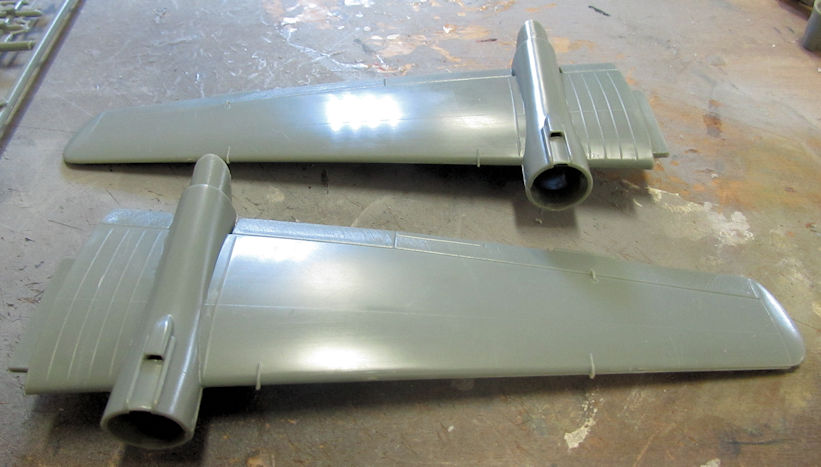 That's as far as I got on that. After all that I moved on to my armor. The first thing I did was to paint the base tan color on the deck of my railroad flatcar. Later I'll try to make this look more like wood: 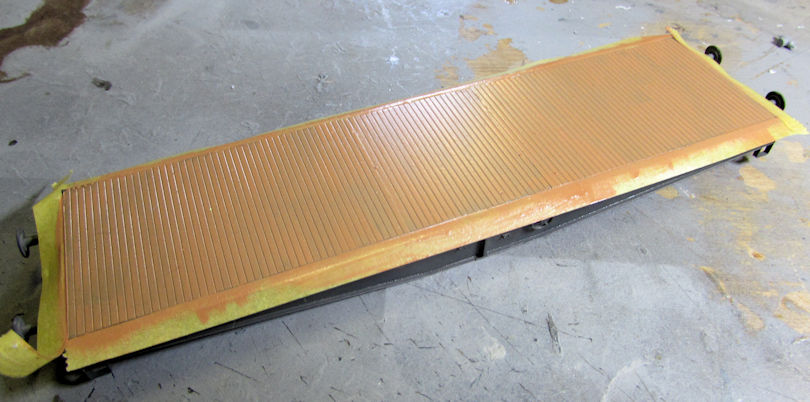 Next I decided to move forward on more of the Aerosans for the Treasure Train game that I'd been "threatening" to put on for a year now. I had one already half built so I assembled the engine and added it to the body to finish it up and have it ready for paint: 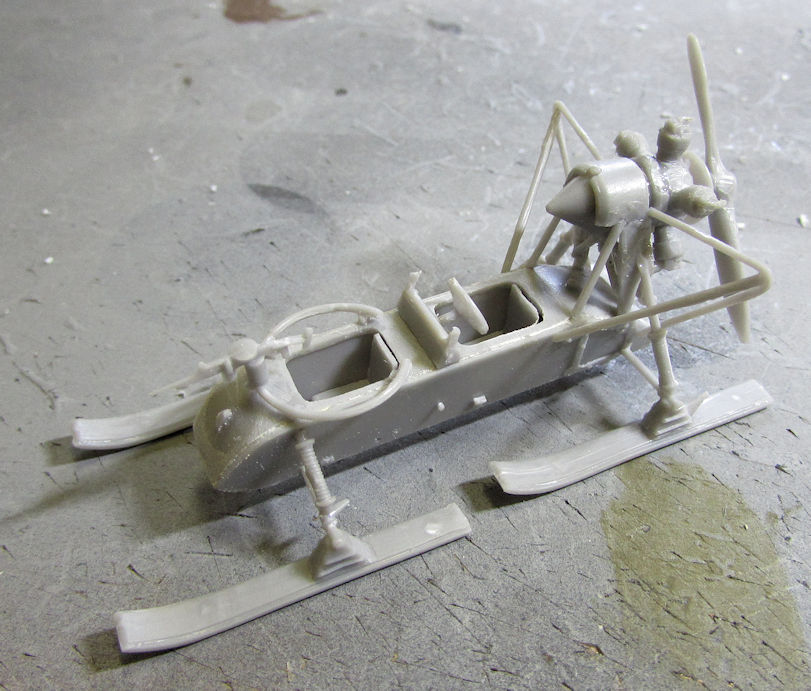 After that, I started the last one I have in my stash. I do need to buy a few more.... Anyway, I got that one half done before I realized I left all the engine parts at home. Still, it is started at least, and the engine will be easy to get finished and mounted on this. Here is the last one next to the finished on I just did: 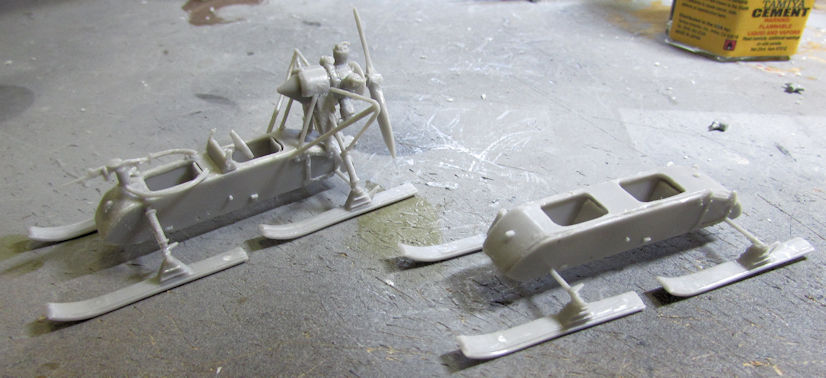 Moving on from there, I next decided that the T-15 Armata was calling my name too loudly so I got started on that one. First thing I did was to build the turret. That went fast: 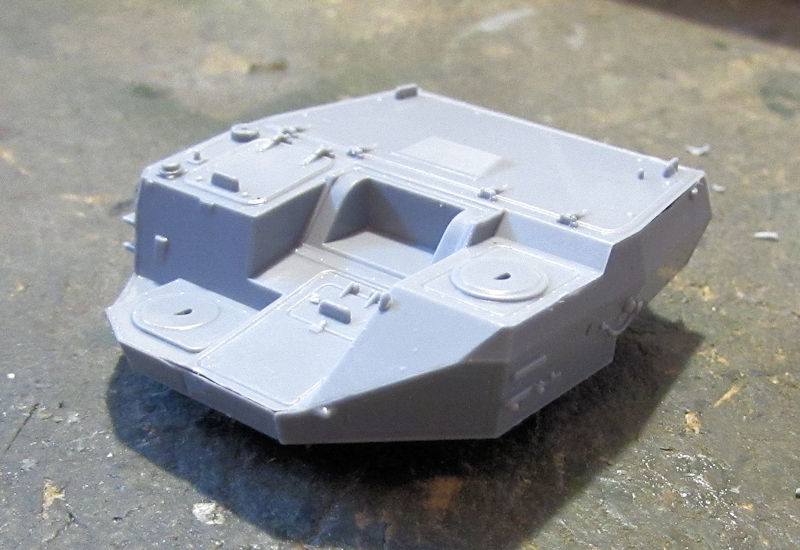 Next I added the detail parts to the upper hull. There wasn't too much to add, so this went fast as well: 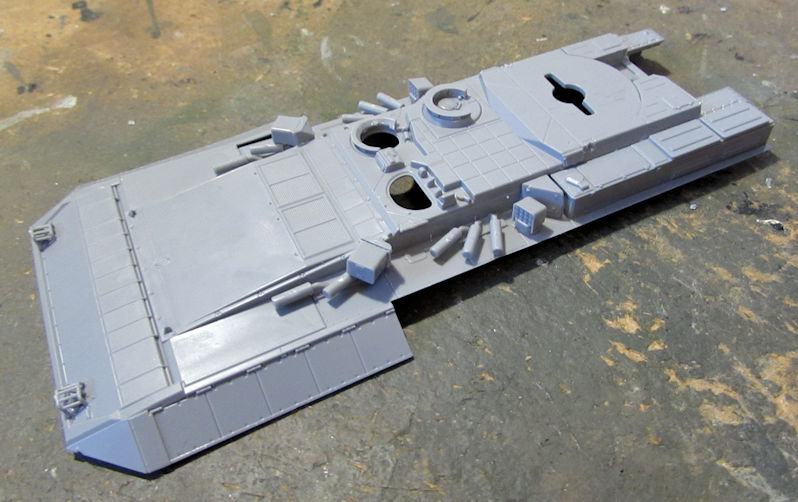 After that I assembled the lower hull. I'm really thrilled at how well this model fits together: 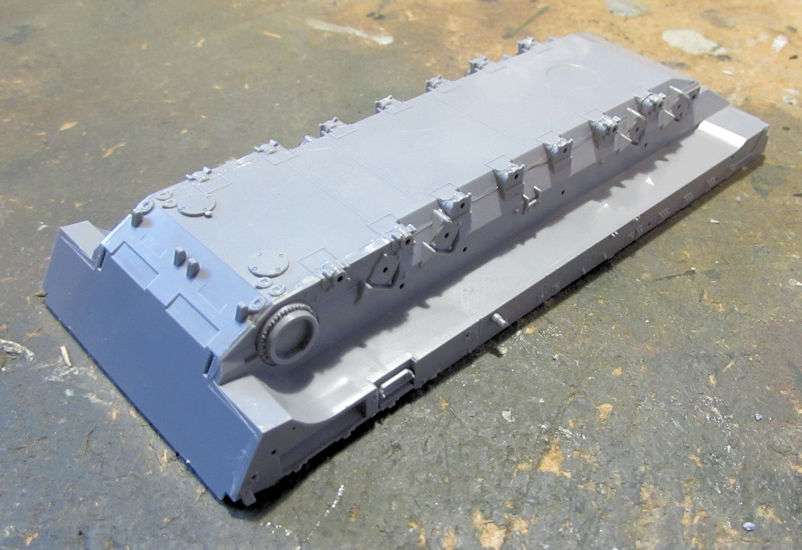 Finally, I test fit everything together sans turret. This is one big beastie! Check this out: 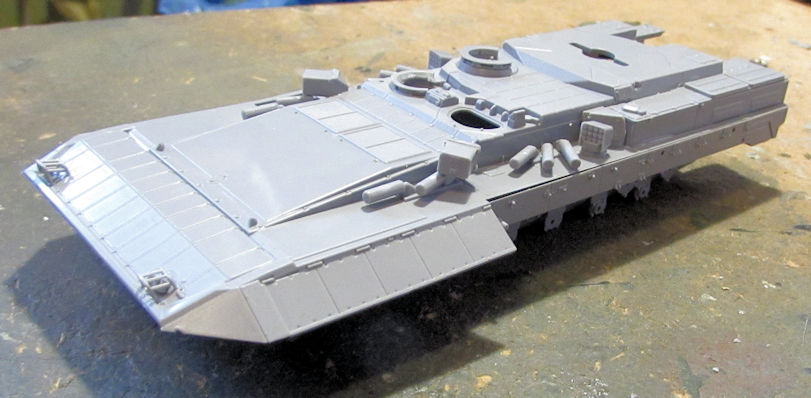 I did stop there but I was having so much fun with this Zvezda kit that I pulled out the Terminator to finish up a bit more. The first thing I did was to assemble the rocket tubes and mount them on the turret: 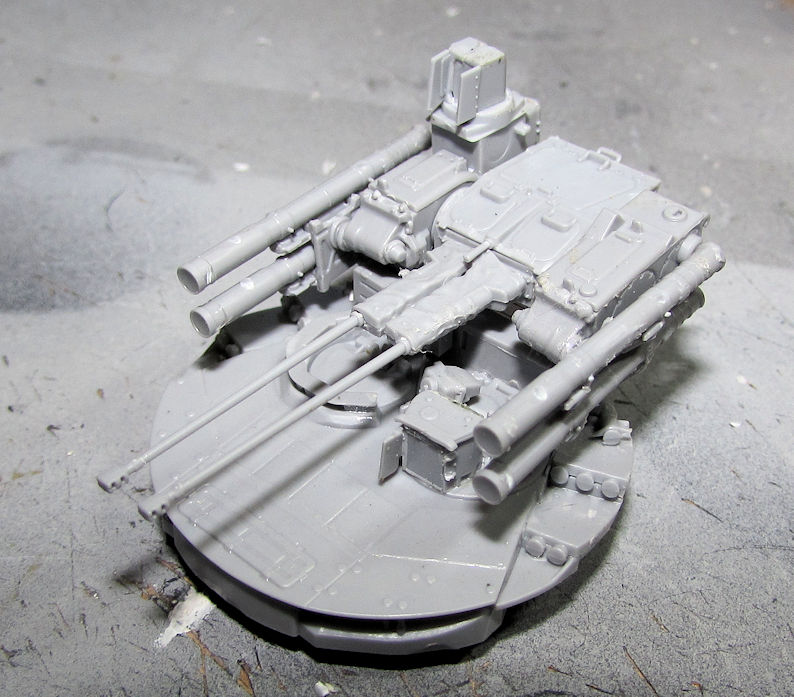 They are pretty fiddly and will make turning that turret a bit hard. Moving on, I finished up adding the bogies and roadwheels to the lower hull: 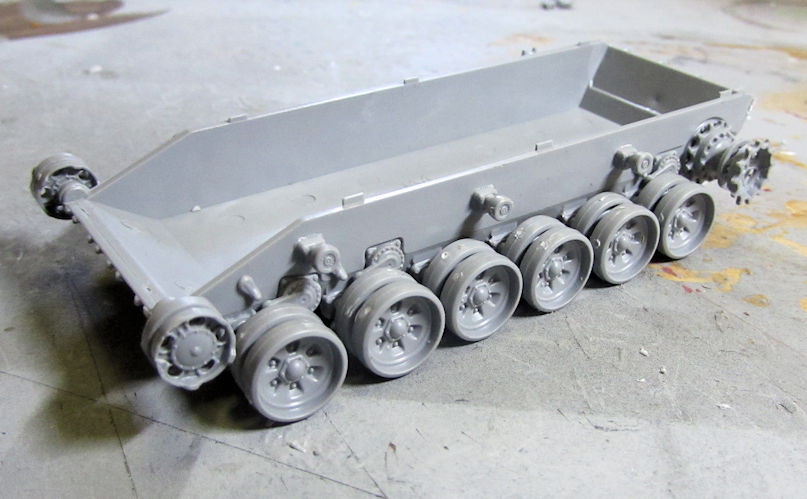 I also added the side skirts and other detail parts to the upper hull as well: 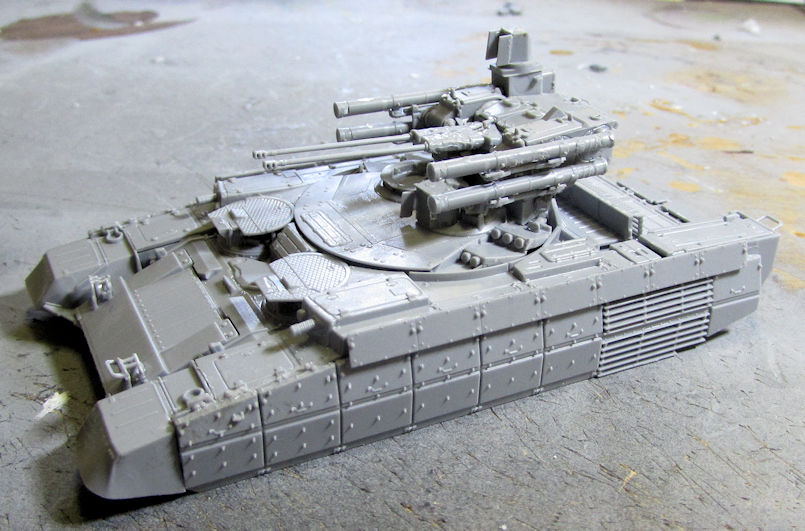 Putting the upper and power hull together looks great, this vehicle is now ready for paint: 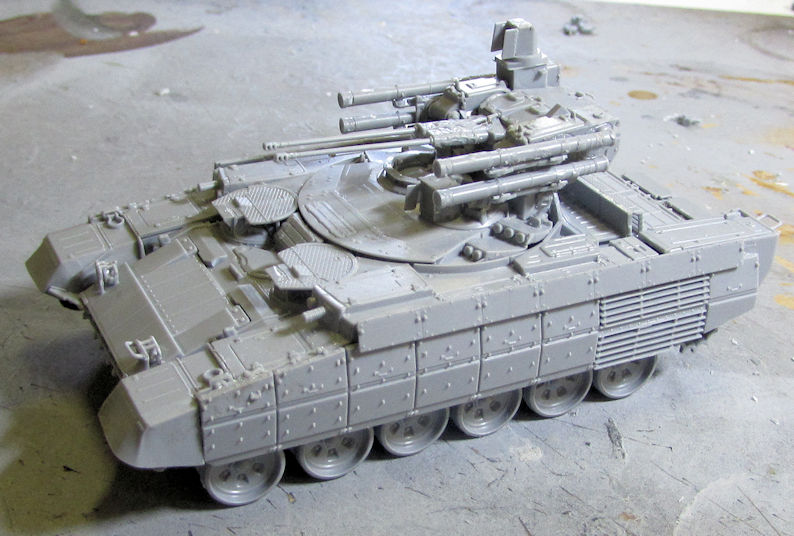 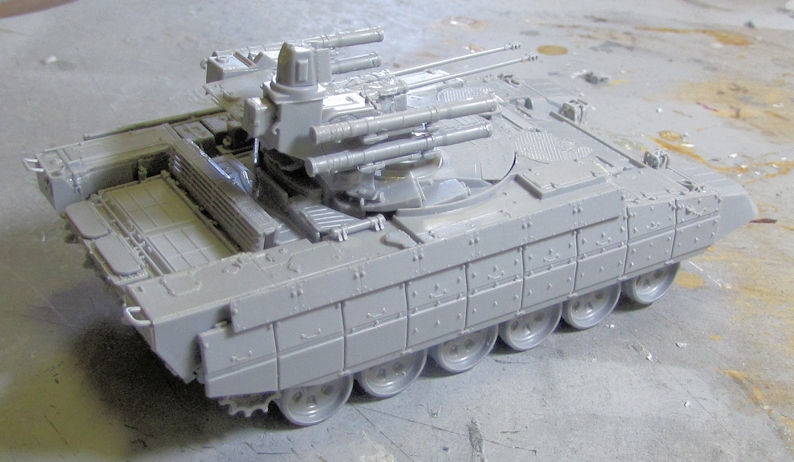 After that, I moved on to the final steps I needed to do to finish my Nagmachon. All the photo etch radar antennae, stowage fences, fenders and anti-RPG bar armor was installed: 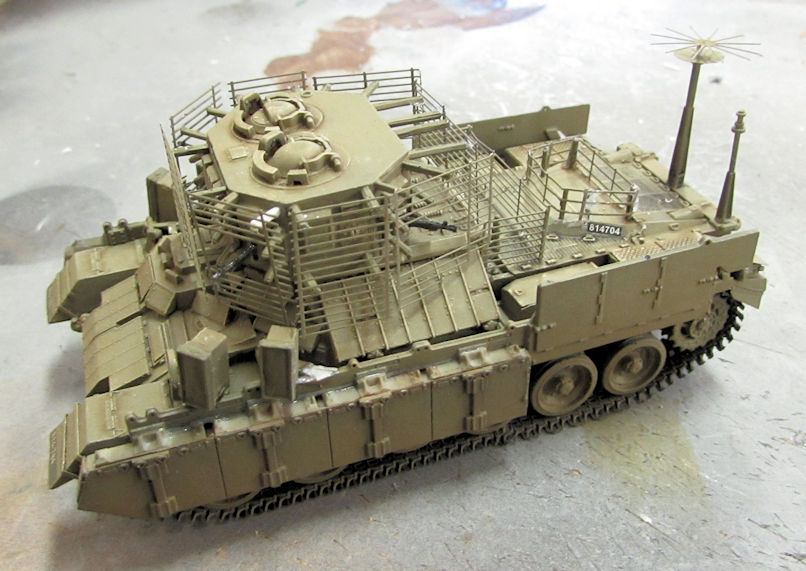 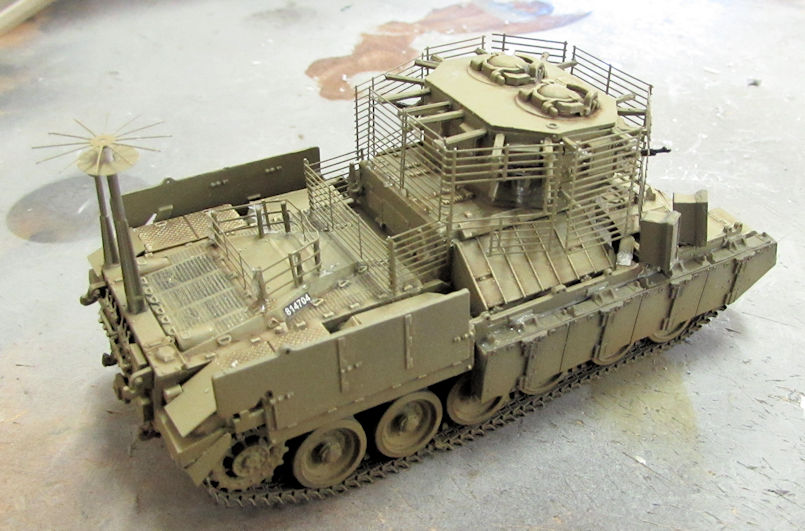 After some touch up to the paint and adjustment to some of the photo-etch screens, I can declare this thing done. Pics of that are forthcoming later.... After that, I just wanted to build and/or paint. Since I wanted to move forward on some of my eight-wheeled trucks, I pulled them out and chose the AA-60 fire truck first. While cleaning the seam on the end of the tank, I ended up cutting a big hole in the end of it! 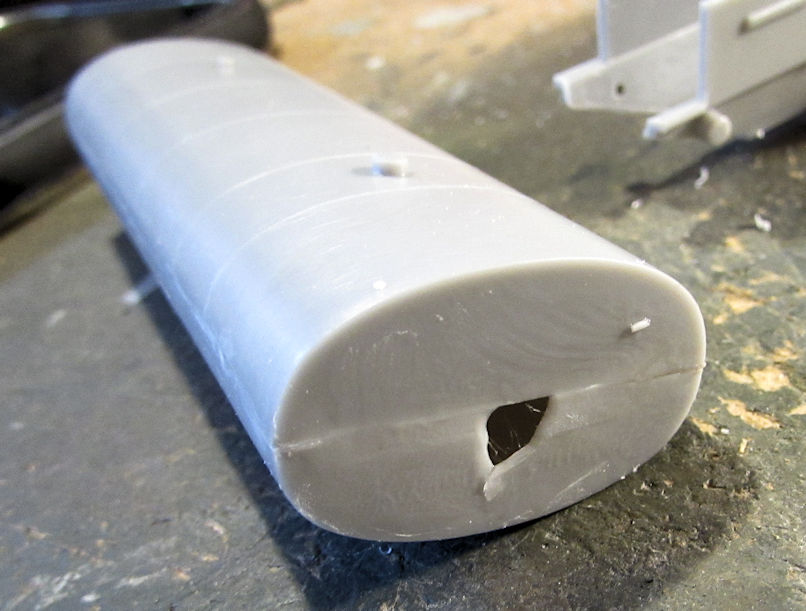 Out came the sheet styrene and some squares were cut. The first one went on the holed end: 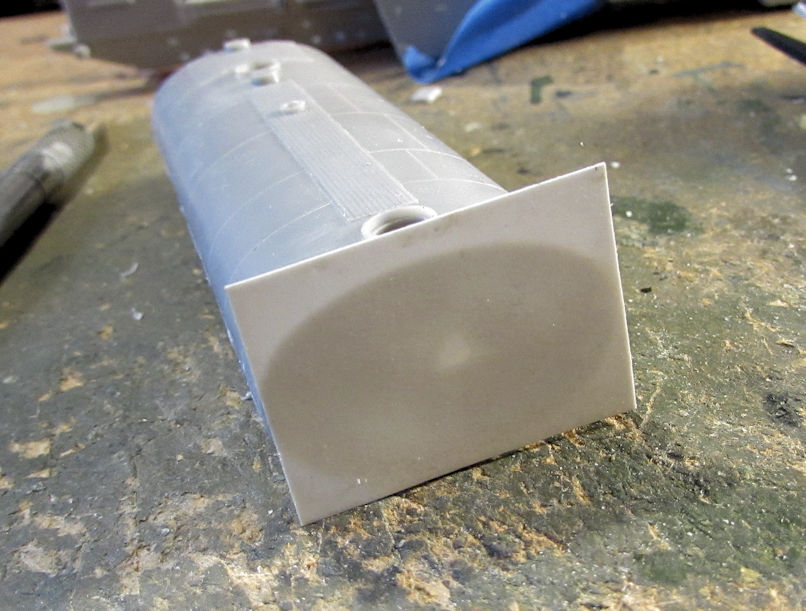 To make this look better, I added the other square to the opposite end: 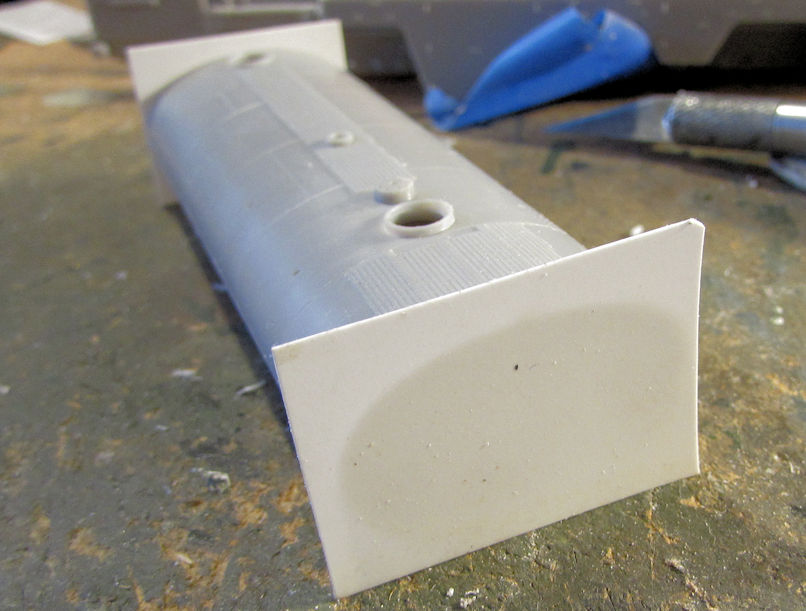 I then trimmed the excess off with a pair of scissors: 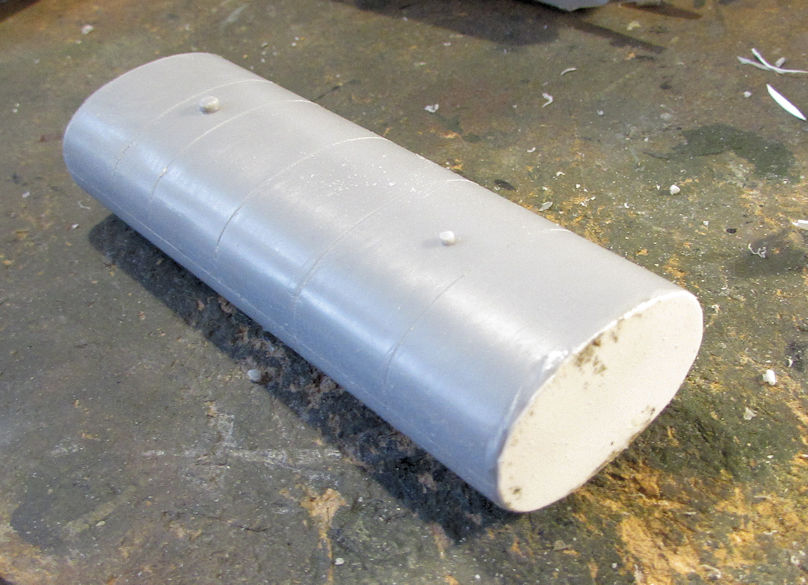 ...and some careful sanding later, I have a smooth finish on each end: 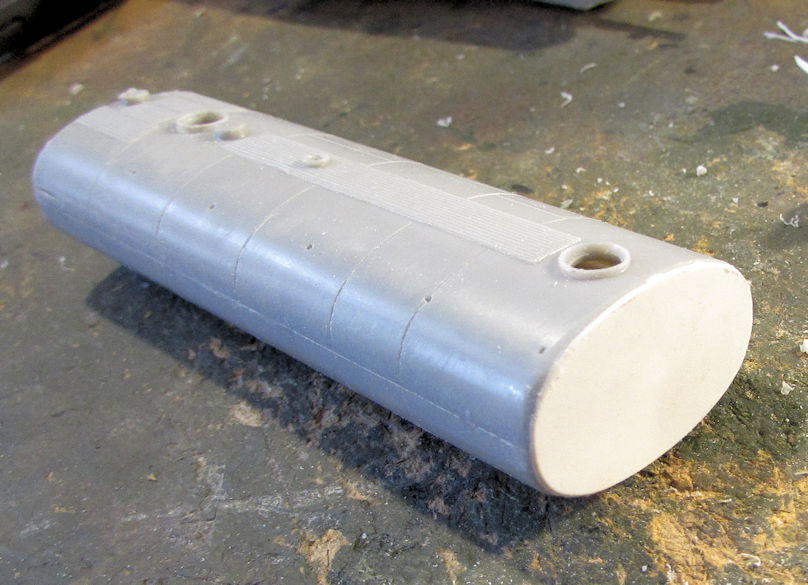 Next, because the end plates on the main body were not fashioned properly to fit without major gaps; I used more of that sheet styrene to plug the ends: 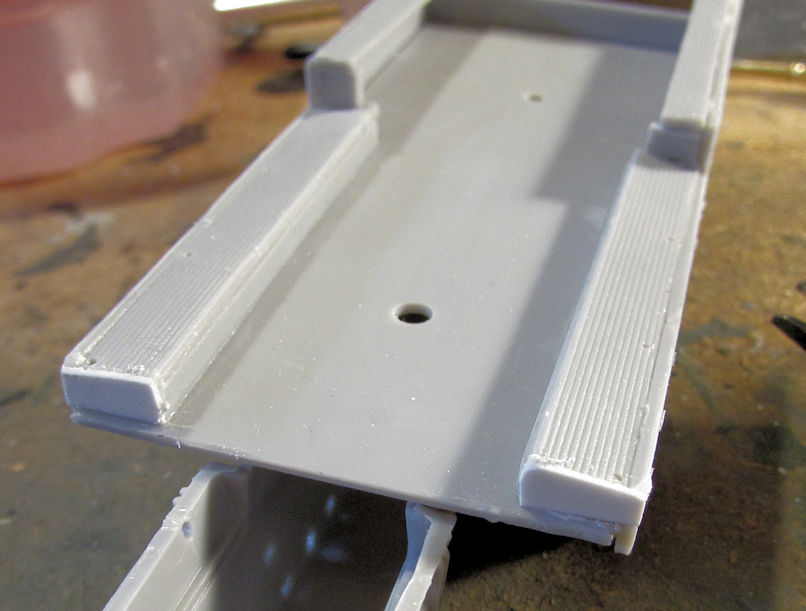 After some additional assembly, I then cemented the lower body and the forward engine cabin to the chassis. I then snapped the tank in for now. Here's how it looks so far: 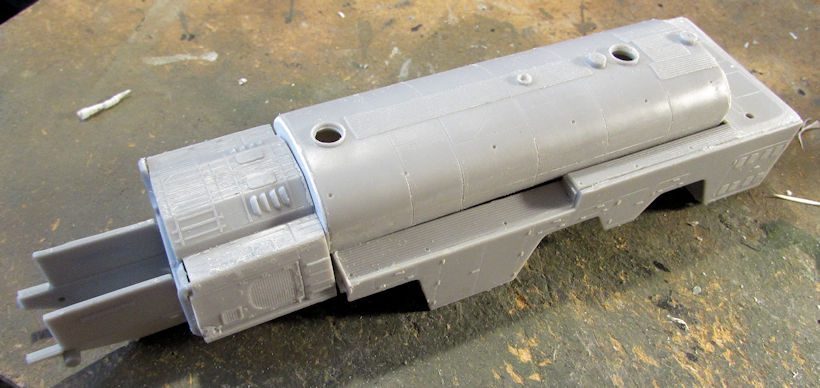 Well, that was enough of fighting that. I then pulled out one of the KZKT truck cabs and started to assemble the interior: 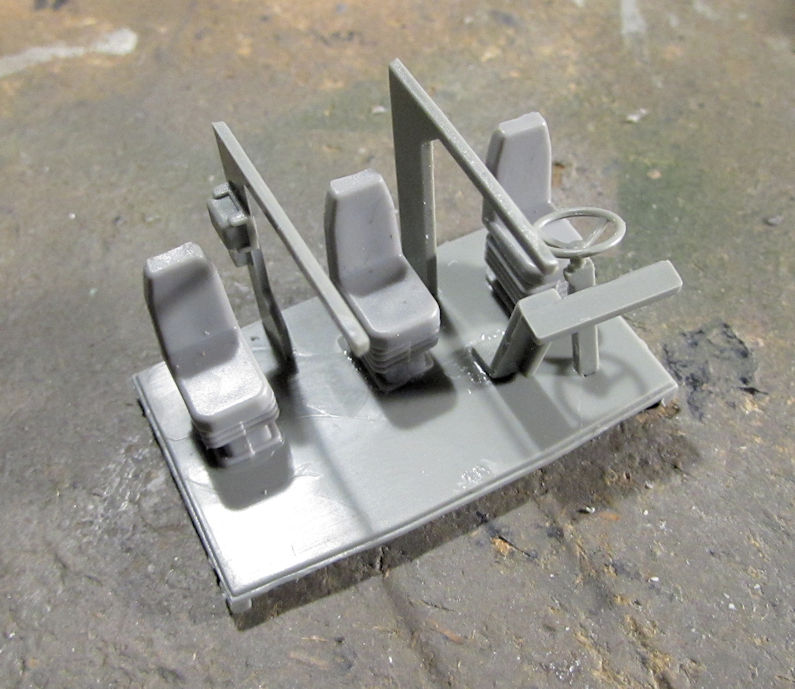 Next I added the axles to the chassis: 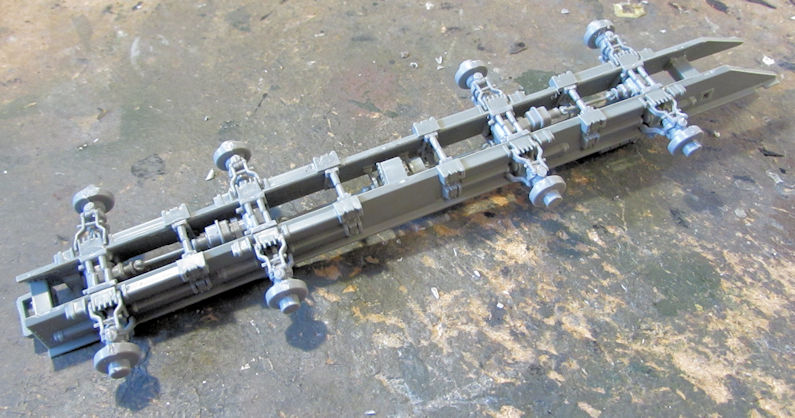 Additional detail parts went on, such as the fuel tanks on the side. I also checked to be sure the wheels all line up and sit properly: 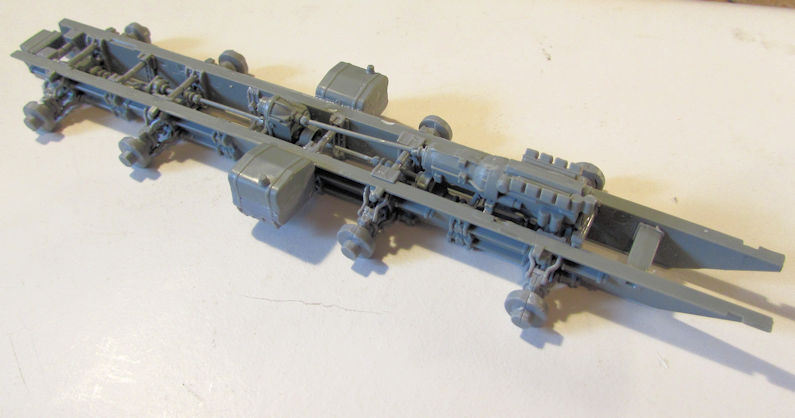 I then painted the interior of the cab: 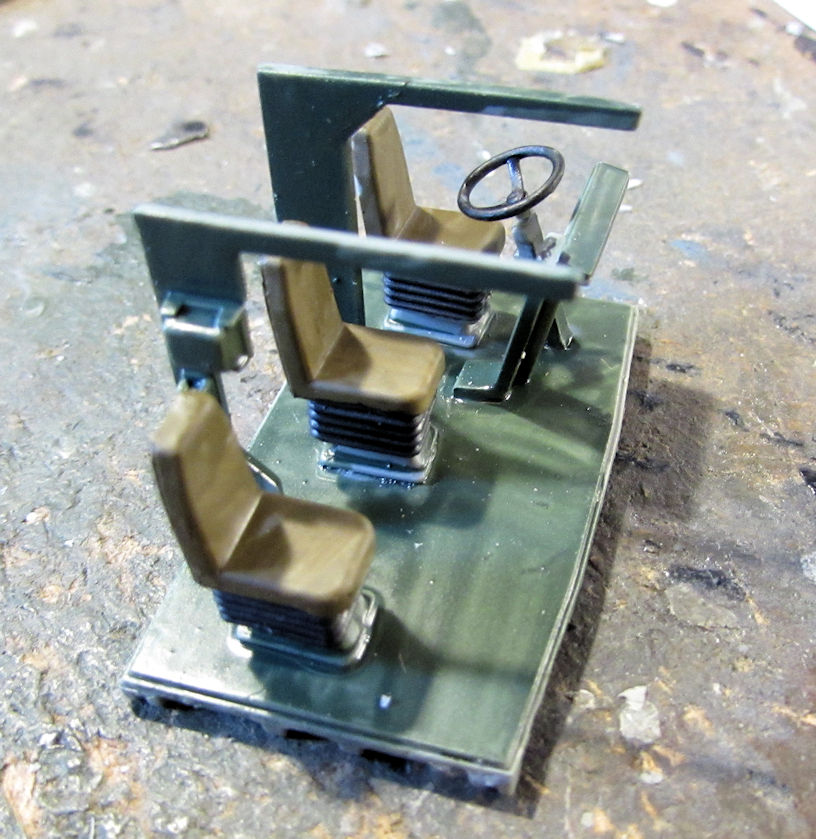 Here's how the cab looks all assembled. I only snapped the outer cab on the interior: 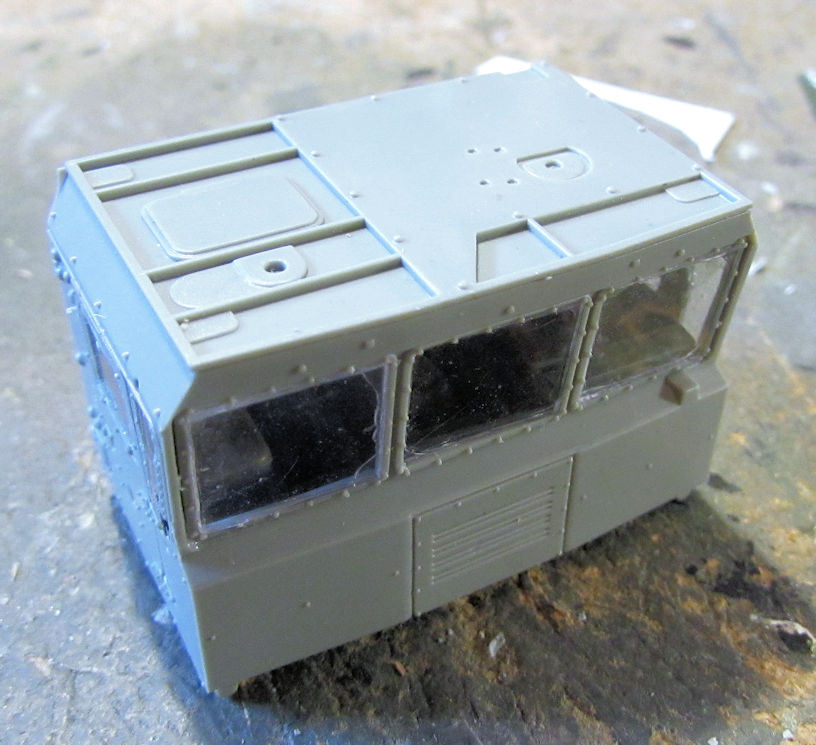 Now that was for the KZKT Heavy Truck. I also worked on the MAZ heavy Truck, starting with the axles and fuel tanks on that chassis: 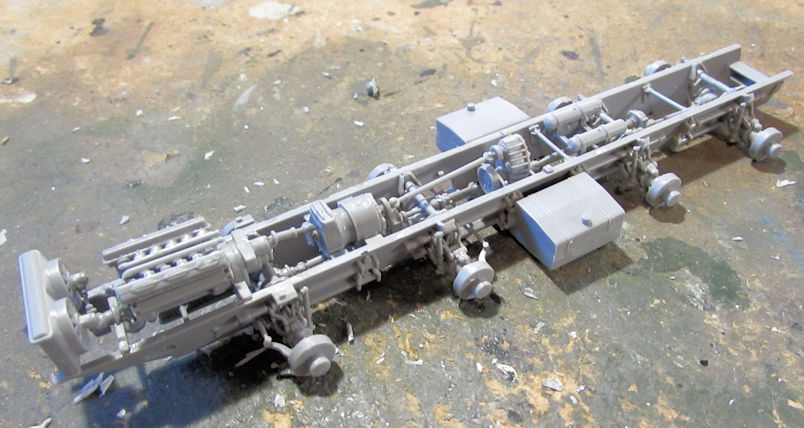 The MAZ has that split cab and so I assembled and painted the interiors for both sides: 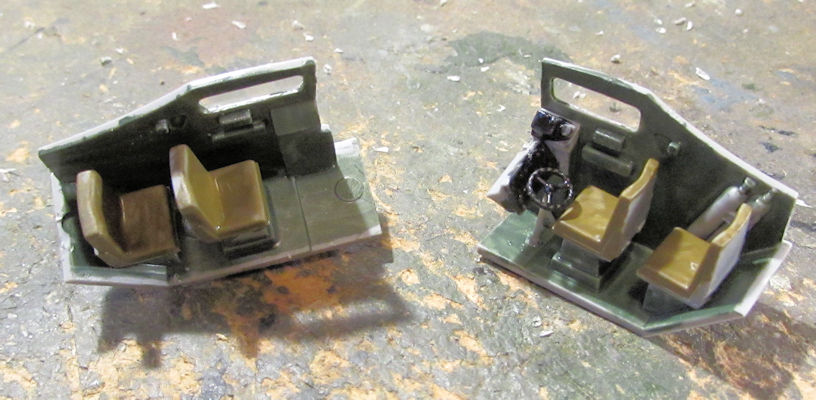 And that is where I had to stop due to Hobby Day being over and all the work I've been doing this past week. Hopefully I'll have more to show soon. Thanks all for looking in, comments are always welcome. |
|
|
|
Post by dogfish7 (R.I.P.) on Nov 18, 2019 14:45:01 GMT -6
Wow! Still amazes me, that you can keep track of all these kits. Very nice work Mark.
|
|
|
|
Post by JCON on Nov 19, 2019 0:18:33 GMT -6
Nicely done sir!!!
|
|
|
|
Post by Dukemaddog on Nov 20, 2019 21:07:59 GMT -6
Thanks guys! Still trying to find time to work on these. Hopefully soon!
|
|
|
|
Post by JED on Nov 21, 2019 23:18:07 GMT -6
WOW I only wish I could get something finished,I have decided I won't start anything else (not that I have had time!!) until I have got something finished
|
|
|
|
Post by Dukemaddog on Nov 25, 2019 14:35:18 GMT -6
Thanks Jed! I'm trying to do the same thing; I want to finish these so much! I will be doing some Christmas shopping when I finally get paid. We'll see though; I'm hoping to start marathoning these projects on the bench soon.
|
|
|
|
Post by Dukemaddog on Dec 1, 2019 22:30:11 GMT -6
Now that the Thanksgiving holiday is over, I'll show you the small amount of progress I managed to make during the holiday weekend. I don't expect much replies given the small update, but personally I'm very thrilled with the progress I made. So sit back and enjoy this latest tour of Maddog Manufacturing... I'll start with the unexpected setback I had when I was preparing to paint the interiors of my Russian truck cabs. I didn't use much pressure and I sure wasn't gripping this too hard, but this is what happened anyway: 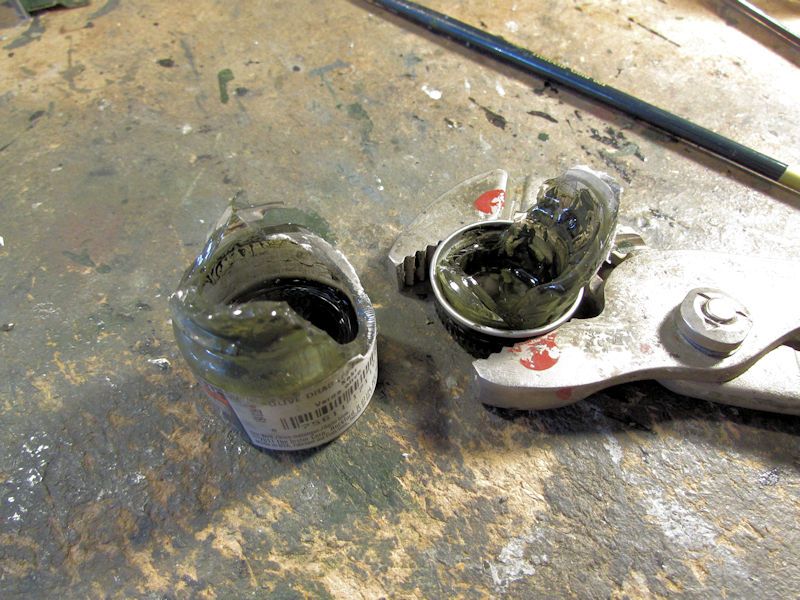 Fortunately I had another bottle of that same paint which had been used so I was able to filter the remaining paint from the broken jar into the other one: 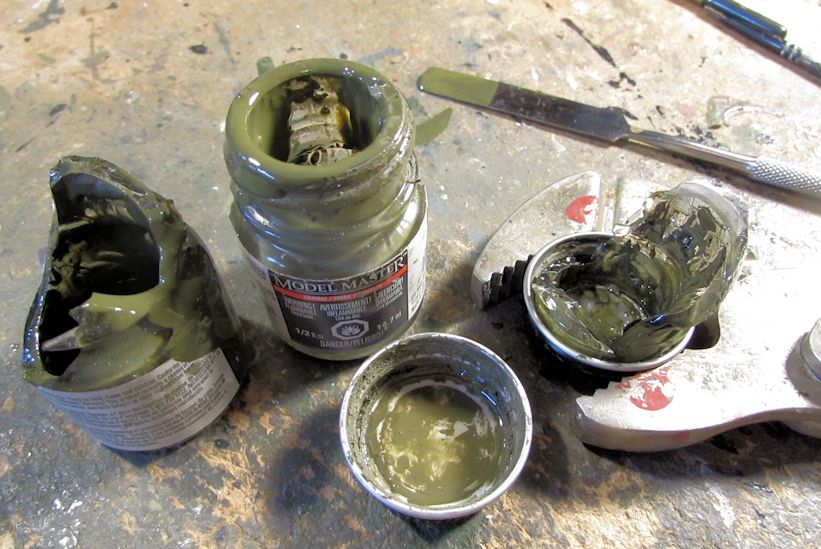 So, after that was done I painted the seats on the interior of some of the trucks. While they dried, I pulled out my German railroad flatcar which I'd already painted with a light tan. I then gave it a heavy dark brown wash: 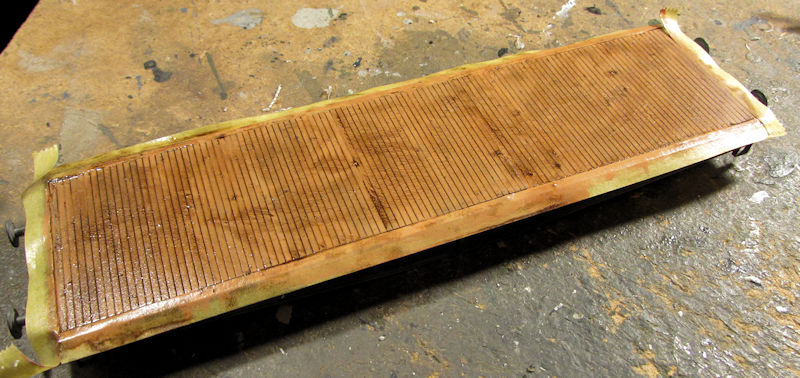 After that, I decided I didn't want to work on axles and bogies so I started another German Cabriolet car from ACE. I started with the chassis/undercarriage. I got only a little progress when one of the springs shot out of the tweezers and disappeared. After spending too much time searching, I said 'screw it!' and cut a piece of sprue to the same length as the first spring. While sizing that and getting it ready to glue; it snapped off and disappeared. A second one also did. Finally, the third one went on: 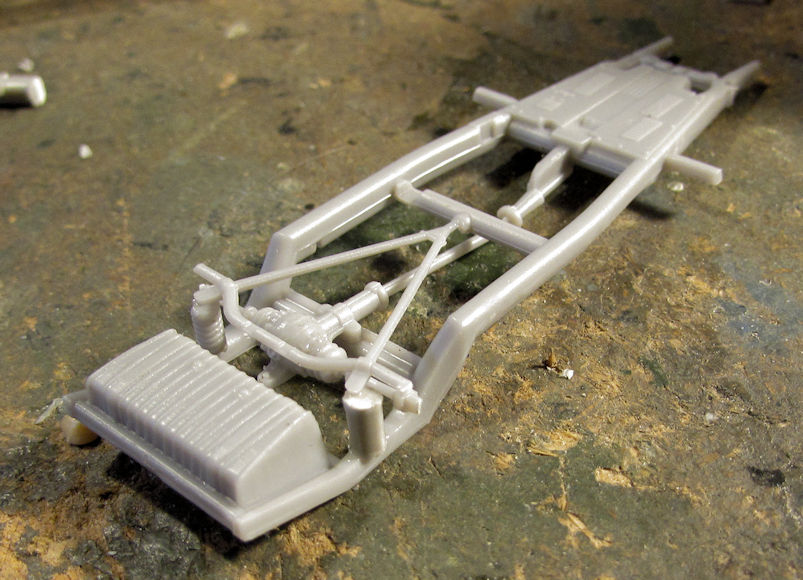 That's it. I was done with that! It ain't gonna be seen with the wheel on anyway! Axles and bogies didn't look so bad after that ordeal! So, I pulled out the MAZ tractor and assembled all the axles and installed them and other bits to the chassis: 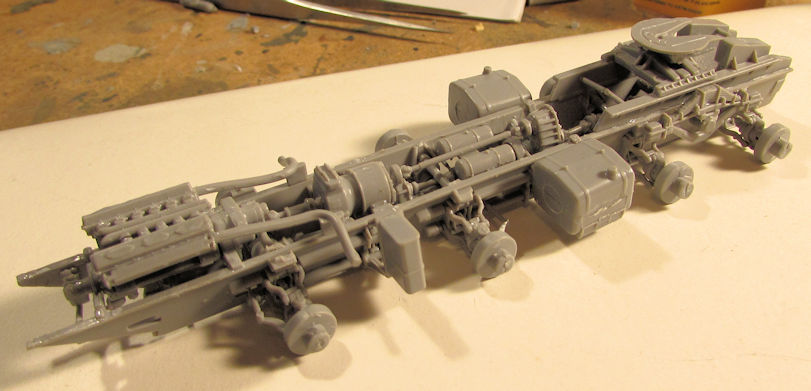 Next it called for installing the main driver's cabin and the one behind it. So, I assembled the whole cabin and then mounted that on the chassis. That did present some issues, but it went on well, along with the rear cab: 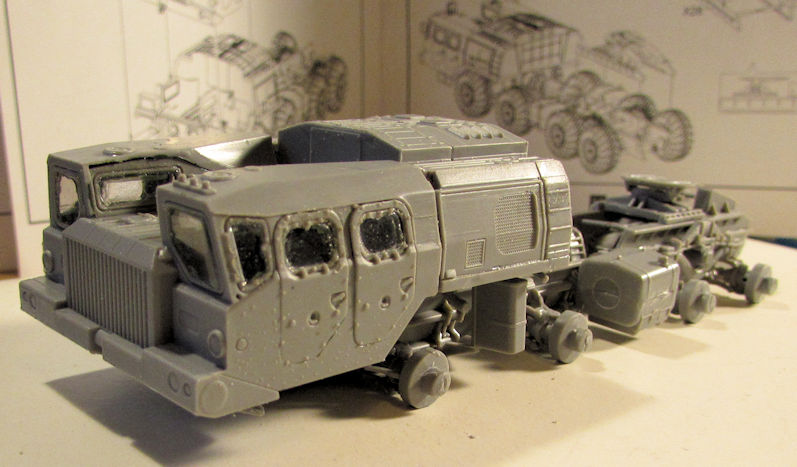 Another shot from slightly above: 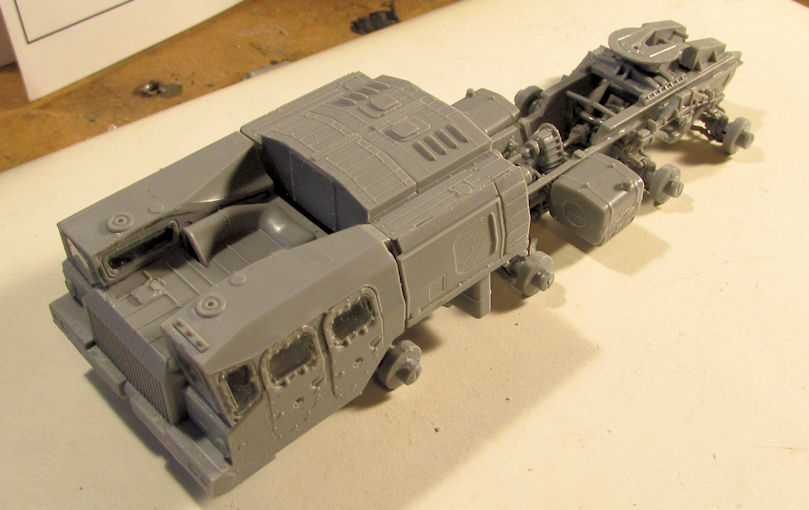 And of course, I just had to shoot this whole thing with the trailer behind it: 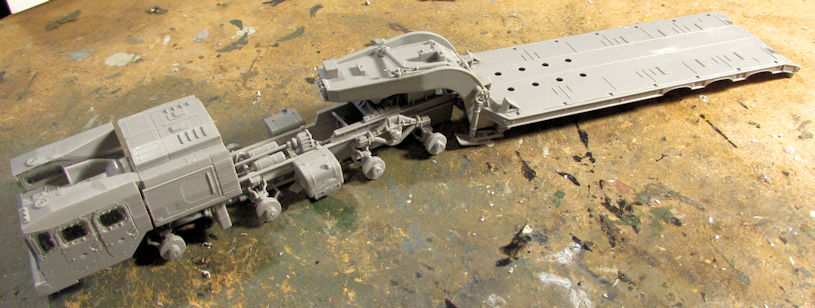 That went well. So, I pulled out my KZKT Heavy truck and moved forward on that. Since I'd already had the cab built for this, I installed it onto the chassis along with the rear cab and the cargo bed: 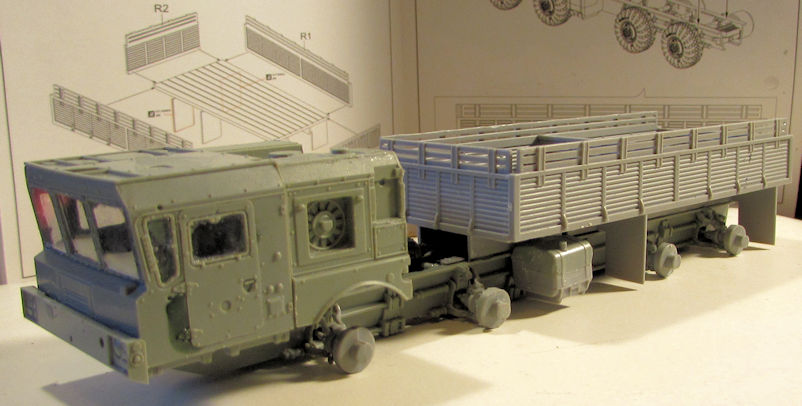 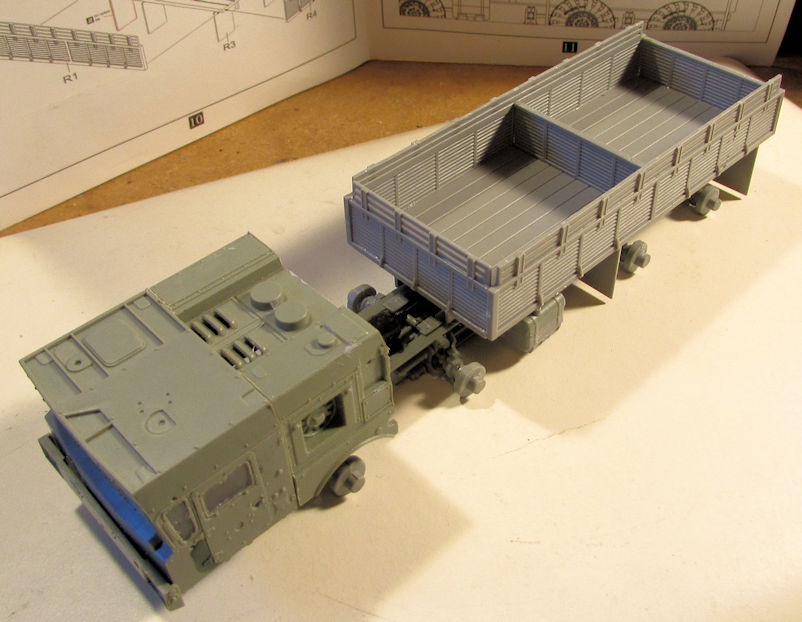 After that, I pulled out my MAZ Heavy truck. Since I had already had the axles installed on the chassis of this truck, I went to work installing the cabin. This time I decided to try assembling it the way the instructions showed. This required me to cement the rear cab first, then add the two forward interior sub-assemblies to each side of the chassis. It took some doing getting them lined up and straight, given there were no attachment points on the chassis for these parts. Finally, I got them done well enough. Here it is with the exterior cab shell in front of it: 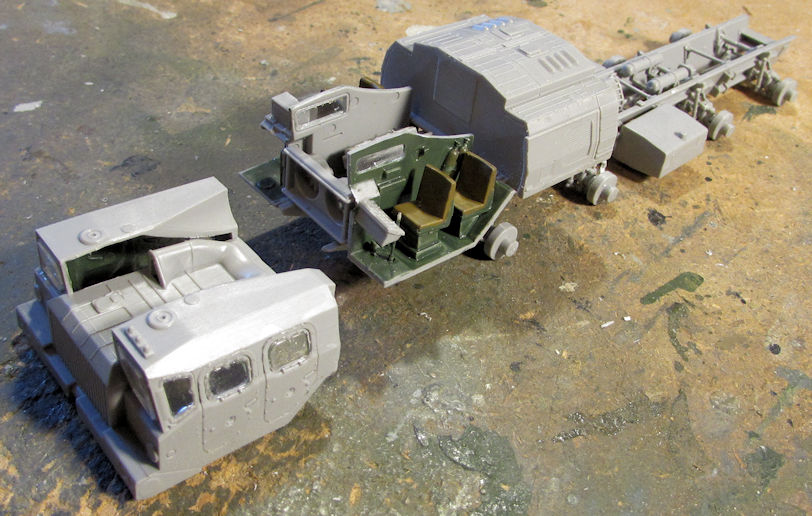 Finally when that was dry, I slid the exterior cab shell over it and cemented everything in place. I then added the rear cargo bed too. It was slightly harder to do the driver's cab this way than the way I did it: assembling the full driver's cab all the way before installing it. You can see where I had to add some filler to a couple very small seams: 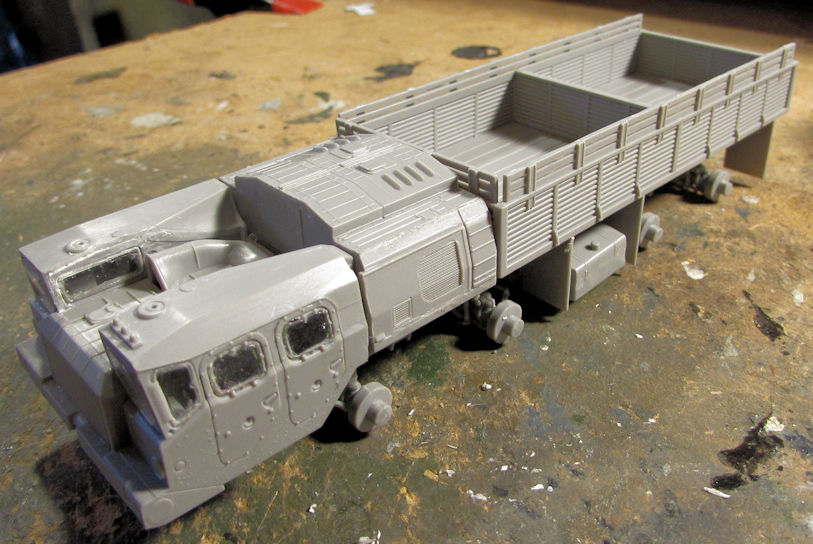 Those three trucks are now ready for P/E detail parts and then paint, along with my BMPT Terminator. Finally I was getting tired of the Leopold rail gun sitting around my workbench. It was time to get it finished. So, I pulled it out and assembled the interior elevating mechanism: 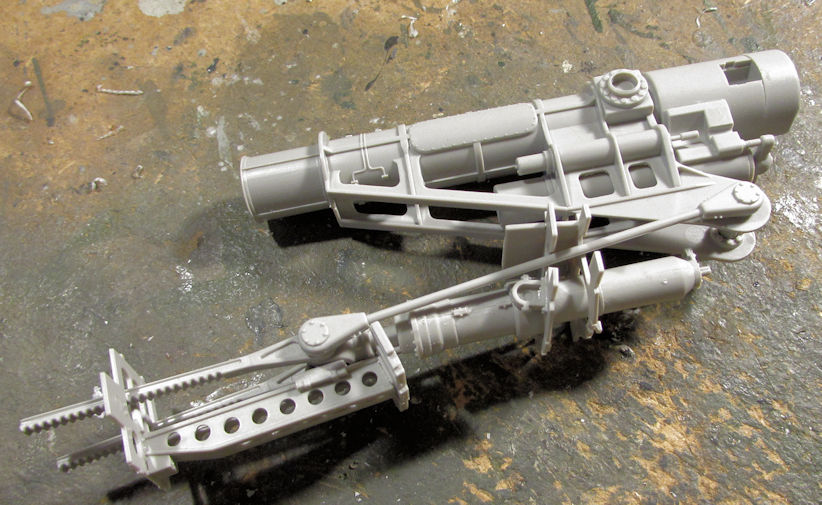 Later I had to install that and several bulkheads inside of the interior main gun carriage. That took some fiddling around and fighting parts to line up; widening holes and trying to keep things from breaking as I assembled this interior. Finally I fought this to a standstill: 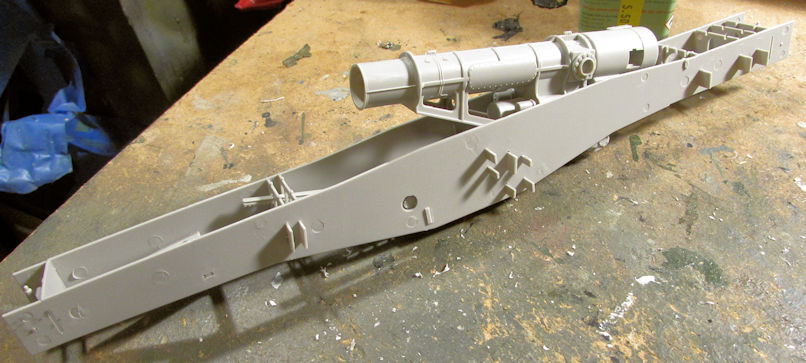 And just to show you how big this is, here's a shot of it next to an Exacto knife: 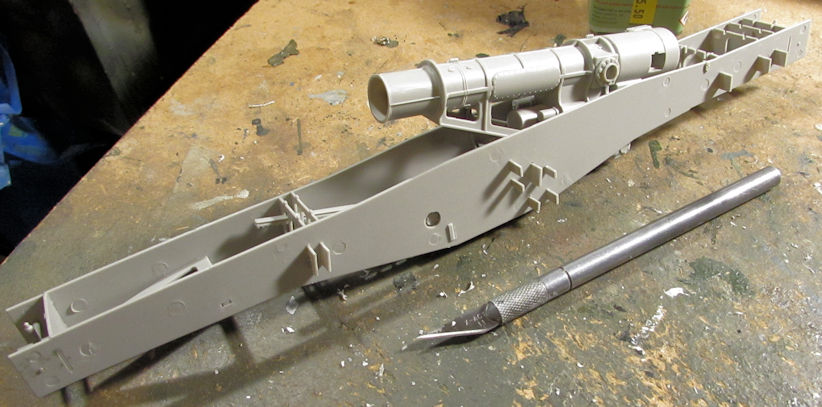 After assembling this, I had to slip it inside the exterior gun carriage superstructure and hopefully it would sit right so the top plate would go on solid. Of course it didn't. So, I started gluing and clamping this on one end to get it to sit right: 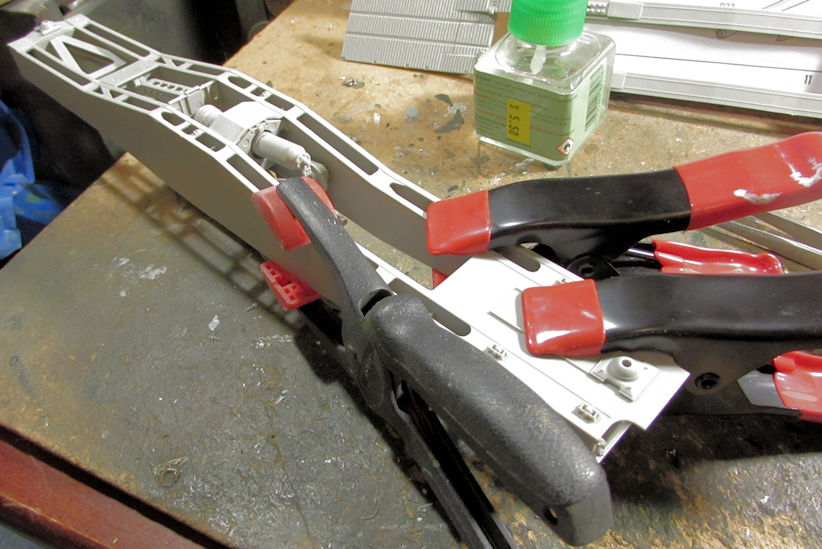 After much fussing and fighting and more clamps later, I got it all glued and clamped together to fit right(I hope!!!): 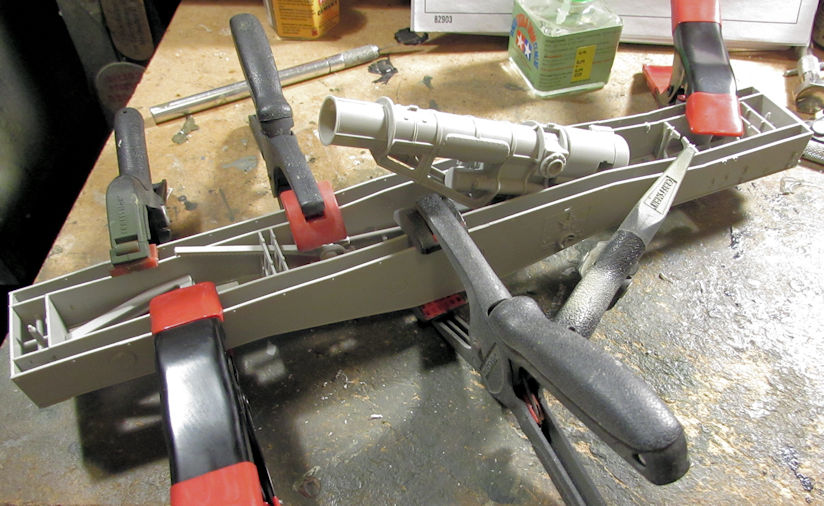 That's three hours of my time I won't get back! After that, I pulled out my flex-i-file and sanded the seams of the main gun. Once that was done well enough, I just had to dry it it to the previous assembly to see how it looked: 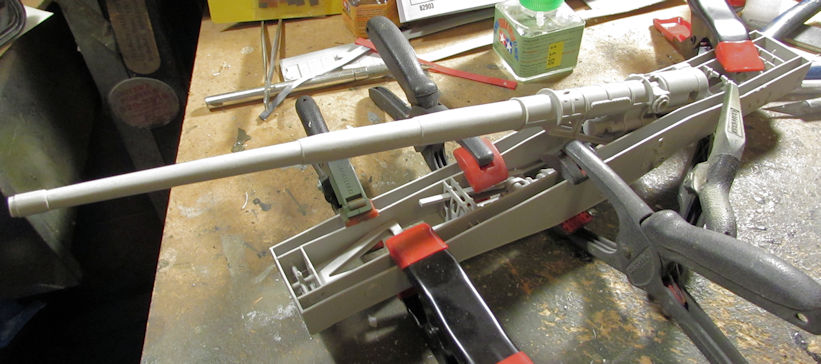 And that is everything I got done over the past four or five days in between baking pies, shopping with the wife, singing with my choir, and attending the in-law's for Thanksgiving dinner; then more shopping with the wife and more singing in the choir.... Wow, imagine how much I could have done if my wife had been working.... Anyway, that completes my short update. Feel free to comment; they are always welcome and motivating. Thanks for looking in. |
|
|
|
Post by JCON on Dec 2, 2019 1:07:02 GMT -6
Glad you didn't get cut up bad on that broken glass! Nice progress on the kits Mark!!!
|
|
|
|
Post by RLFoster on Dec 2, 2019 4:50:01 GMT -6
That's exactly how I sliced open my index finger when I was 12, except it was a square Testor's bottle.
Another great update, Mark!
|
|