|
|
Post by JCON on Jul 4, 2018 17:41:16 GMT -6
Nice camo applications!!!
|
|
Ernie
SETTLING IN
   Just goin' where the plastic takes me.....
Posts: 358 
Likes: 853
|
Post by Ernie on Jul 5, 2018 0:30:37 GMT -6
Great update Duke, I'm glad you were able and feeling up to getting in some time at the bench. All fine work too. Looking forward to seeing those cross the finish line!
|
|
|
|
Post by Dukemaddog on Jul 6, 2018 12:45:54 GMT -6
Thanks Mike, and you're welcome for the tip. I've always liked Silly Putty. Some people say that it leaves a film, but I haven't had any issues with that. If it does, simple soap and water removes it I'm told.
Thanks Joe. I'm very happy with the results.
Thanks Ernie! It felt great being able to make some progress finally. I hope to send them over the line very soon.
|
|
Ernie
SETTLING IN
   Just goin' where the plastic takes me.....
Posts: 358 
Likes: 853
|
Post by Ernie on Jul 7, 2018 8:46:14 GMT -6
Waiting........Watching........   |
|
|
|
Post by Dukemaddog on Jul 7, 2018 14:04:00 GMT -6
Thanks Ernie! I'll be getting some decaling done after lunch today.
|
|
|
|
Post by JCON on Jul 7, 2018 14:59:42 GMT -6
Awesome!!!
|
|
|
|
Post by JED on Jul 8, 2018 10:06:26 GMT -6
Great work Duke,that silly putty does a great job,is it re-usable or once sprayed on has to be binned?
|
|
|
|
Post by Dukemaddog on Jul 8, 2018 22:56:51 GMT -6
Thanks Joe!
Thanks Jed! The Silly Putty is re-usable. Just knead the stuff together between your hands and it all resumes it's usual work-ability. The Silly Putty you saw on these models was the same stuff I used on nine or ten previous models I sprayed. If you go back in my Manufacturing thread and look at the models I used Silly Putty on, it's the same blob used on all of them. I have about six or seven small eggs as backups that I haven't even tapped yet.
|
|
|
|
Post by JED on Jul 9, 2018 9:13:59 GMT -6
Very eco friendly 👍
|
|
|
|
Post by Dukemaddog on Jul 9, 2018 13:38:35 GMT -6
I guess so. Still, I didn't get it for that. I got it for the ease of use, the simplicity in forming it into complex curves over complex shapes, masking in difficult to reach areas, and the extensive coverage I can get from multiple eggs' worth of Silly Putty. I even bough a set of L'eggs panty hose for my wife so I could use the oversized egg container to hold my extra large blob of Silly Putty. Being able to re-use it so many multiple times also makes it such a versatile tool; I've used that same blob of Silly Putty at least 12 times and I still have many more uses available from it.
|
|
|
|
Post by Dukemaddog on Jul 13, 2018 15:19:49 GMT -6
Okay, now I finally have a bit of time to get some progress posted. It's been Decal Week at Maddog Manufacturing, as it's been too hot to shoot paint. Here's my aircraft first... I pulled out the decals for the Boeing 737 and got two thirds of them on. I had a lot of issues, especially since they were so delicate and broke quite a bit, despite my coating them with a couple coats of Liquid Decal Film. You can see where some parts shattered and the seams where they broke. Hey, they are ancient Aurora decals so I went into this with expectations that this would happen. Still, I tried to get these as close to perfect as possible, but I'm gonna have to settle for this as it is. Later I'll try to touch these up with paint: 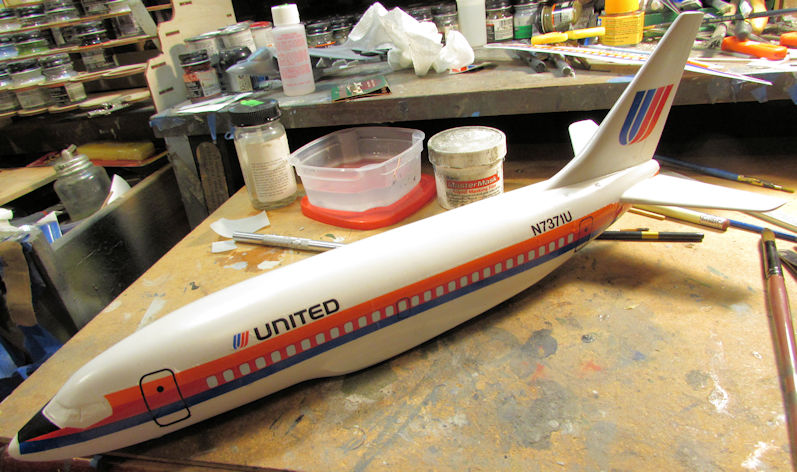 Later I'll get the other side on when I have finished shooting another gloss coat on this to seal these in. Moving on, I got the decals on my two Italian aircraft. The F-16 was the easiest: 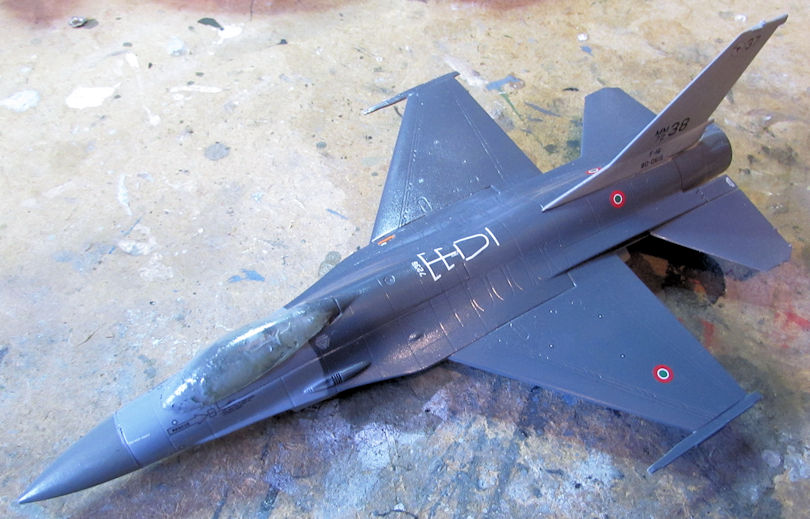 Then I got the decals on the Italian Harrier: 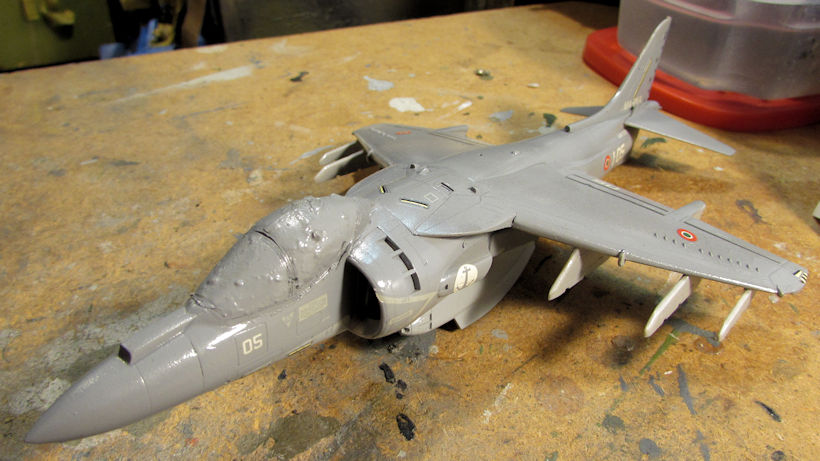 Now I got my two Italian aircraft approaching the finish line.... 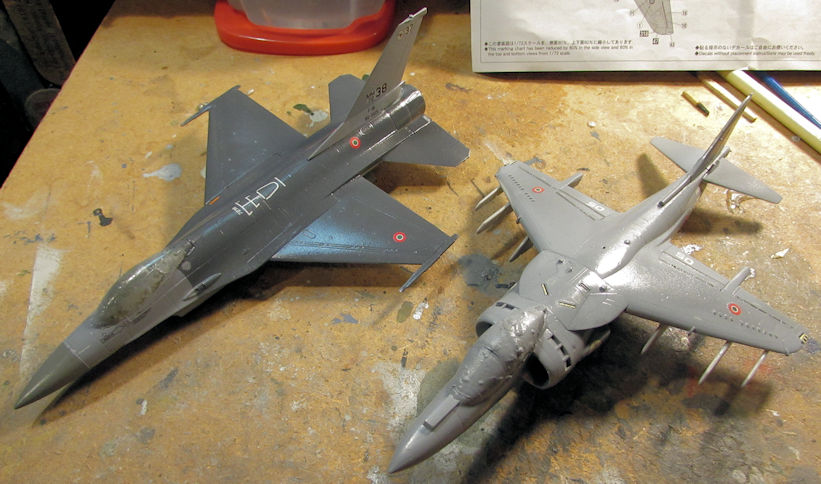 Next up were a couple helicopters I added decals to. This first helicopter had a total of six (6!) decals just on the nose. These were the first three that I added: 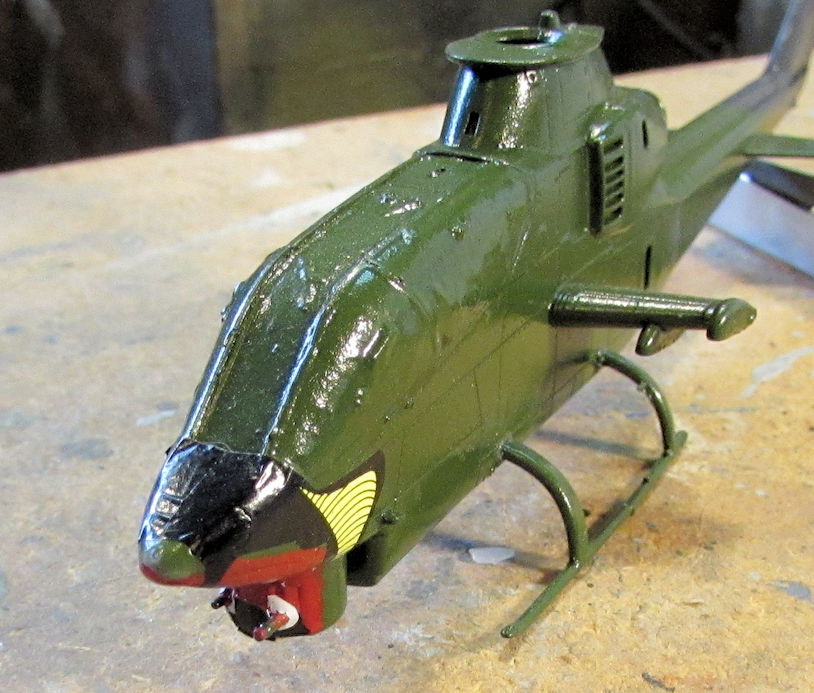 You can see where I had to punch the guns through the bottom one. The next two decals then went on over these: 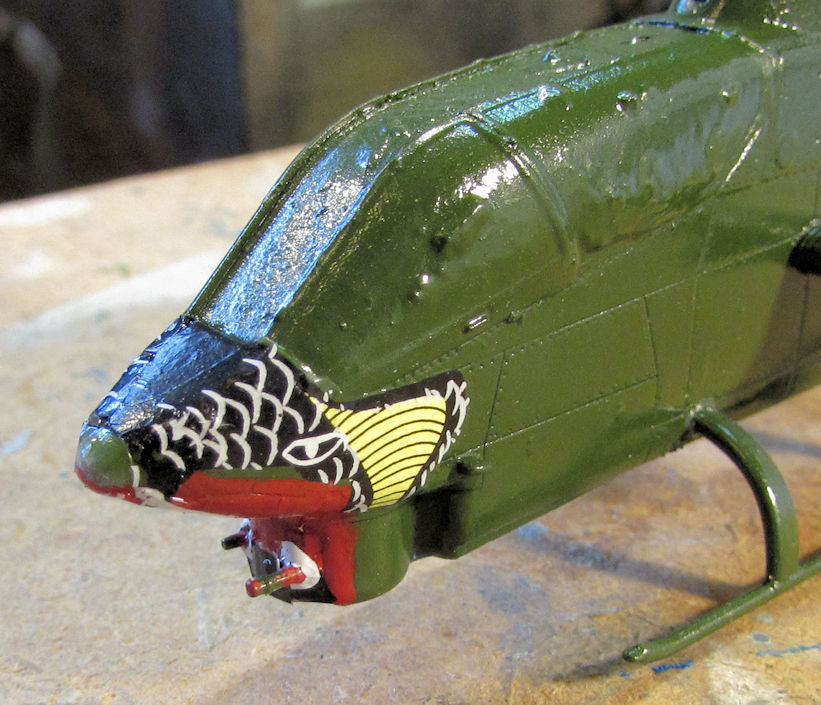 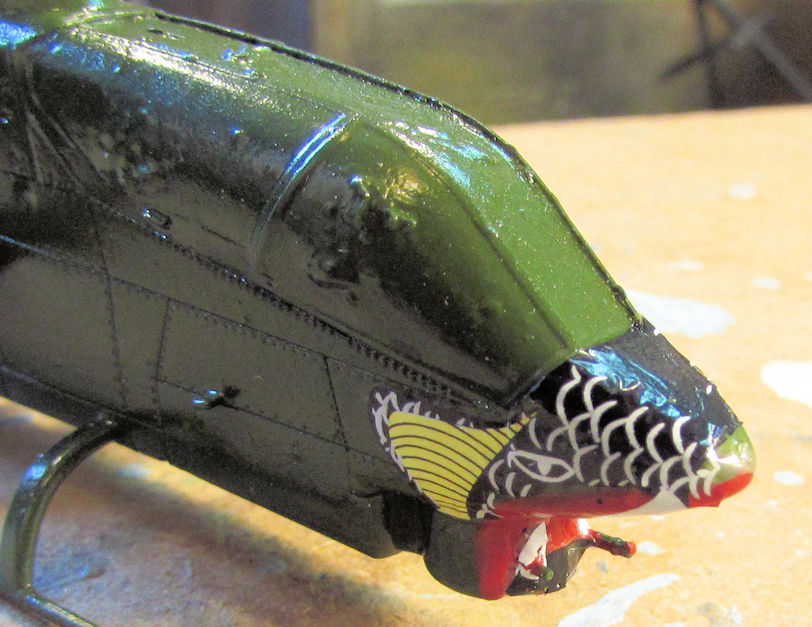 Finally, the last decal was added to the top of the nose: 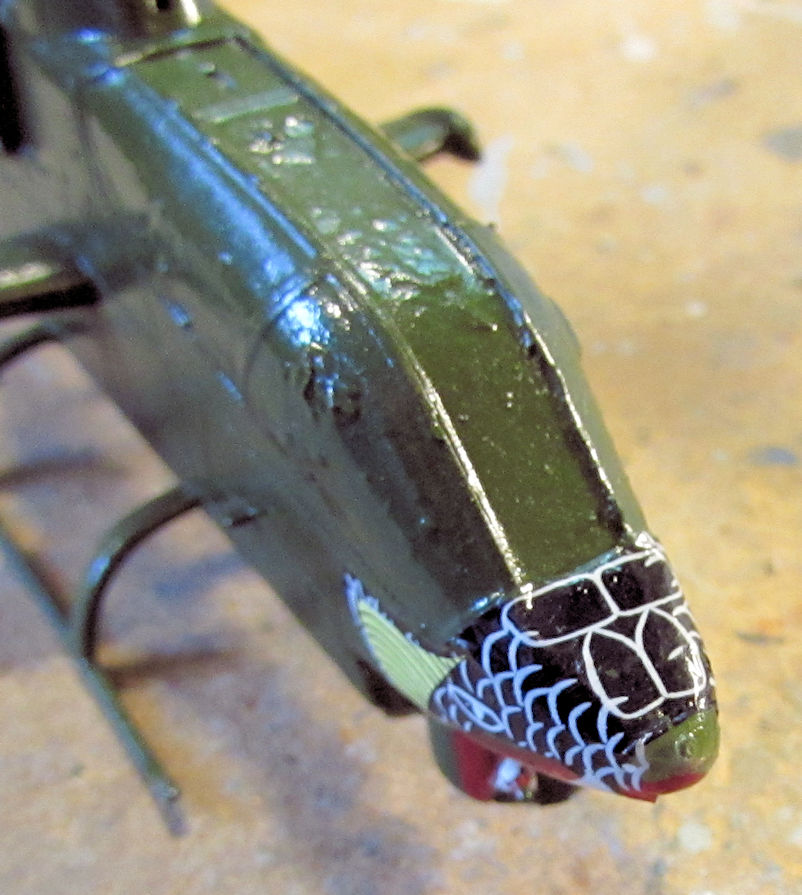 I went on to complete the decals for this helicopter, but apparently forgot to take the pics of the fully decaled bird. Next update..... The second helicopter is my EH-101 Merlin that I finally added the interior decals to. There were a lot and I like how they look. First is the seatbelts and center console on the cockpit: 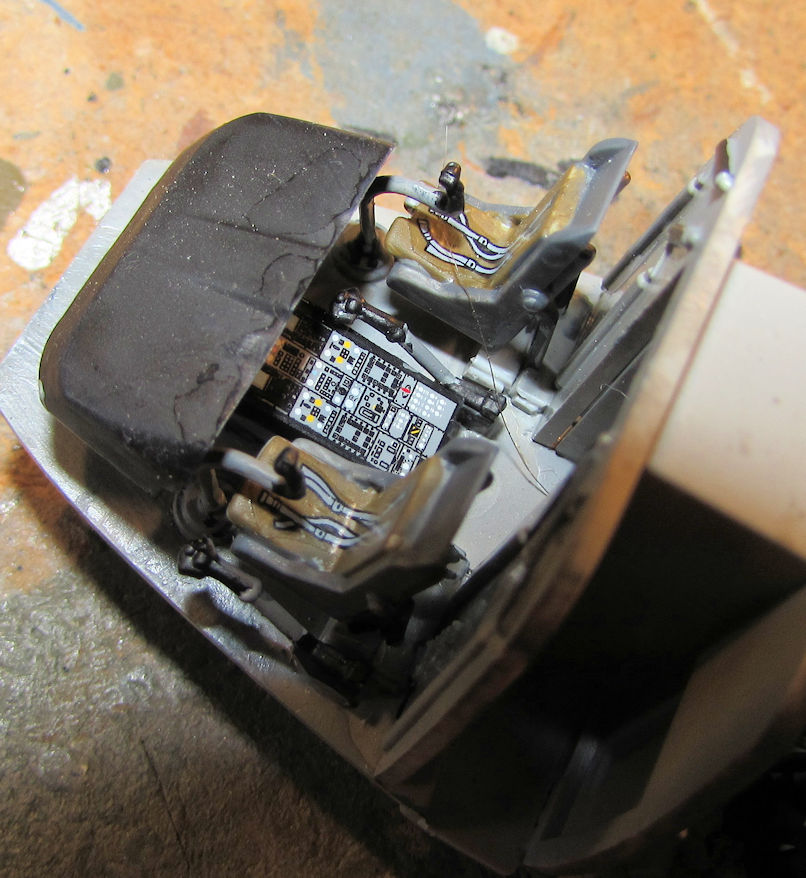 Then I added the main instrument panel to the front. It was tough getting it in there, but I succeeded: 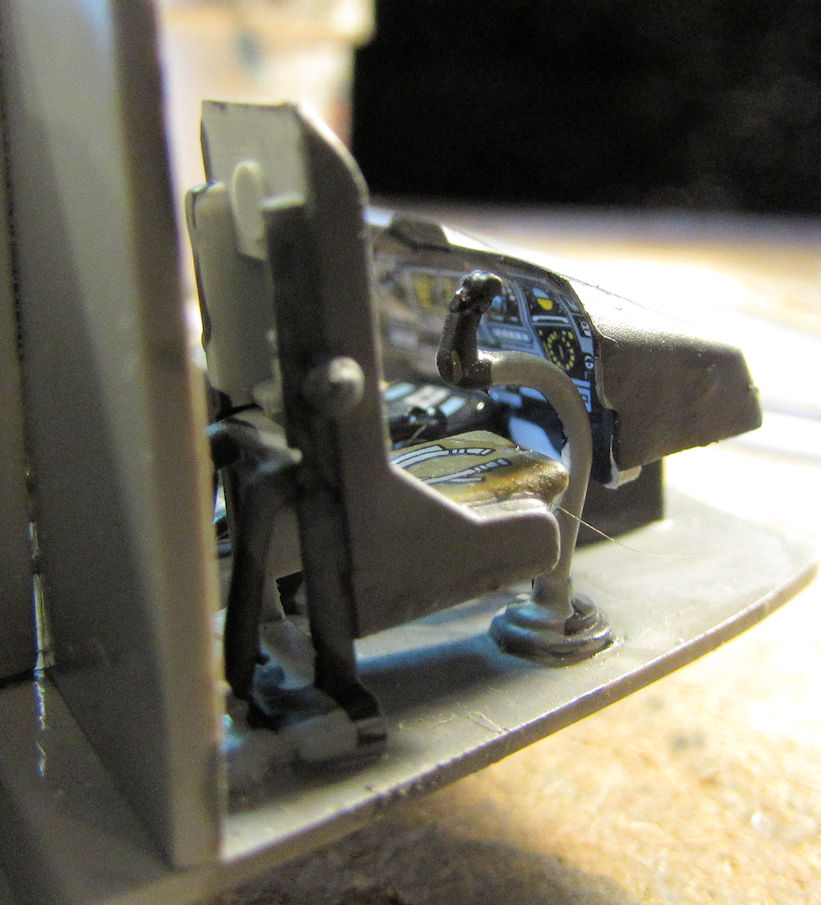 Next up was the anti-submarine operator's panels and the seatbelts for their chairs as well as the passenger chairs: 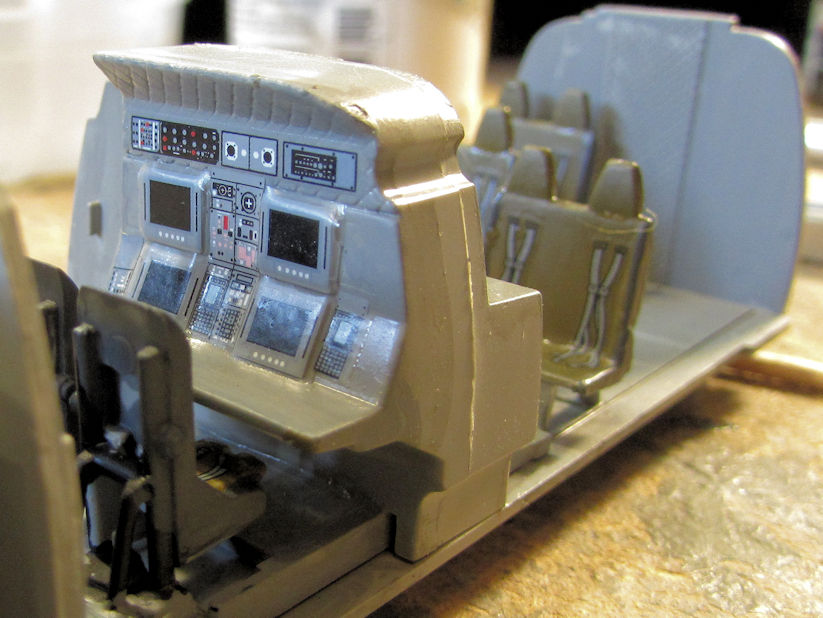 Finally, here's an overhead shot of the whole interior: 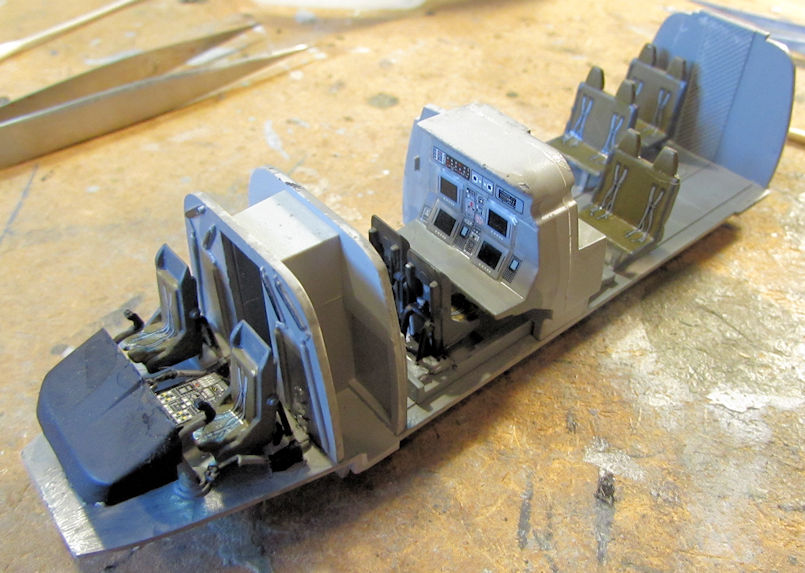 Now I've already added the windows to the fuselage halves and now I can close this up inside. Yes, I will leave some of the doors open to show some of this incredible interior. Moving on to my armor, I managed to get some brush painting done on my RAF Airfield vehicles. It was easier to brush paint the darker camo pattern on these instead of masking and spraying. First the Tilly: 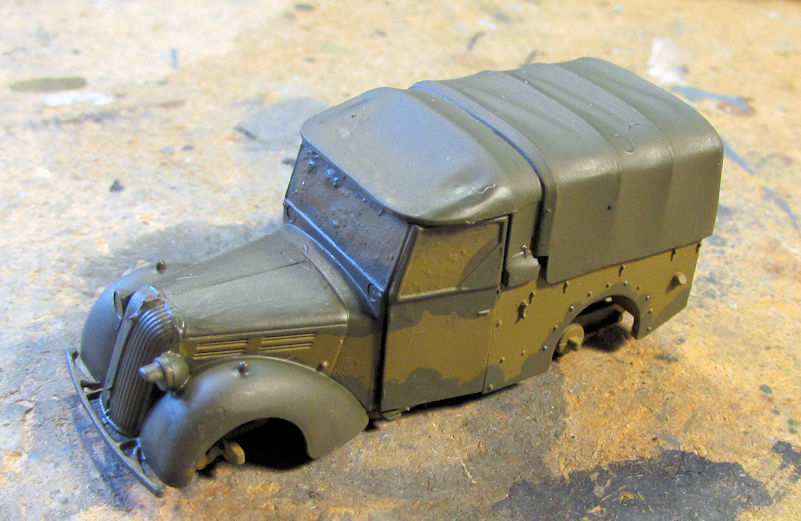 Then the Bedford tanker: 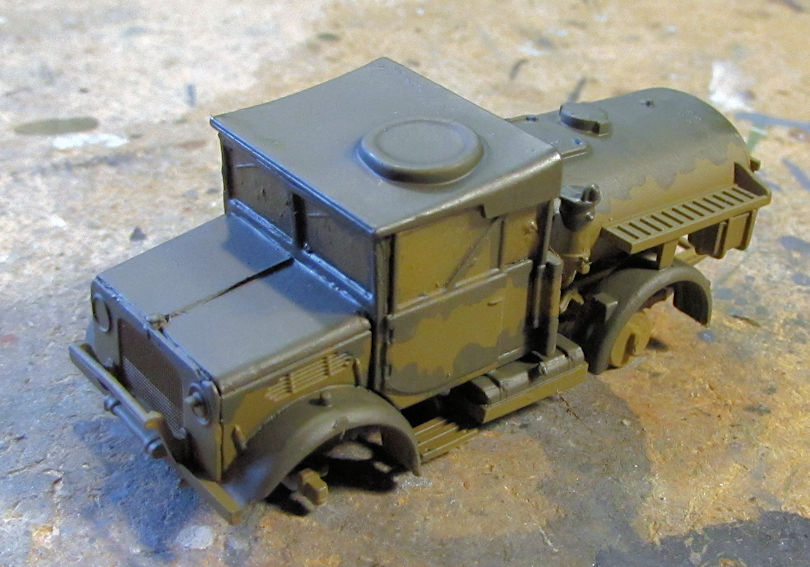 On the rest of my vehicles I got all of the decals done. I now have at least three armor/vehicle models approaching the finish line. First off, I got the decals on my German M-109. They aren't accurate as I had to steal them from an old decal sheet from an M-113 APC model I'd built a couple decades ago. I'd lost the decal sheet to this model and; instead of trying to contact Revell of Germany during their transition, or search forever trying to find them, I just moved on as best I could. I'm so tired of being delayed by such crappy, avoidable setbacks! Here it is looking acceptable enough: 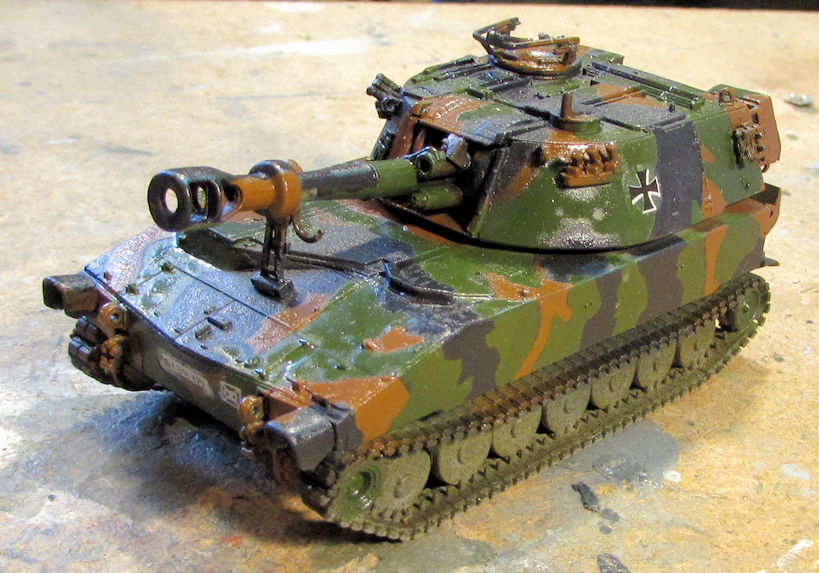 Next I added the decals to the German MAN truck. They only went on the front and back: 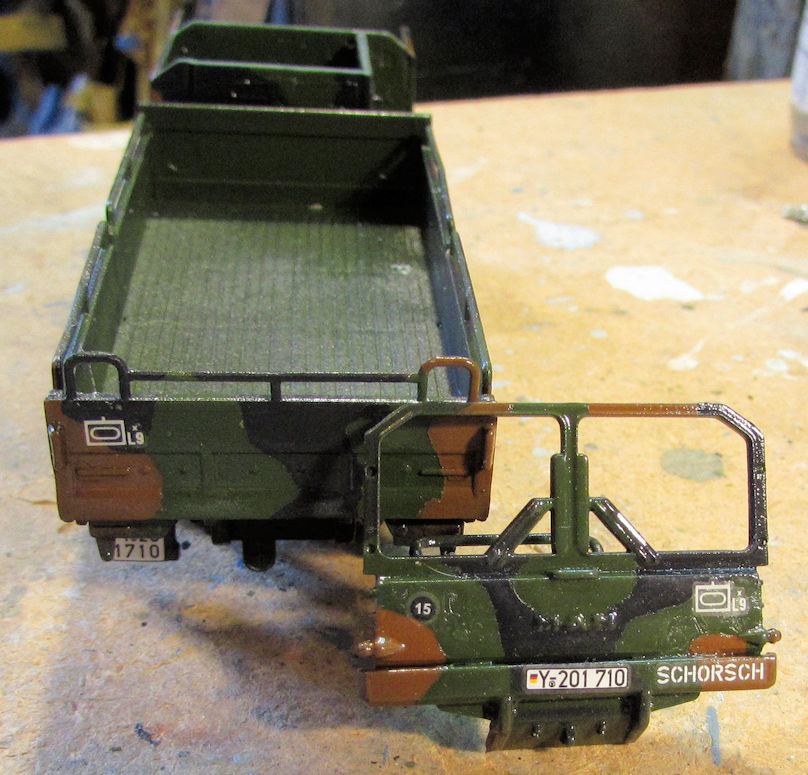 I already fixed that decal that silvered.... Finally the British Vauxhall ambulance got all the decals applied to this model: 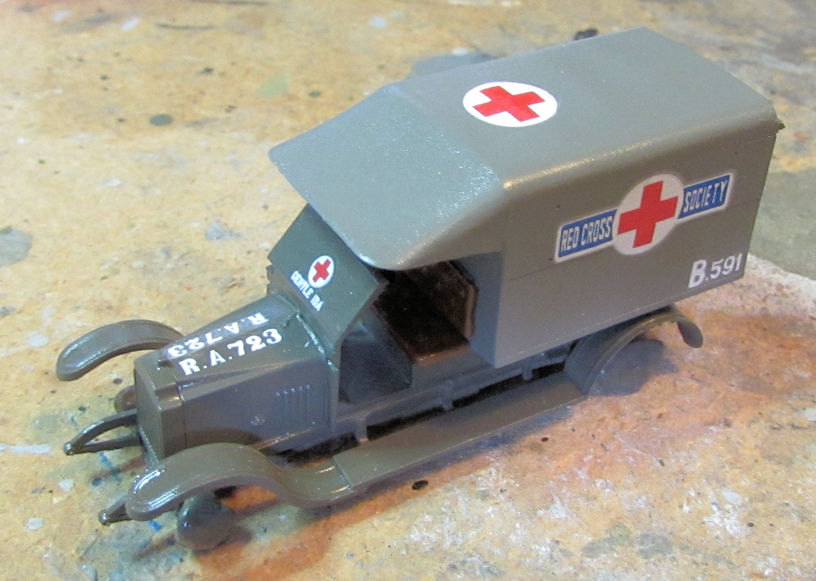 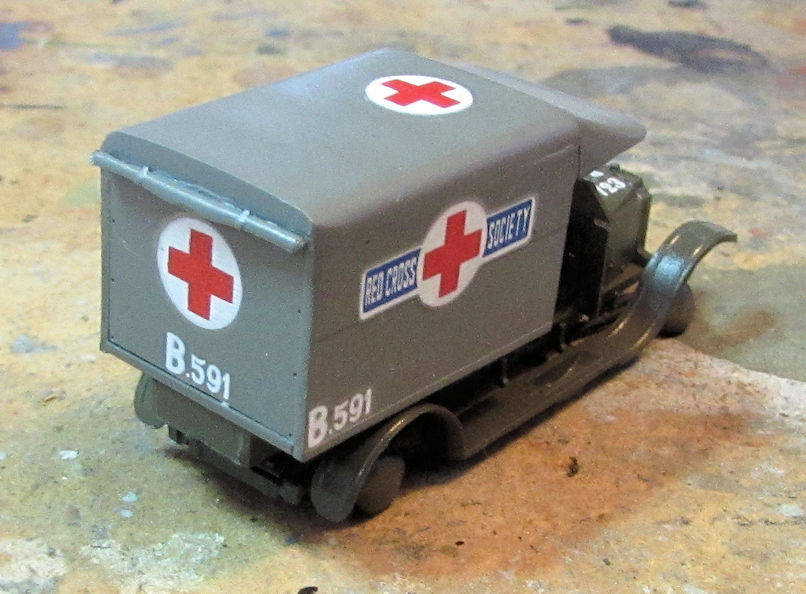 That is now ready for the final detail parts and painting do be done. I might even have a few of these ready for Phoenix! That's as far as I got so far this week. Next week might be a non-working week as I'll be heading out to the San Diego Comicon for almost all next week. I'm so glad it's all been paid for already! After I get back from that, I will try to dedicate some time to finishing off all these that are so close to being done. Thanks all for looking in, comments are welcome. |
|
|
|
Post by RLFoster on Jul 13, 2018 15:41:15 GMT -6
Outstanding work all around, Mark! Well Done! That 737 is particularly impressive.  |
|
|
|
Post by BUCKY on Jul 13, 2018 20:06:22 GMT -6
Spectacular progress, MD!!
From where I'm sitting, that Boeing looks very nice!!
|
|
|
|
Post by JCON on Jul 13, 2018 21:00:43 GMT -6
Decals really bring them to life!!!
|
|
|
|
Post by JED on Jul 14, 2018 8:28:37 GMT -6
Great stuff
|
|
|
|
Post by Dukemaddog on Jul 14, 2018 9:13:07 GMT -6
Thanks for the awesome replies guys! I really appreciate it.
The 737 has a lot of issues with the decals, but it does look good with them on.
Now to start bringing some of these home to the completed shelf....
|
|
Ernie
SETTLING IN
   Just goin' where the plastic takes me.....
Posts: 358 
Likes: 853
|
Post by Ernie on Jul 14, 2018 12:49:28 GMT -6
Excellent progress Duke, they all look great. The 737 looks really good in United markings, but they are all fantastic! It's going to be a stampede to the finish line  |
|
|
|
Post by BUCKY on Jul 14, 2018 15:54:07 GMT -6
TALLY HO!!!!
|
|
|
|
Post by ARMORGUY on Jul 15, 2018 13:41:01 GMT -6
Top quality decalism !
|
|
|
|
Post by Dukemaddog on Jul 15, 2018 18:54:35 GMT -6
Thanks guys! I really appreciate your great comments.
Ernie, you may be right. It would be great to sit back and look at five, six or even seven finished models after a few more days of work.
AG, most of it is; some decals had too many issues and won't make any of them contest winners. Still, I'm thrilled to have them all in decals now and be able to move on. I really can't wait to get some of these things finished.
|
|