Post by Dukemaddog on Feb 11, 2018 14:30:33 GMT -6
After an interesting start to the New Year, I finally managed to get some bench time; mostly thanks to my monthly St. Crispin's Irregulars Hobby Day. Here is where I am now.
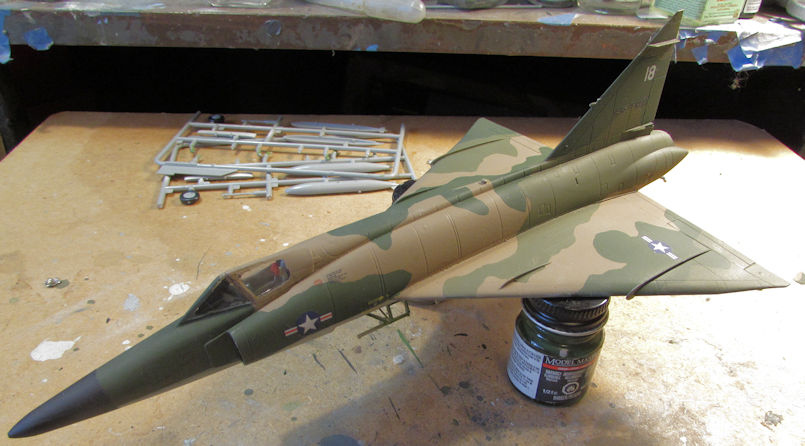
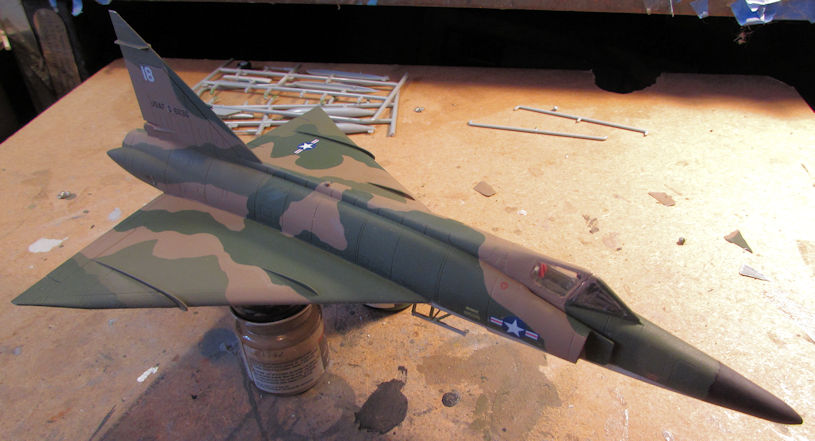
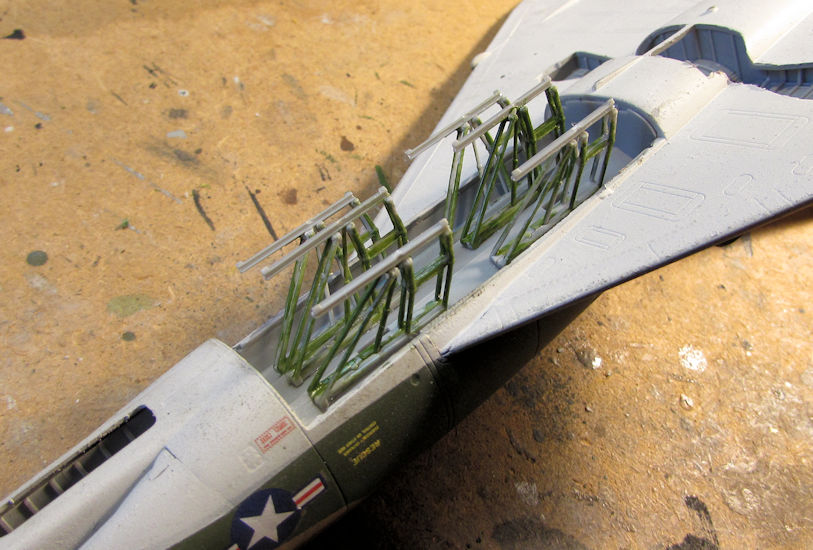
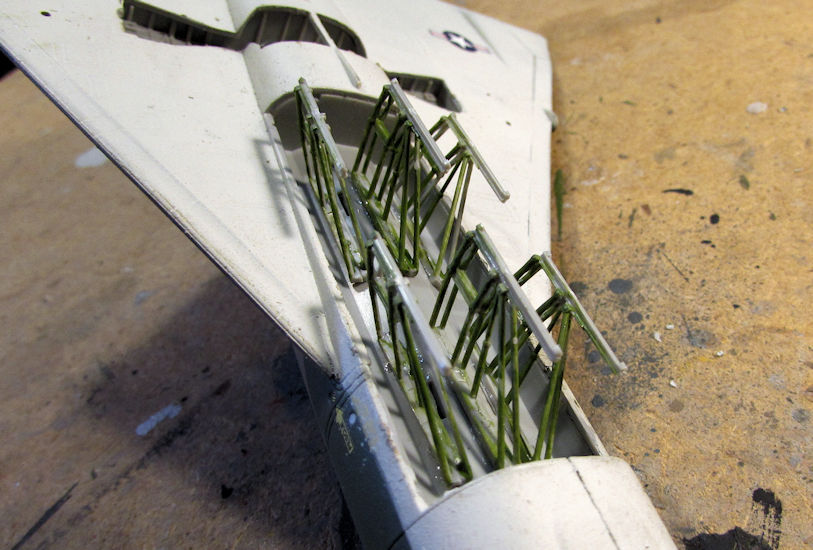
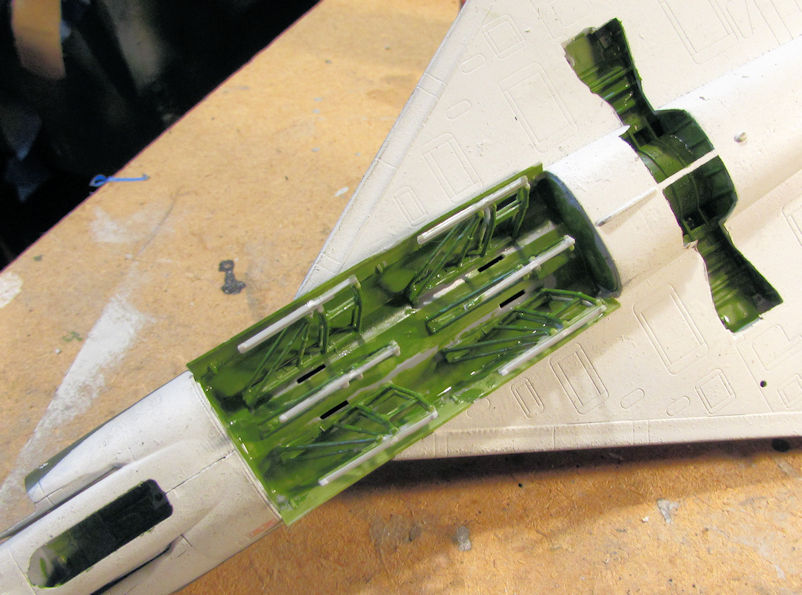
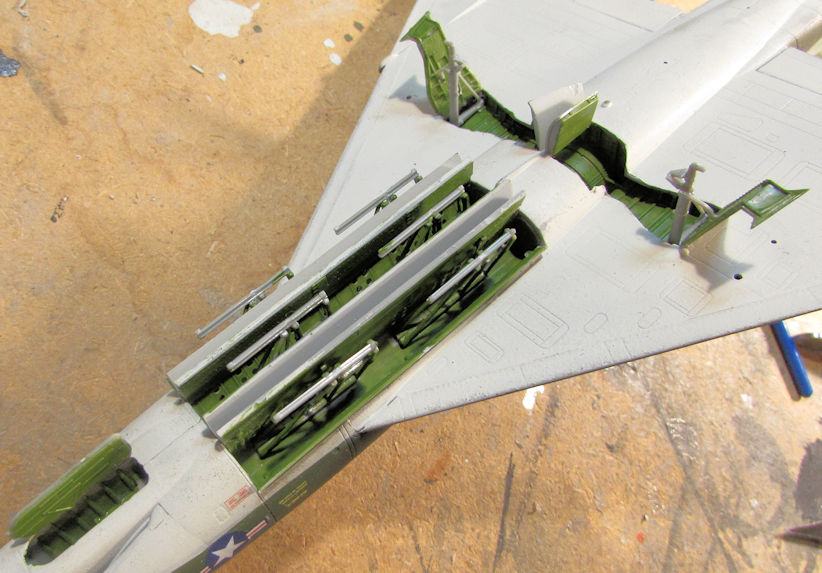
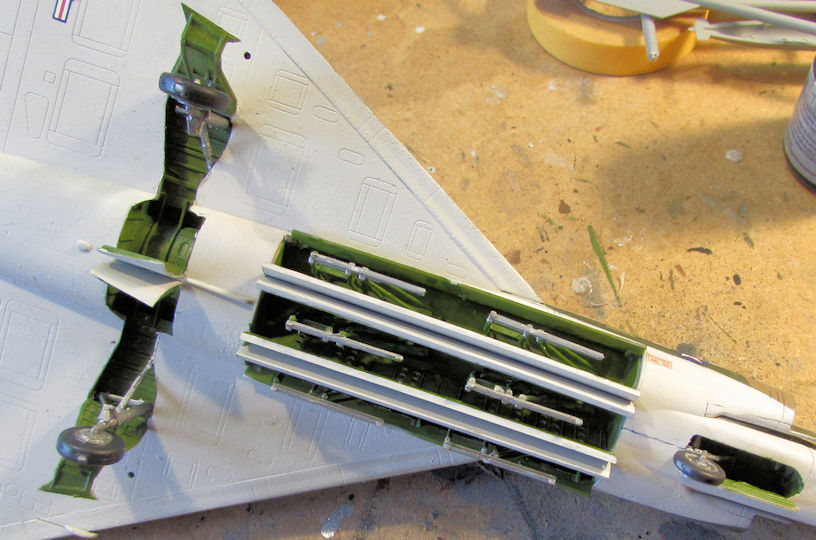
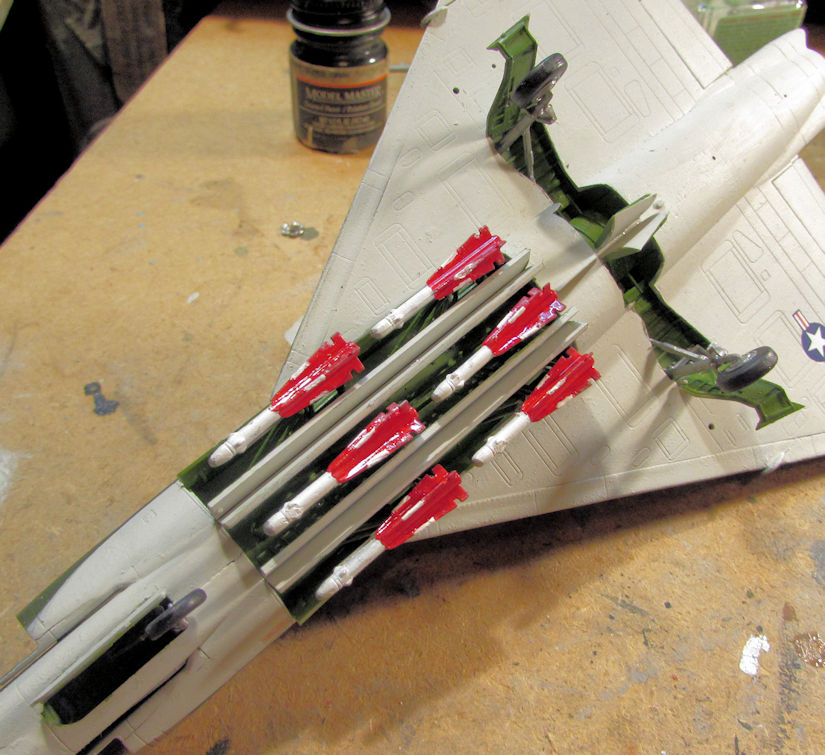
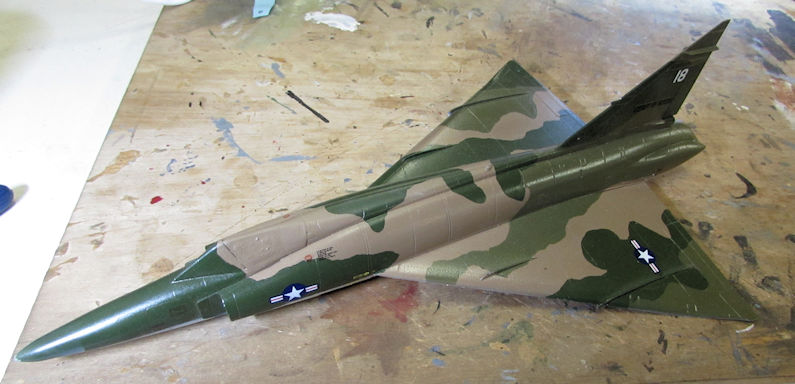
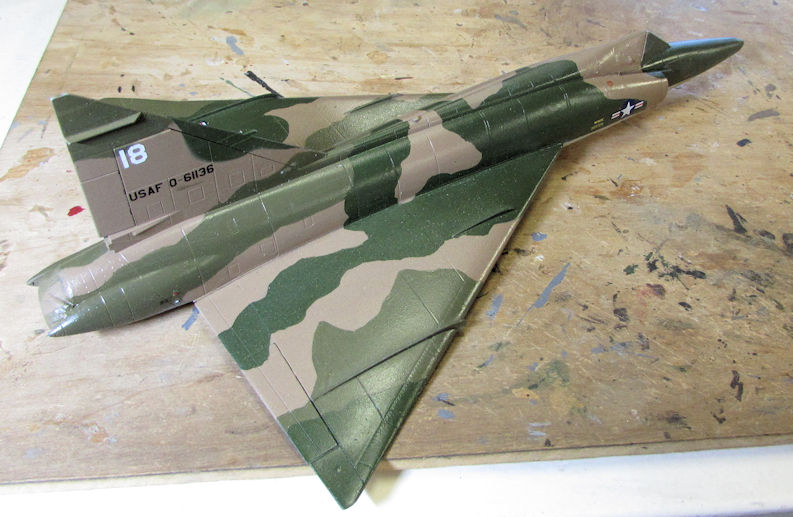
I finally completed my decals on the F-102 Delta Dagger. Now I can dullcoat this and complete the final details:
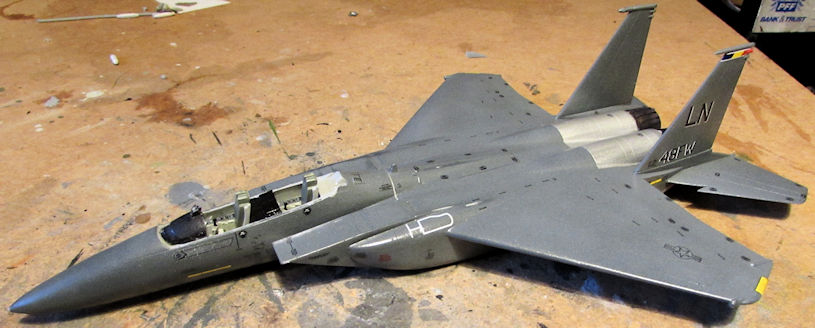
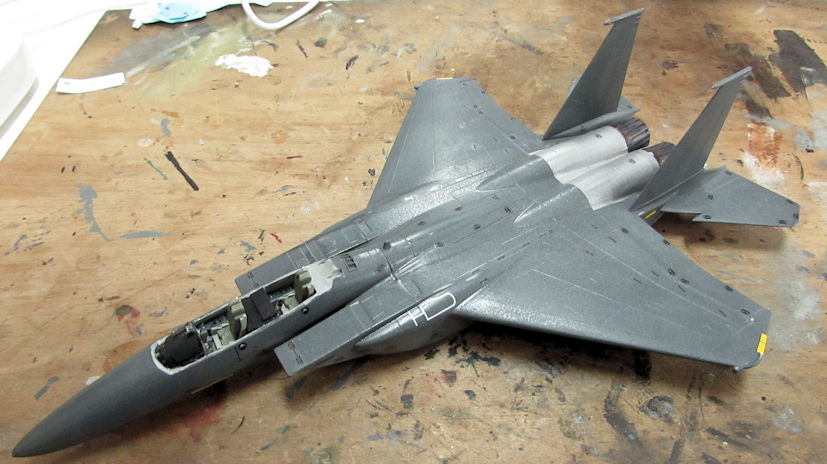
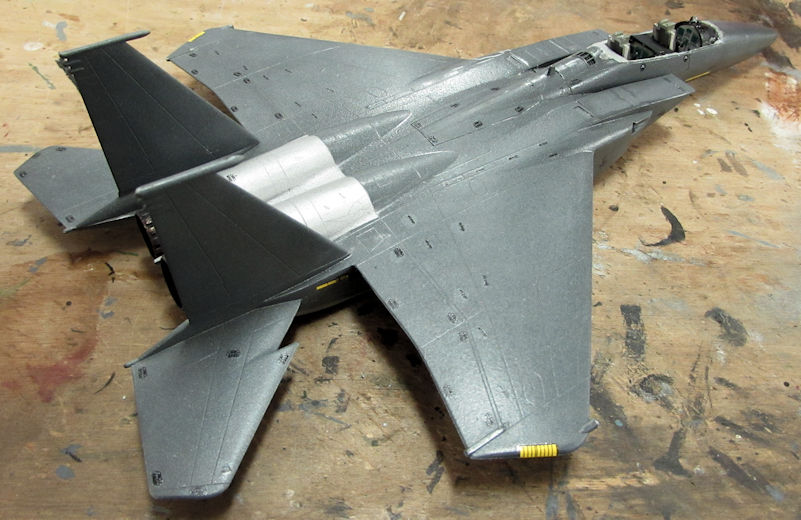
Next I finished all the crazy stencils on the F-15E Strike Eagle. Now I can finish the rest of the decals and move forward on this:
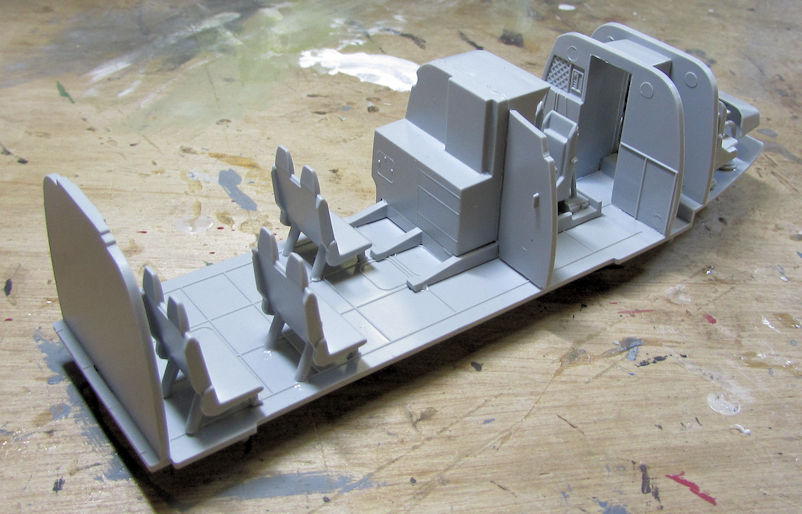
Next I started a helicopter that was given to me by a friend and fellow IPMS member. He knew I had wanted this helicopter and he got it for me. This is the EH-101 Merlin Royal Navy bird. I was so excited about building this, I had almost forgotten to take pics! Here is the first pic I took, showing the entire interior assembled together:

Later I dry-fit this inside the fuselage to see how it fit. I was quite amazed at how well this fell together:
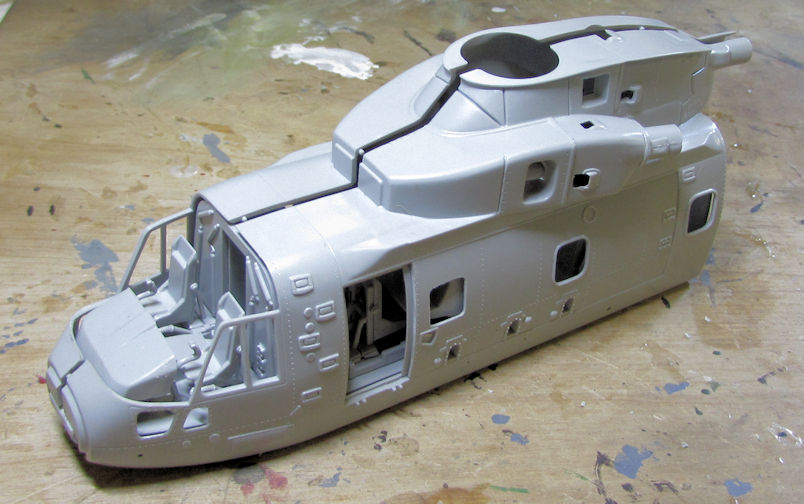
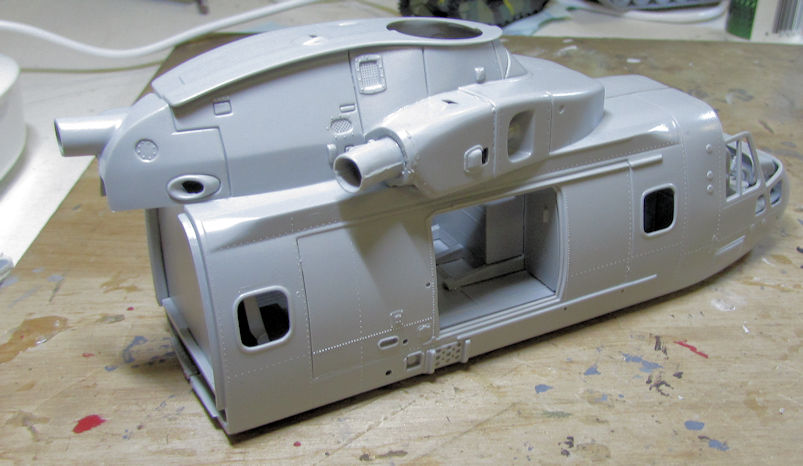
Finally, here's a shot of all the fuselage components sitting together:
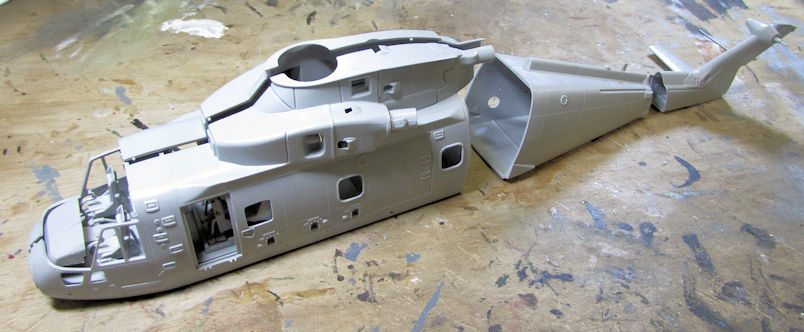
One thing I like about this is that they give you an operational hinge on the tail to fold it. They also make the main rotors foldable too!
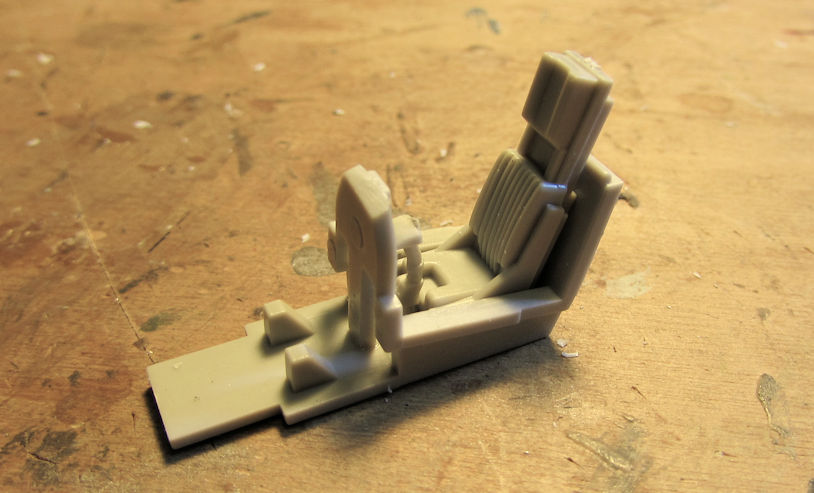
Moving on, I also started one of my Christmas presents, the Mitsubishi F-2A. I started with the cockpit of course. It's a very simple affair:

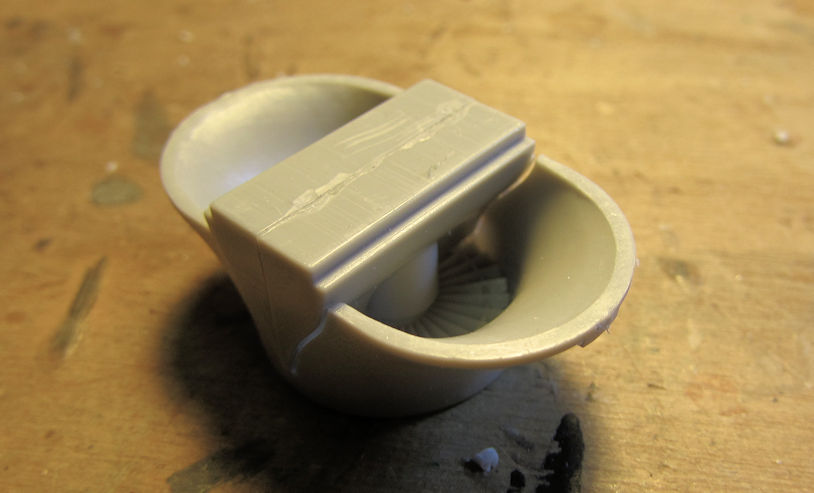
I then added all the main gear well walls and such, as well as the main intake scoop on the front of the lower fuselage:
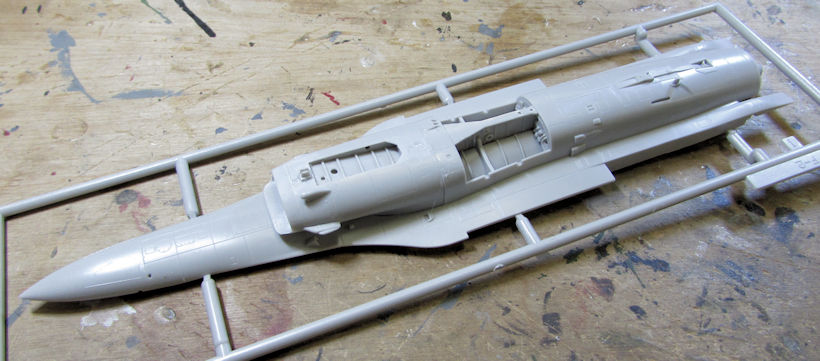
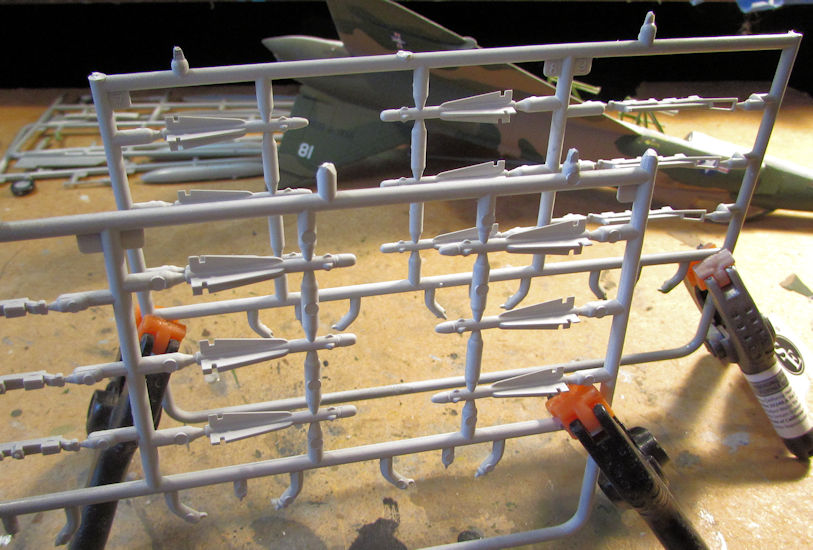
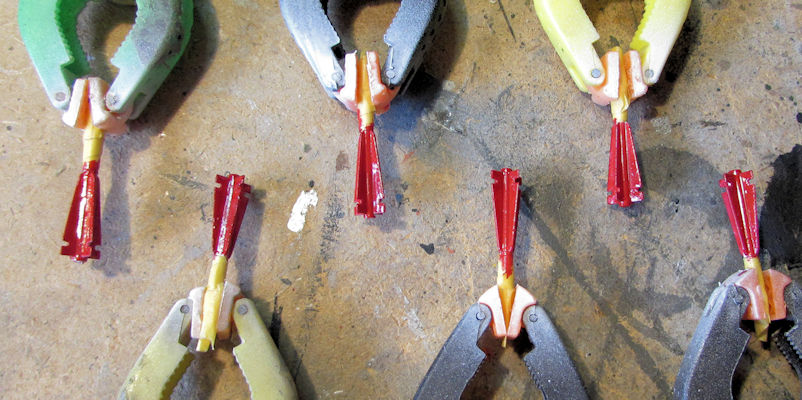
I had also assembled all the missiles and drop tanks for this too, but I didn't shoot pics of them.
Moving on to my armor, I was able to accomplish the following work....
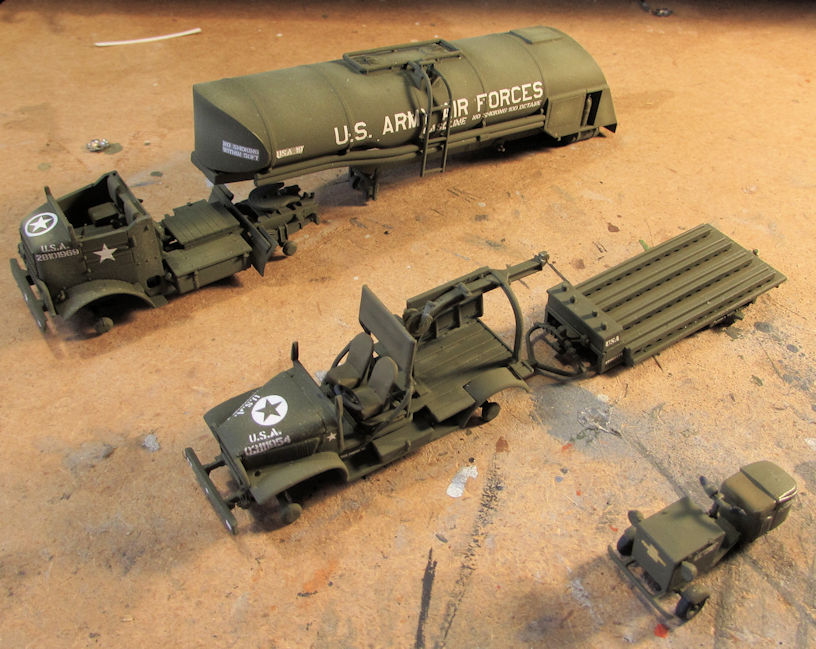
Here is where I was with my USAAF resupply set. I had finished dullcoating these after applying the decals:
Later on, I added the cab tops and the wheels to all of these:
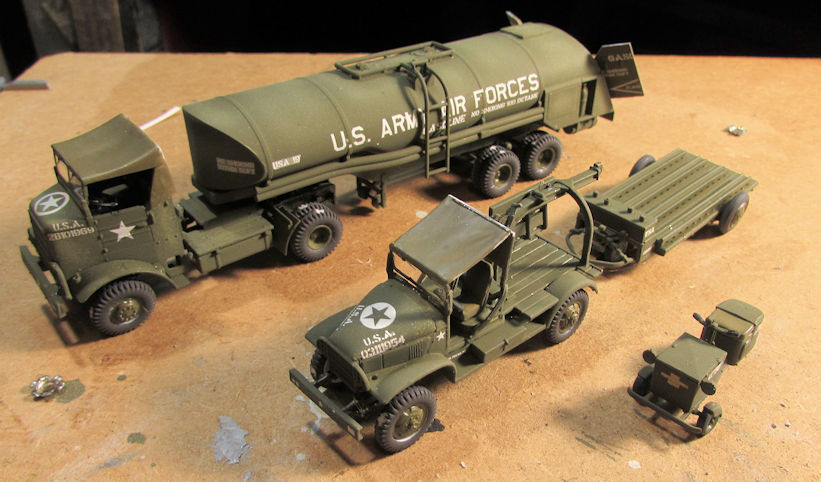
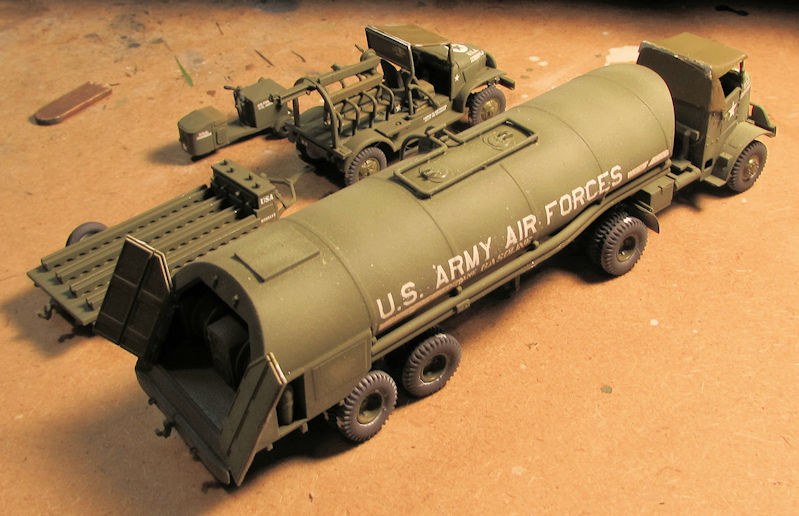
After this, I tried to complete all of them with the final details and such, but every time I tried to move forward; something broke off. When I fixed that, something else broke off. I spent two weeks re-fixing broken things before I finally got this whole set finished. Finished pics to be posted soon.
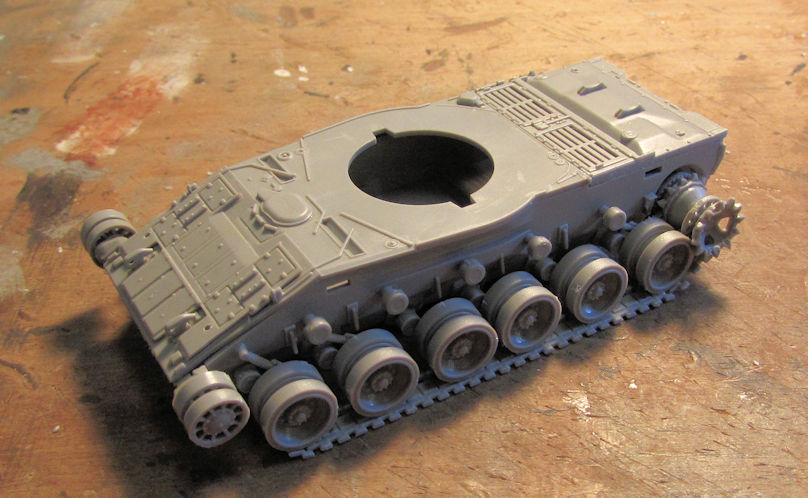
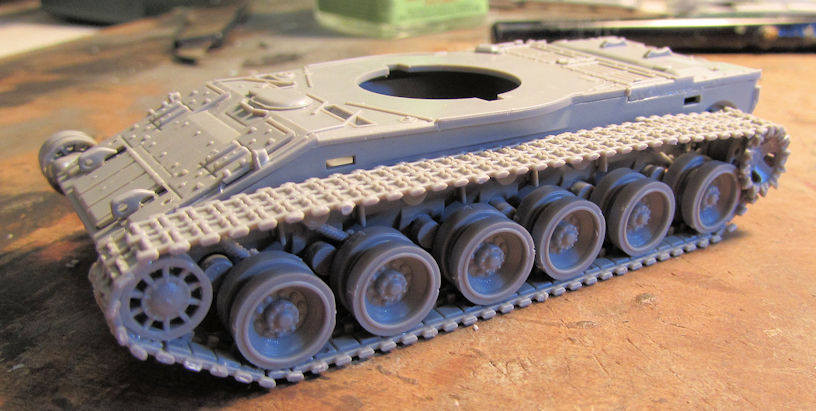
Moving on, I finally installed the tracks on the Japanese Type 89 Late:
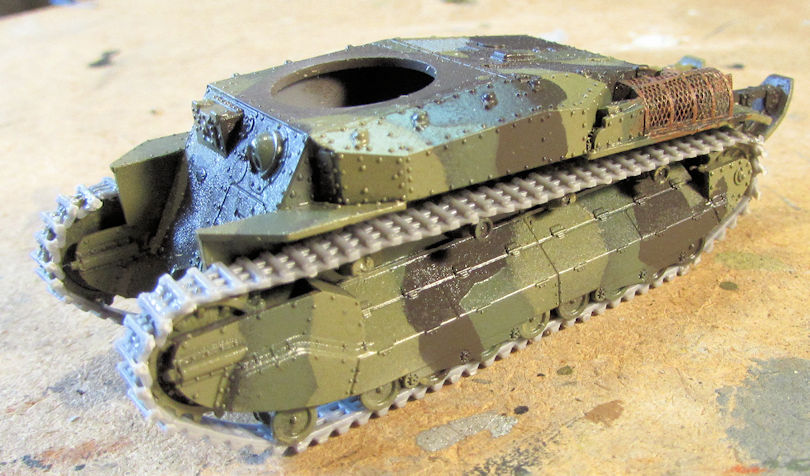
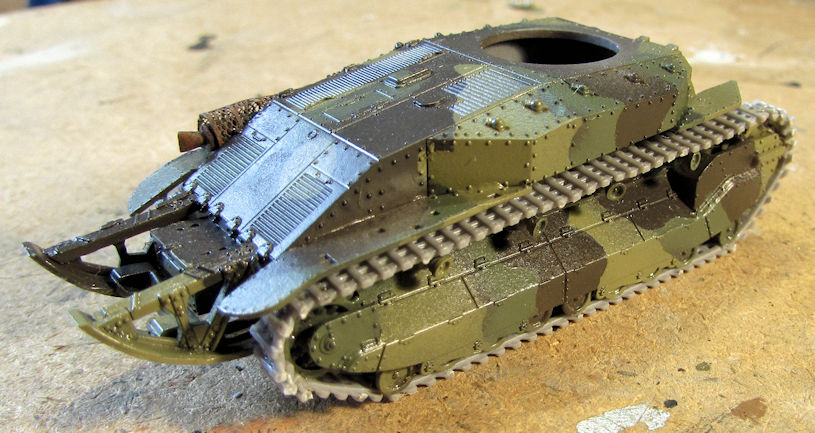
After that, I painted the tracks a flat black; added the tools, the machine guns, and a couple small roadwheels that had fallen off. Then I added the decals before dullcoating this little beastie:
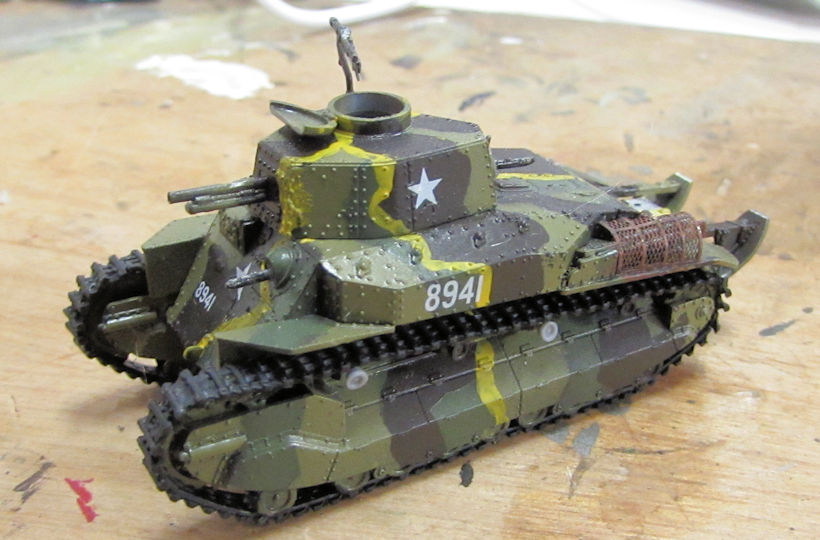
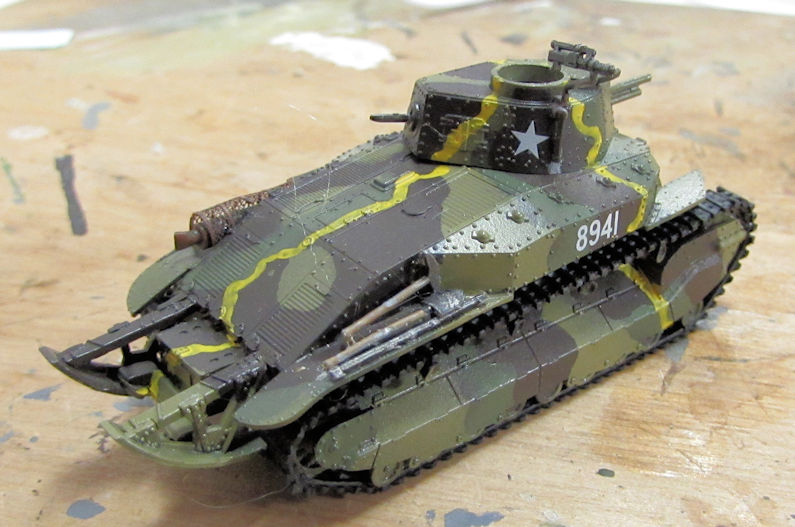
Due to the confusion many people have had thinking that the white stars are American markings; I've decided to add a couple small Japanese flags to the sides of this tank behind the hull numbers so people won't question why a Japanese tank has US markings. It may not be accurate, but at least it will help people understand it is a Japanese tank. You will see them in the completed pics of this tank; which will hopefully get done in a couple more days.
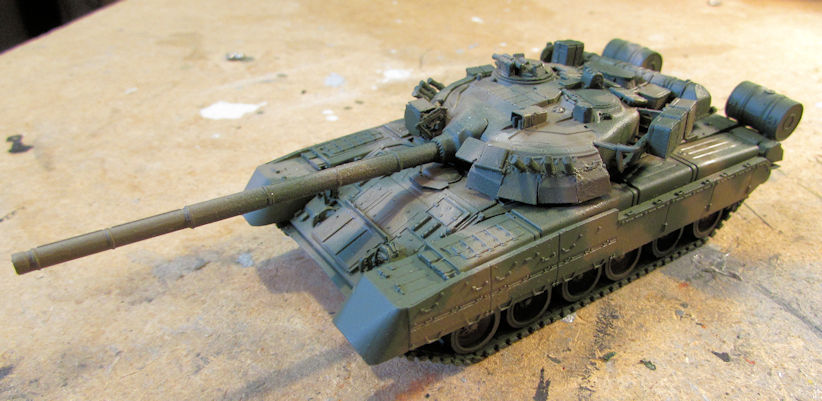
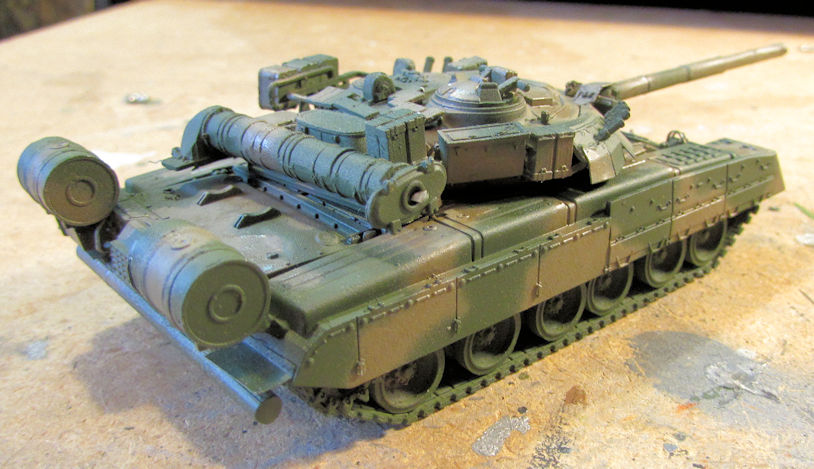
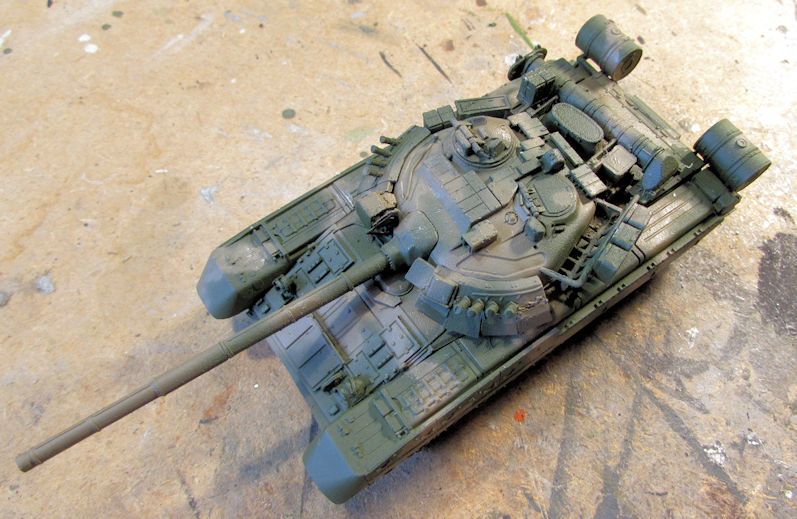
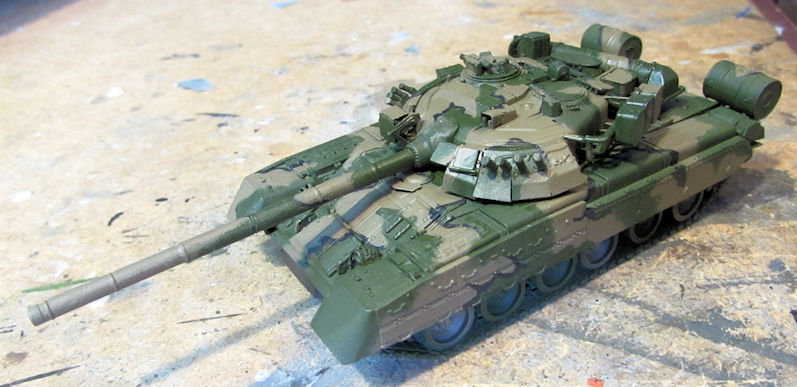
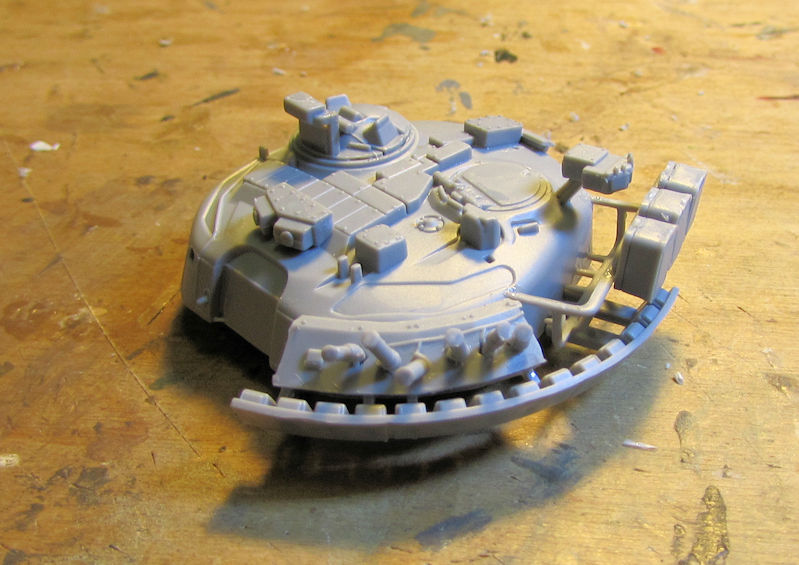
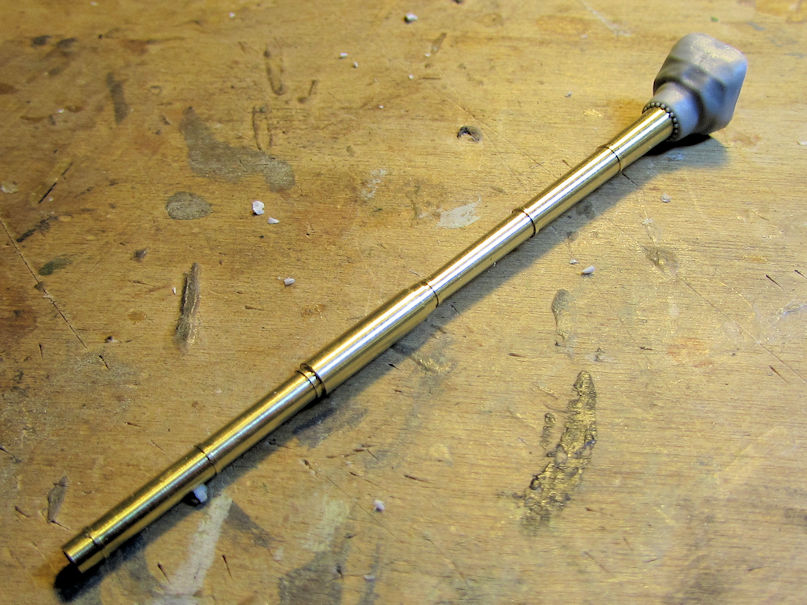
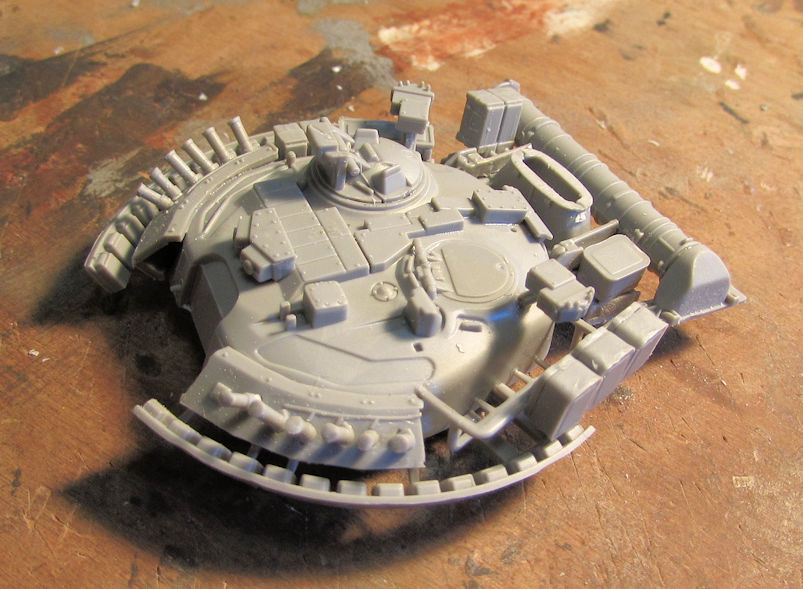
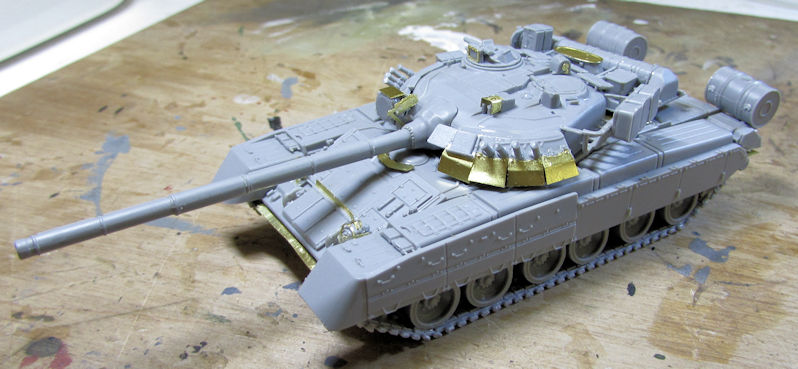
Finally, I took the time to complete the photo-etch on the Russian T-80U that I'd started and set aside some time back. Here it is with most of the photo-etch on it:

Later on when all that was dry, I went back and added the two flaps on the front of this tank, as well as touched up a few other areas:
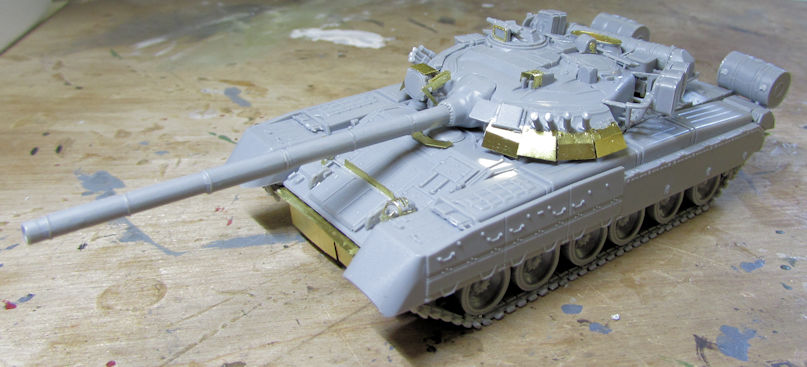

Now to get this primed and ready for paint. I believe I'll be brush painting this the whole time as I'm concerned that the Silly Putty masking will remove some of this photo etch; especially the flaps on the turret and the two front flaps under the front of the hull. After all this time and effort, I don't want to take any chances.
Well, that is my small update for now; hopefully it is the first of many to come. Stay tuned for more and thanks for looking in, comments are welcome.
I finally completed my decals on the F-102 Delta Dagger. Now I can dullcoat this and complete the final details:


Next I finished all the crazy stencils on the F-15E Strike Eagle. Now I can finish the rest of the decals and move forward on this:


Next I started a helicopter that was given to me by a friend and fellow IPMS member. He knew I had wanted this helicopter and he got it for me. This is the EH-101 Merlin Royal Navy bird. I was so excited about building this, I had almost forgotten to take pics! Here is the first pic I took, showing the entire interior assembled together:


Later I dry-fit this inside the fuselage to see how it fit. I was quite amazed at how well this fell together:


Finally, here's a shot of all the fuselage components sitting together:

One thing I like about this is that they give you an operational hinge on the tail to fold it. They also make the main rotors foldable too!
Moving on, I also started one of my Christmas presents, the Mitsubishi F-2A. I started with the cockpit of course. It's a very simple affair:

I then added all the main gear well walls and such, as well as the main intake scoop on the front of the lower fuselage:

I had also assembled all the missiles and drop tanks for this too, but I didn't shoot pics of them.
Moving on to my armor, I was able to accomplish the following work....
Here is where I was with my USAAF resupply set. I had finished dullcoating these after applying the decals:

Later on, I added the cab tops and the wheels to all of these:


After this, I tried to complete all of them with the final details and such, but every time I tried to move forward; something broke off. When I fixed that, something else broke off. I spent two weeks re-fixing broken things before I finally got this whole set finished. Finished pics to be posted soon.
Moving on, I finally installed the tracks on the Japanese Type 89 Late:


After that, I painted the tracks a flat black; added the tools, the machine guns, and a couple small roadwheels that had fallen off. Then I added the decals before dullcoating this little beastie:


Due to the confusion many people have had thinking that the white stars are American markings; I've decided to add a couple small Japanese flags to the sides of this tank behind the hull numbers so people won't question why a Japanese tank has US markings. It may not be accurate, but at least it will help people understand it is a Japanese tank. You will see them in the completed pics of this tank; which will hopefully get done in a couple more days.
Finally, I took the time to complete the photo-etch on the Russian T-80U that I'd started and set aside some time back. Here it is with most of the photo-etch on it:


Later on when all that was dry, I went back and added the two flaps on the front of this tank, as well as touched up a few other areas:


Now to get this primed and ready for paint. I believe I'll be brush painting this the whole time as I'm concerned that the Silly Putty masking will remove some of this photo etch; especially the flaps on the turret and the two front flaps under the front of the hull. After all this time and effort, I don't want to take any chances.
Well, that is my small update for now; hopefully it is the first of many to come. Stay tuned for more and thanks for looking in, comments are welcome.


