Post by mustang1989 on Nov 14, 2024 20:45:56 GMT -6
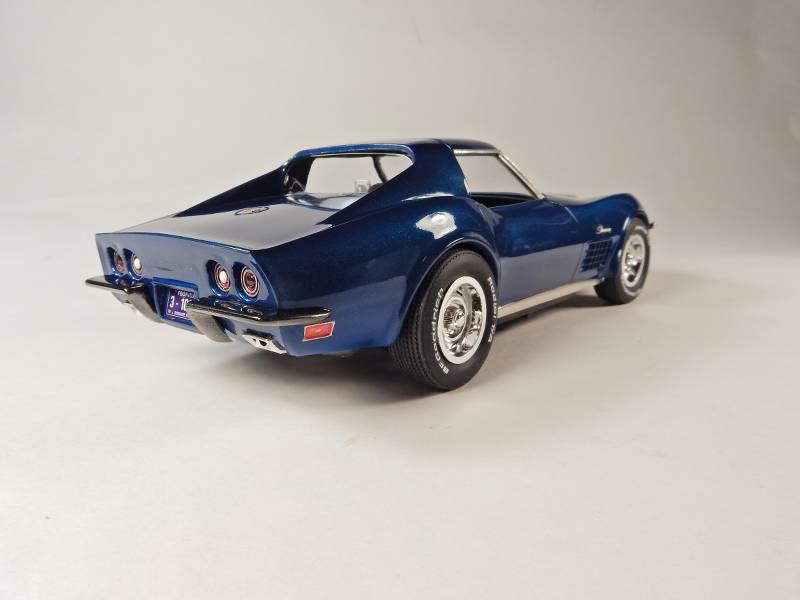
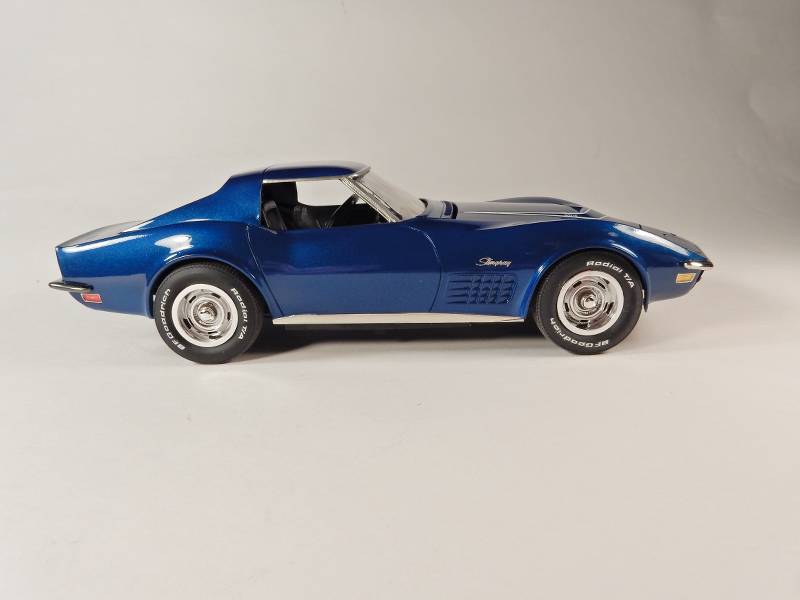
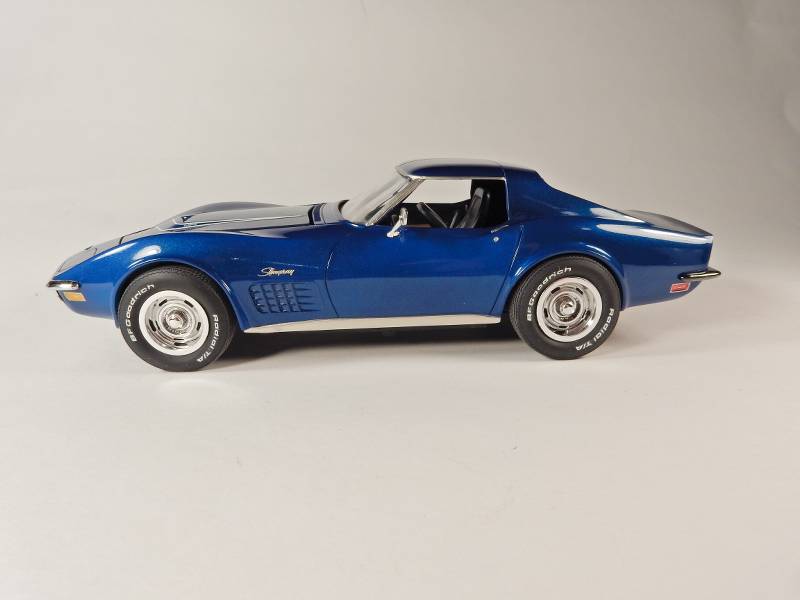
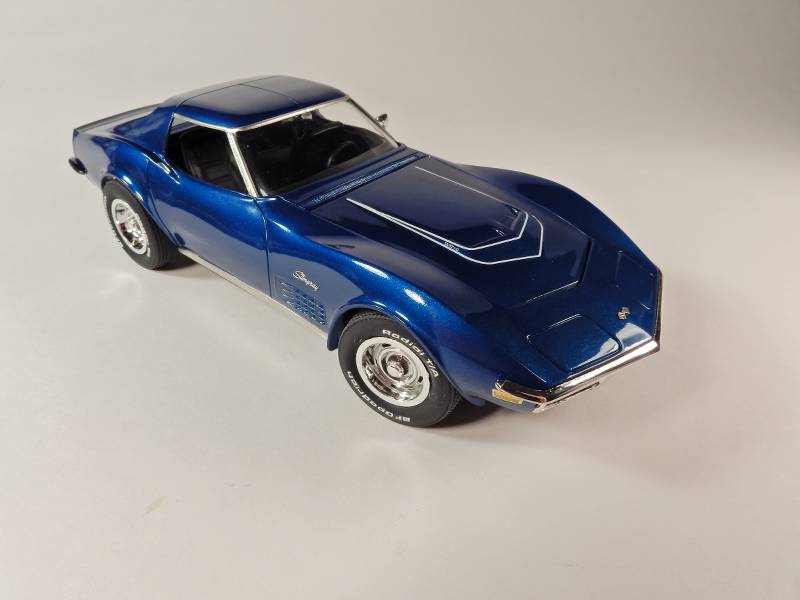
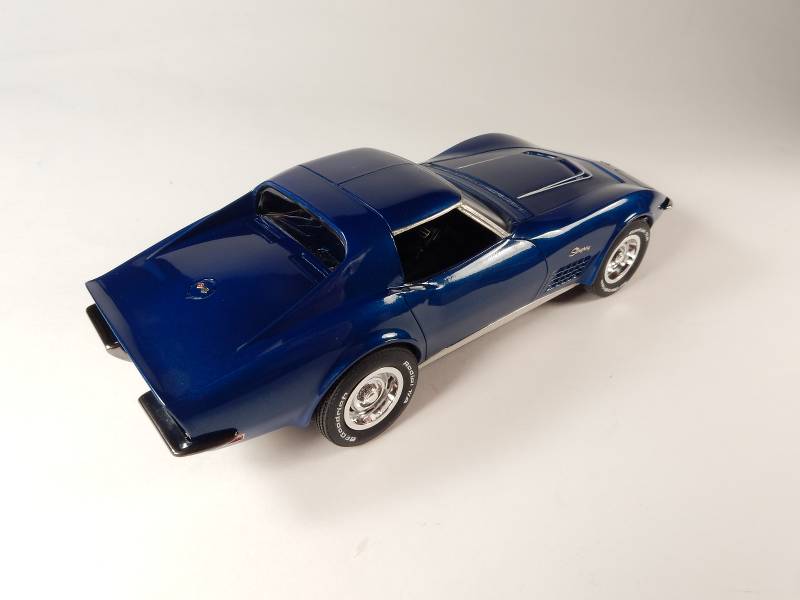
When I started this project, I knew that this kit was a somewhat problematic build as far as getting the stance right. I spent a good amount of time in the planning phases, building up a complete unpainted model of it to help with the positioning of the wheels & tires relative to the wheel openings as well as getting all the mods necessary for pulling off the correct stance. All of that paid off in the fact that the stance came out exactly how I wanted it on the "real" build.
Starting with the engine I detailed it out as much as I could get by with using the OOB base engine and then working from there with some aftermarket and scratch-built items. I also didn't like the molded in details on the engine bay sides so I sanded all of that off and fabricated vacuum and electrical harnesses to replace that with.
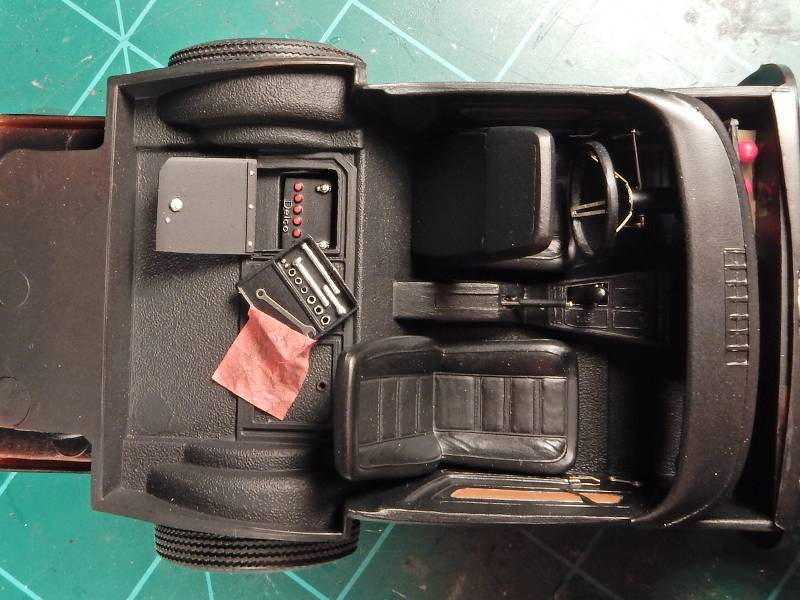
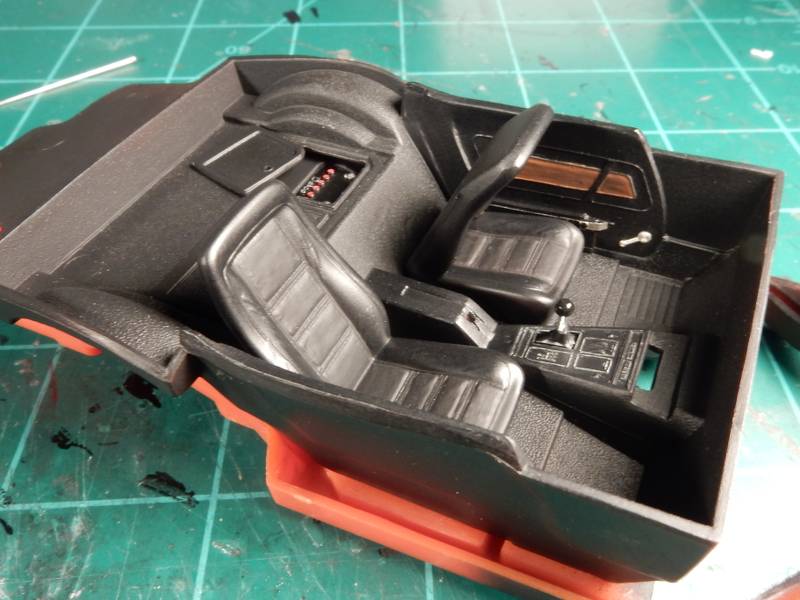
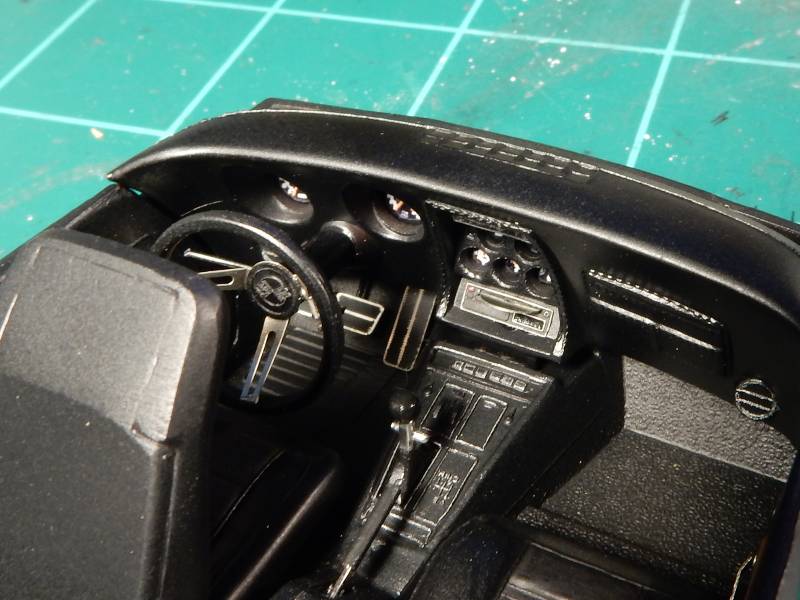
When it came to the interior, I wanted to jog things up a bit by displaying the driver's seat back in the forward position and opening up the battery compartment and displaying a set of tools necessary to remove a battery with. Tool kit was from spares along with the PE wrench. Red rag was fabricated from red tissue paper and given "the treatment". Some other areas that got some "lovin" was the replacement of the molded in park brake handle with an actual handle made from a needle and some electrical wire insulation for the handle, the replacement of the stock radio with a CD player, and the addition of foot pedals. The whole OOB toeboard with the foot pedals molded in were removed and PE parts and fabricated swing levers were swapped in. Instrument panel faces were drilled out and decals placed on plastic backings were installed from the rear of the dash to create a more convincing IP. The steering column and steering wheel ring are the only OOB parts used on that part of the interior. An AM steering wheel, ignition lock cylinder face and ignition keys were used from the Model Car Garage PE set for this car. The door panels were upgraded by adding PE window crank and door handles (that were modified to look a little more convincing). OOB shifter was cleaned up (A LOT) and utilized and shifter plate details picked out with a Prismacolor Silver Lead pencil. Battery compartment lid bottom saw the addition of scratch built latches, retaining straps with PE screws and fasteners. Battery was taken from spare parts I had laying around.
I was going to use some AM Bf Goodrich T/A radials, but they proved to be GROSSLY big for this car, so the OOB tires were used with Bf Goodrich T/A Radial decals that I had and I picked the details out on the OOB wheels and used those. Color is Bridgehampton Blue from MCW with Testors Wet Look Clear that was decanted from the can and shot through the airbrush. I know it's not a factory shine on the car, but I just couldn't help but to make this car shine and Wet Look does a great job of that. PE scripts from the Model Car Garage set was used for the emblems.
In any case, here is the results of a "true labor of love" on this car.


