Post by bobcrozier on Oct 5, 2011 14:47:28 GMT -6
Wanted to share my technique for making instrument gauge bezels.
I tried making them for the Multimaverick and it went well and was easier than I thought it would be - so here goes.
First some aluminium tube of a suitable dia. I used K&S 3.2mm OD which is 2.4mm ID with a 0.4mm wall.
First I squared off the end of the tube. I have a little "shooting block" which allows me to get the end of the tube nice and square
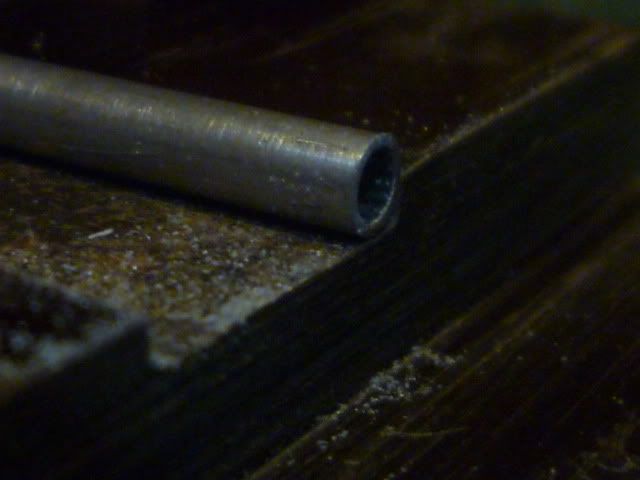
I sand the end of the tube with a fine emery board and finish off with some 600 grit. I do this finally in a rotary motion with the end of the tube nestled on the 600 grit with a little metal polish, twirling the stick to get a chrome like end to the tube. I polish out the end with a piece of kitchen paper towel.
Of course if you have a lathe or dremel or similar you could spin it up instead.
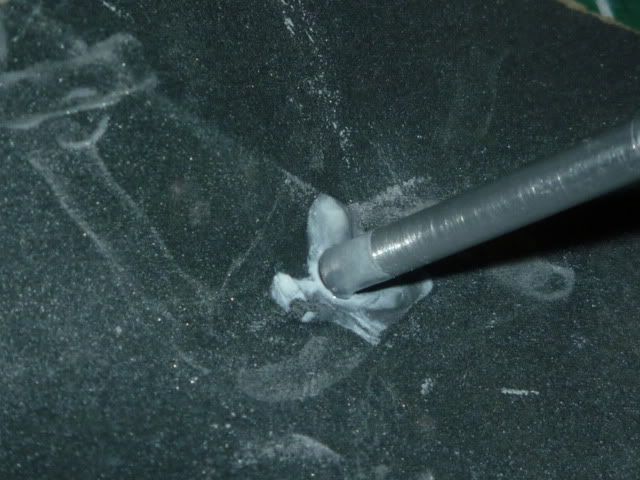
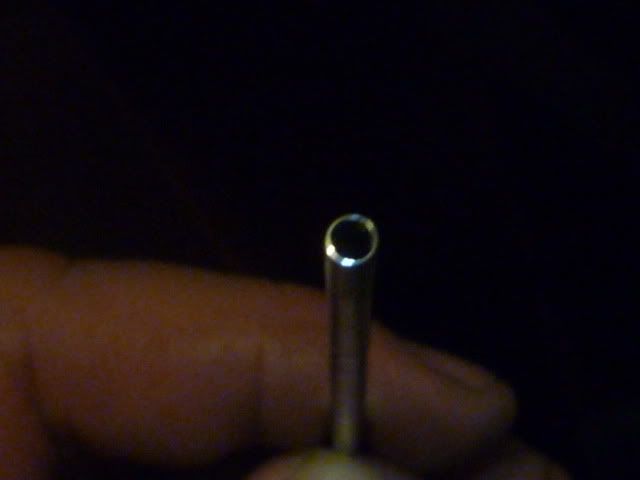
At this point the wall thickness is a little too great so I run a #11 blade around the inside and take off a sliver from the ID
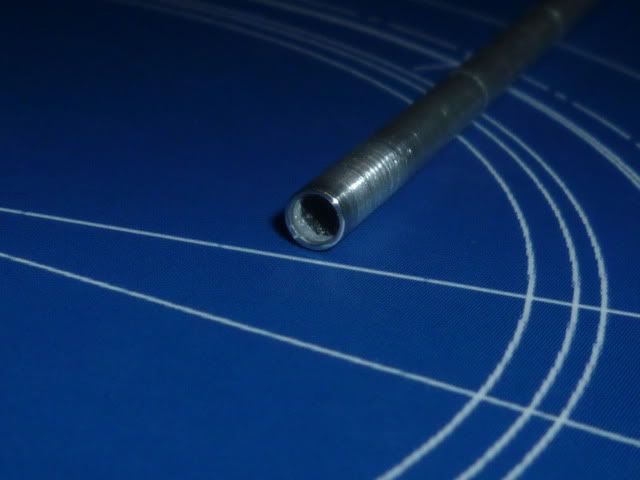
Then I cut off the ring, about 1mm from the end of the tube. You could use a razor saw, but I prefer the "rolling the scalpel blade across the tube" method. Make sure you have a suitable mandrell up the tube (i.e. drill blank, smaller tube, or in my case some 2.4mm dia welding rod) to help retain the form of the tube whilst cutting.
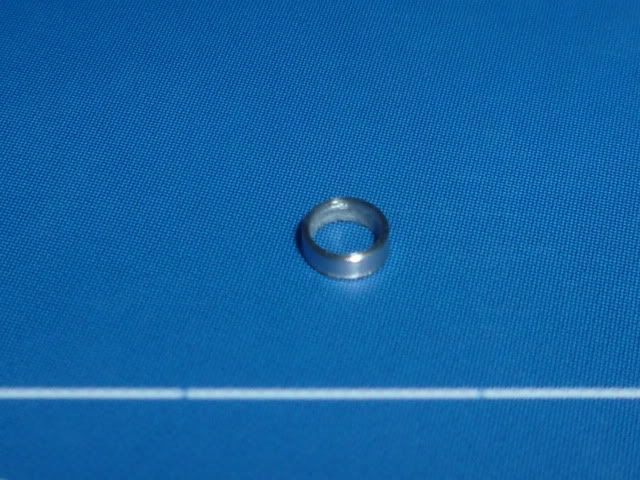
Repeat for how many you need.
Take a flat smooth rigid board of some sort. I use a 1/2 thick piece of acrylic sheet. Apply a piece of double sided adhesive tape and then cut 2 pieces of plastic sheet ( I used 20thou sheet to give a scale thickness of 1/2 inch - you could use thinner for a thinner bezel ). Stick the pieces down on the tape with your bezels face down inbetween and everything up close.
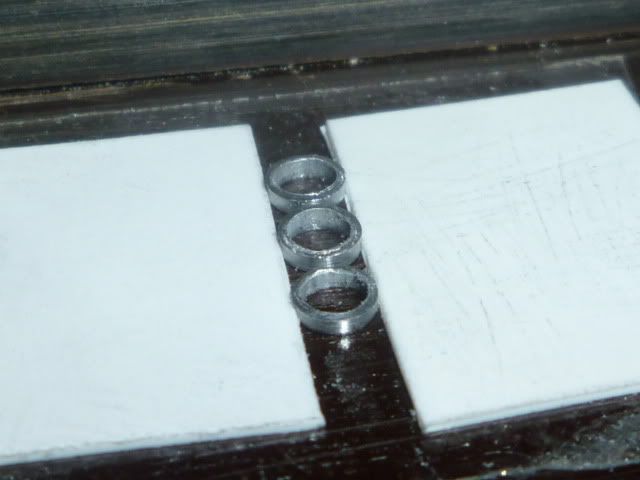
Now take your weapon of choice and sand those suckers down until you bottom out on the plastic. Obviously you need to keep the file or sanding stick flat down
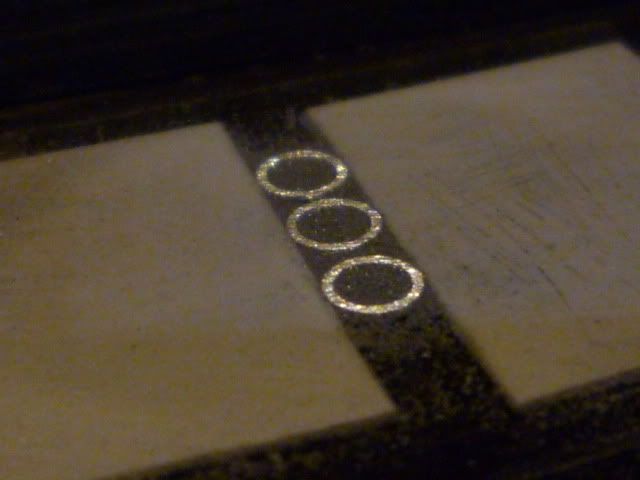
Whilst still stuck flat I rub a fibreglass abraiding pen across the back off the bezel to remove small burrs and help tidy up the back.
Carefully separate from tape with scalpel blade. Run blade carefully around inside of bezel to remove sticky residue/aluminium dust ( a bit of spit helps here - but don't swallow the bezels!).
Finished bezels - but with the ID still needing cleaning up:
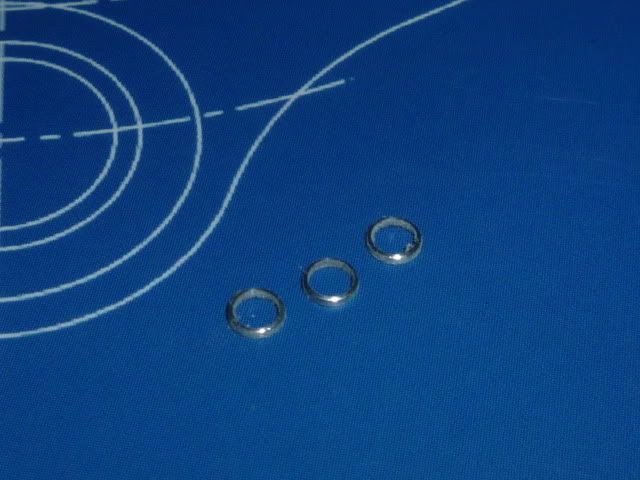
I applied my dial decals to the dashboard thingy and then attached the bezels with some clear gloss
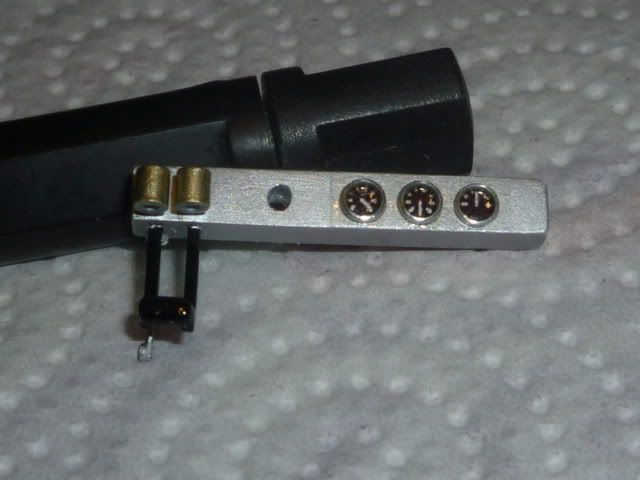
Hope you like!
Bob
I tried making them for the Multimaverick and it went well and was easier than I thought it would be - so here goes.
First some aluminium tube of a suitable dia. I used K&S 3.2mm OD which is 2.4mm ID with a 0.4mm wall.
First I squared off the end of the tube. I have a little "shooting block" which allows me to get the end of the tube nice and square

I sand the end of the tube with a fine emery board and finish off with some 600 grit. I do this finally in a rotary motion with the end of the tube nestled on the 600 grit with a little metal polish, twirling the stick to get a chrome like end to the tube. I polish out the end with a piece of kitchen paper towel.
Of course if you have a lathe or dremel or similar you could spin it up instead.


At this point the wall thickness is a little too great so I run a #11 blade around the inside and take off a sliver from the ID

Then I cut off the ring, about 1mm from the end of the tube. You could use a razor saw, but I prefer the "rolling the scalpel blade across the tube" method. Make sure you have a suitable mandrell up the tube (i.e. drill blank, smaller tube, or in my case some 2.4mm dia welding rod) to help retain the form of the tube whilst cutting.

Repeat for how many you need.
Take a flat smooth rigid board of some sort. I use a 1/2 thick piece of acrylic sheet. Apply a piece of double sided adhesive tape and then cut 2 pieces of plastic sheet ( I used 20thou sheet to give a scale thickness of 1/2 inch - you could use thinner for a thinner bezel ). Stick the pieces down on the tape with your bezels face down inbetween and everything up close.

Now take your weapon of choice and sand those suckers down until you bottom out on the plastic. Obviously you need to keep the file or sanding stick flat down

Whilst still stuck flat I rub a fibreglass abraiding pen across the back off the bezel to remove small burrs and help tidy up the back.
Carefully separate from tape with scalpel blade. Run blade carefully around inside of bezel to remove sticky residue/aluminium dust ( a bit of spit helps here - but don't swallow the bezels!).
Finished bezels - but with the ID still needing cleaning up:

I applied my dial decals to the dashboard thingy and then attached the bezels with some clear gloss

Hope you like!
Bob


 Wow! Excellent detailing Tip!!


