|
|
Post by mustang1989 on Apr 24, 2022 7:33:37 GMT -6
Alright gang....I'm going to tip in with this one that is currently ongoing but will hit the highlights of the build to where I'm at currently to show that I actually do build models. lol When I first saw this kit re-released last year I was pretty excited. I've built one of these before but it didn't have the forward rake like the box top here shows and now that skills have somewhat improved over the years I wanted to give this one another shot and set it all up how I wanted it. . The kit as a lot going for it in the fact that there's updated decals, cleaner molds and pad printed tires. 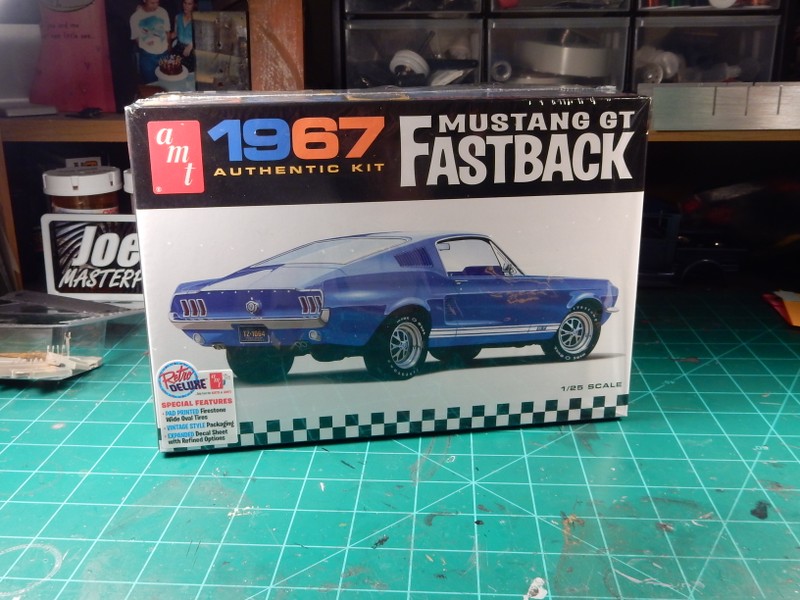 and I managed to pick up a PE fret for it: 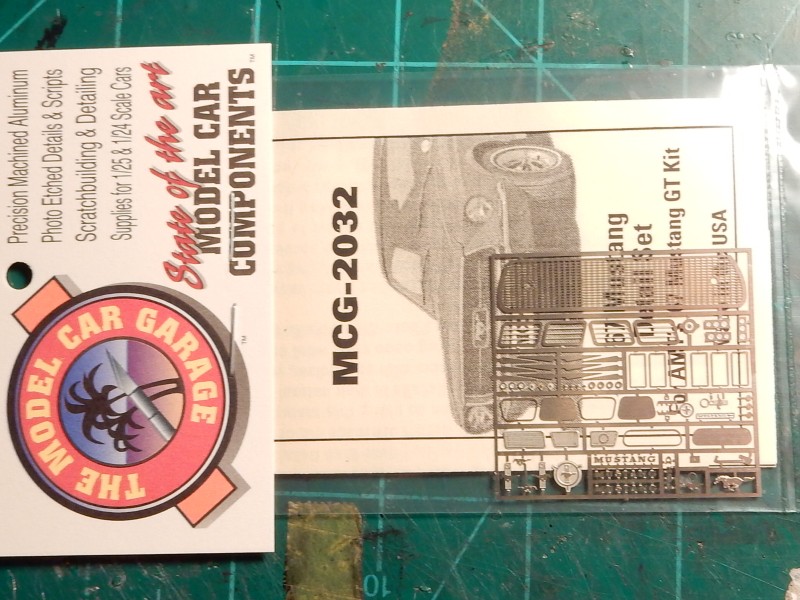 I've been wanting to build one of these anyhow since I owned 3 different '67 Coupes. My last one was my favorite as it had a 351W with a 4spd and 3.55 gear AND it just so happened to be the same Acapulco Blue that the fastback on the box top art is. Fun car and I had a LOT of fun driving it through the years. 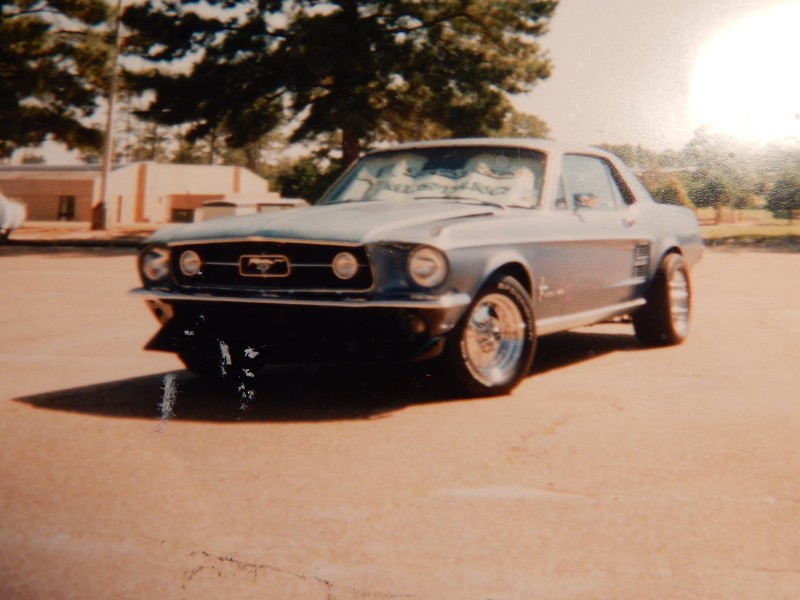 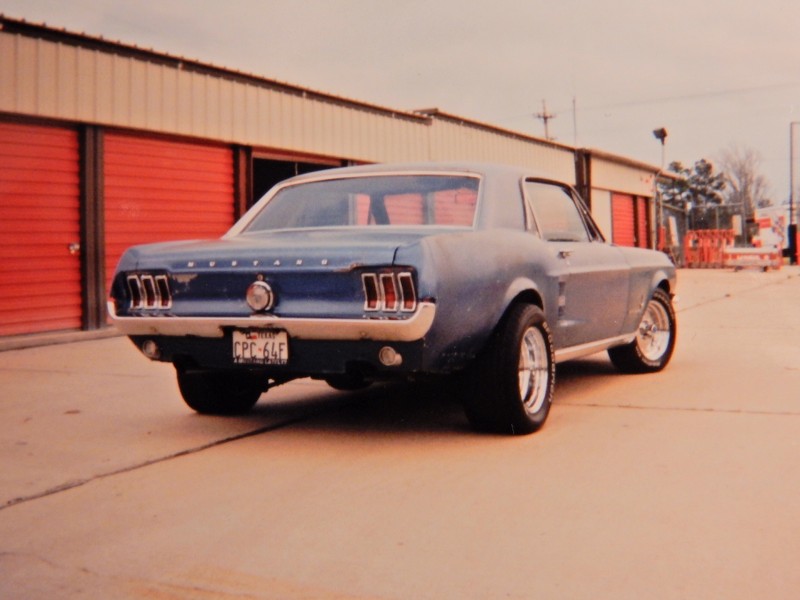 A close up of the power plant as it was in car #2. This engine later went into car #3 and was a 351W from a '69 Mach 1 car with four barrel heads, Comp Cams 280H cam, MSD Unilite ignition, and a Holley 650 Double Pumper ( I had later on installed a Performer RPM intake on this engine in car #3). It also had 11:1 compression which I wouldn't advise doing that to a street engine to anyone after having this one. I had to run some HIGH octane fuel at all times to keep the detonation problems at bay. This engine did make this car haul like a scalded assed ape though. 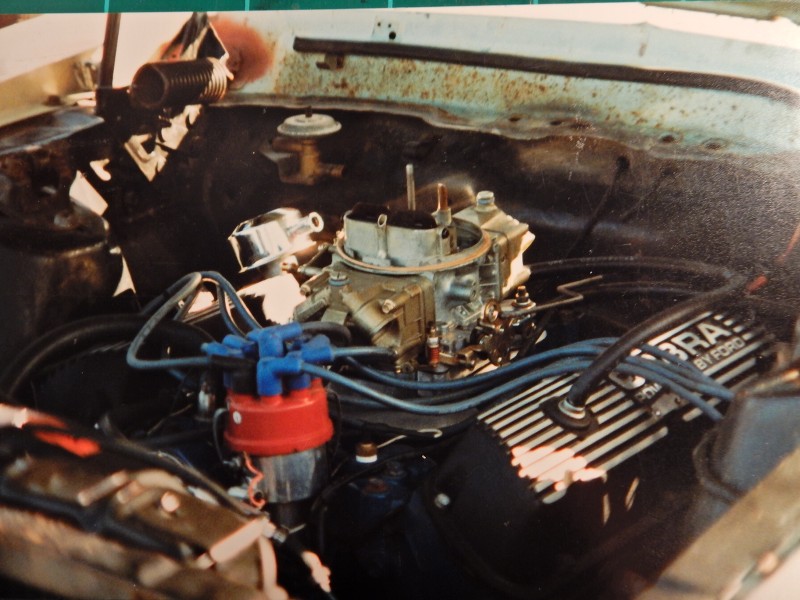 |
|
|
|
Post by mustang1989 on Apr 24, 2022 7:49:35 GMT -6
Along the way on this build I found some really cool reference pictures that I took back in the day. I'm currently doing a bathroom renovation to our master bathroom and needed some tools that were hidden away in the "house toolbox" by my wife. While looking for the tools I found a small plastic photo box with..............a whole load of pictures of my old Acapulco Blue Mustang PLUS a slew of negatives that I'll be taking to the local photo developer here in town to have the pictures printed up with. Frickin' SCORE!!!! Here are those missing pictures of my 69 Mach 1 351W in my last '67 (car#3) while it was under construction. Man................I haven't seen these things in 10 years now. Now.............what the heck were they doing in the dang tool box for???  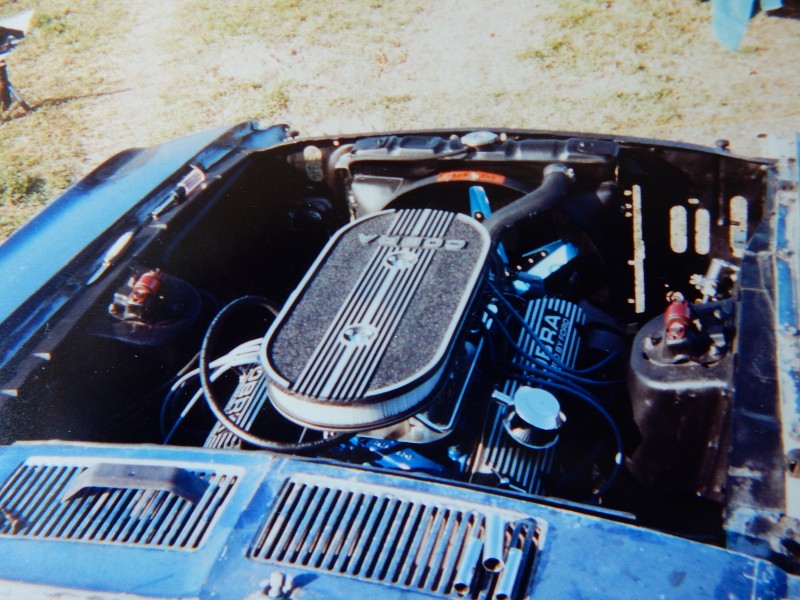 |
|
|
|
Post by JCON on Apr 24, 2022 8:11:37 GMT -6
Cool little build!!!
|
|
|
|
Post by mustang1989 on Apr 24, 2022 16:56:17 GMT -6
Thanks Joe. I started this one in July of last year and am still working on it so there's gonna be more than what the box has in store for it. lol |
|
|
|
Post by mustang1989 on Apr 24, 2022 18:55:29 GMT -6
Here's with the chassis finished up. I had to work a few tricks to get the stance from this .... 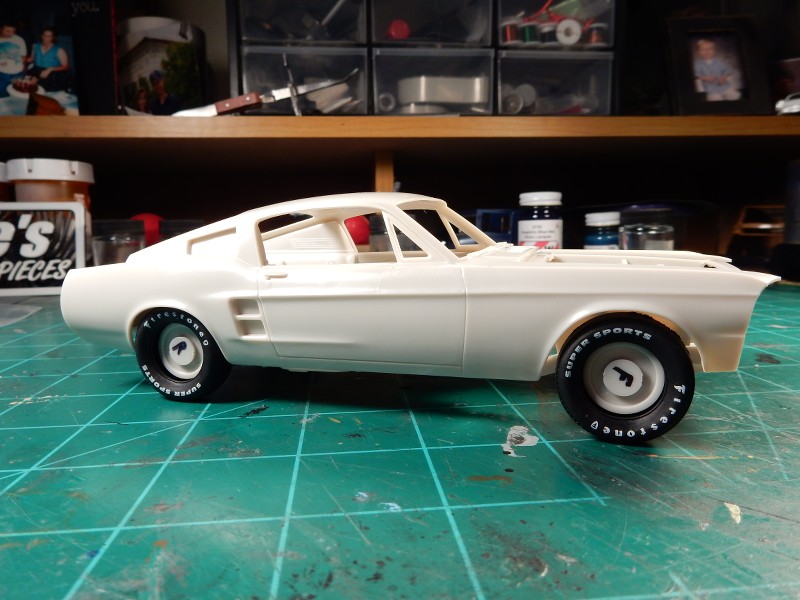 To this: 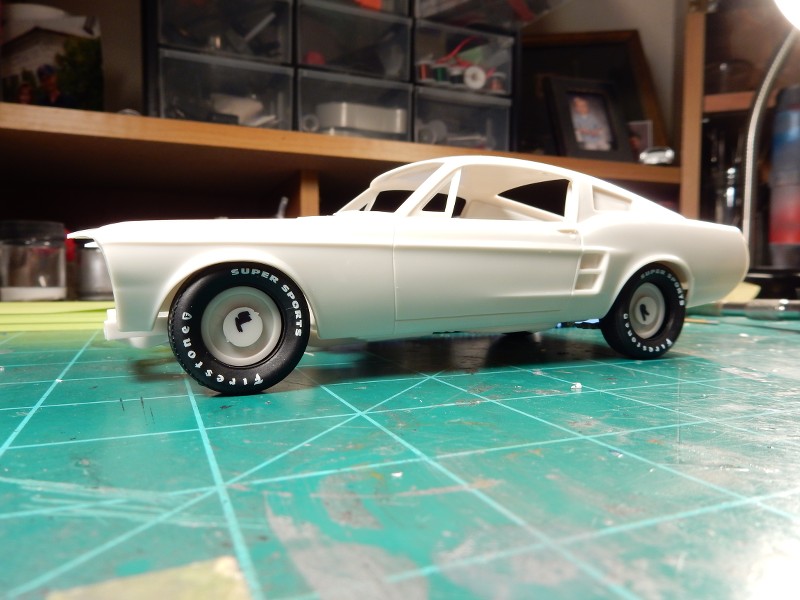 Finished chassis: 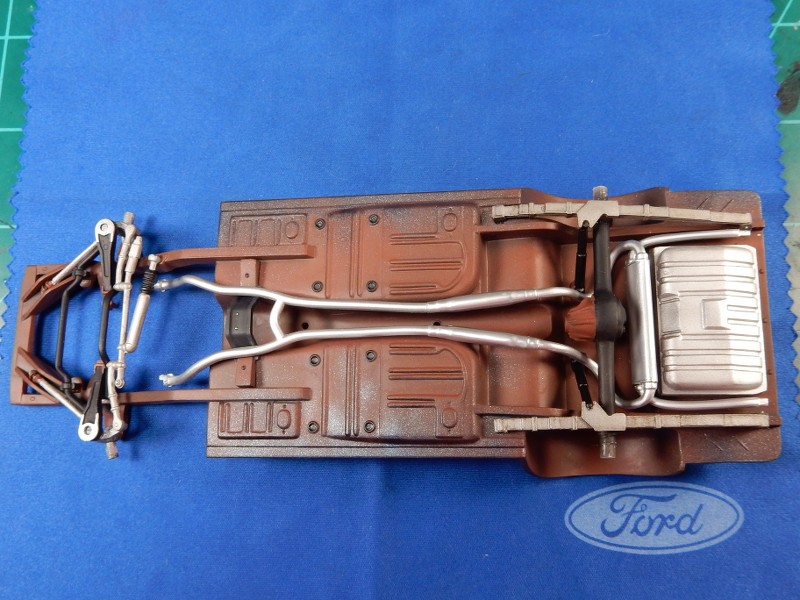 Some of the "tricks" included relocating the front spindles upwards on the steering knuckles to lower the front, shave some off of the steering knuckles at the wheel attaching point to move the front tires UNDER the fender where they are supposed to be. An ever so slight re-arching of the rear springs fixed the ride height. It's just crazy how after all these years that the molds for the front suspension couldn't be "cleaned up" a little to allow for a better build by the younger or more inexperienced crowd. When I built this car some 15 years ago I didn't have the skills that I've got now and the car just didn't look right. butt low, nose high with the front tires actually jutting outside of the front fenders some. I've been in contact with AMT about these very issues. |
|
|
|
Post by JCON on Apr 24, 2022 19:11:05 GMT -6
Much better stance!!!
|
|
|
|
Post by mustang1989 on Apr 24, 2022 19:13:02 GMT -6
Thanks Joe. It's the way ol' blue was set up. |
|
Tobi
LOOKING AROUND
Posts: 88 
Likes: 152
Mini-Profile Background: {"image":"","color":"46250f"}
Mini-Profile Name Color: ffe69f
Mini-Profile Text Color: ffe69f
|
Post by Tobi on Apr 24, 2022 22:28:03 GMT -6
Storing the pictures away in the tool box could be a subtle message from your wife.  Dear ladies... when your man is telling you he will repair something, he will do so. You don't need to remind us every 8 weeks! |
|
|
|
Post by mustang1989 on Apr 25, 2022 4:21:07 GMT -6
Storing the pictures away in the tool box could be a subtle message from your wife.  Dear ladies... when your man is telling you he will repair something, he will do so. You don't need to remind us every 8 weeks! LOL!! Seems like the list is endless. I'll fix or upgrade one thing and then get 5 more things to do right behind it. lol |
|
|
|
Post by mustang1989 on Apr 25, 2022 4:24:57 GMT -6
|
|
Tobi
LOOKING AROUND
Posts: 88 
Likes: 152
Mini-Profile Background: {"image":"","color":"46250f"}
Mini-Profile Name Color: ffe69f
Mini-Profile Text Color: ffe69f
|
Post by Tobi on Apr 25, 2022 6:11:17 GMT -6
Again a model inside the model, Joe!
How did you create the casting texture on the manifolds and alternator?
Looking extremely realistic.
|
|
|
|
Post by mustang1989 on Apr 25, 2022 6:41:50 GMT -6
Again a model inside the model, Joe! How did you create the casting texture on the manifolds and alternator? Looking extremely realistic. Thanks Tobi. I black base all of my aluminum and steel components and then shoot a light dusting of MM Aluminum and MM Steel enamels over them. After that I come back with a dry brushing of ground up black pastel to add a slightly worn and natural look to them. |
|
|
|
Post by JED on Apr 25, 2022 7:41:14 GMT -6
Great work and find of the old photo's
|
|
|
|
Post by JCON on Apr 26, 2022 9:14:10 GMT -6
Looks very realistic!!!
|
|
|
|
Post by mustang1989 on Apr 27, 2022 20:23:20 GMT -6
Thanks fellas. This post will cover the dash completion. It took me a couple of tries on the steering wheel to get the wood grain effect right and on the first try I didn't put any rivets in the wood grain part of the wheel. It also took me a couple of passes to get the aluminum panels right on the IP. CRAZY tricks up my sleeve to get that all done. First attempt with steering wheel: 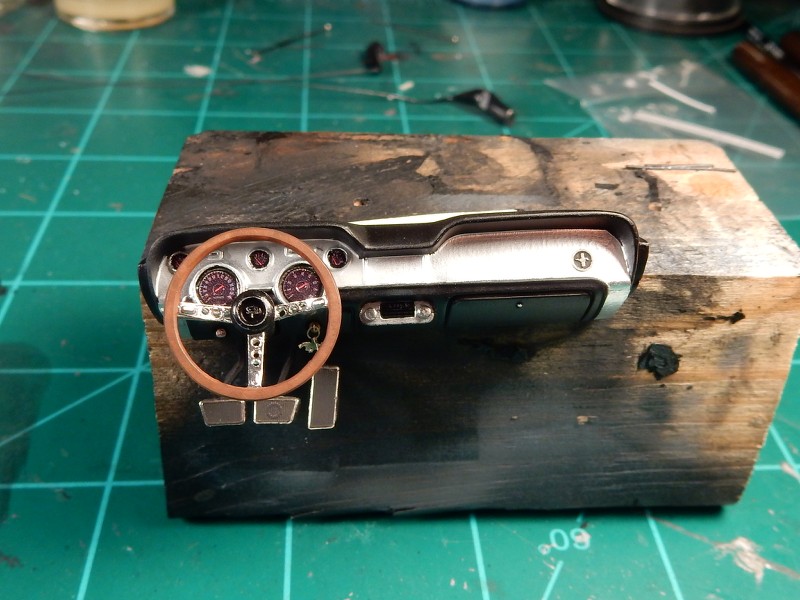 For the second try I obtained a scale wall clock from printmini.com. They also have alot of other cool stuff if anybody is interested. Here's the link: www.printmini.com/printables/ph.htmlI merely laid the clock out on the wheel and marked the wheel at each "hour" location: 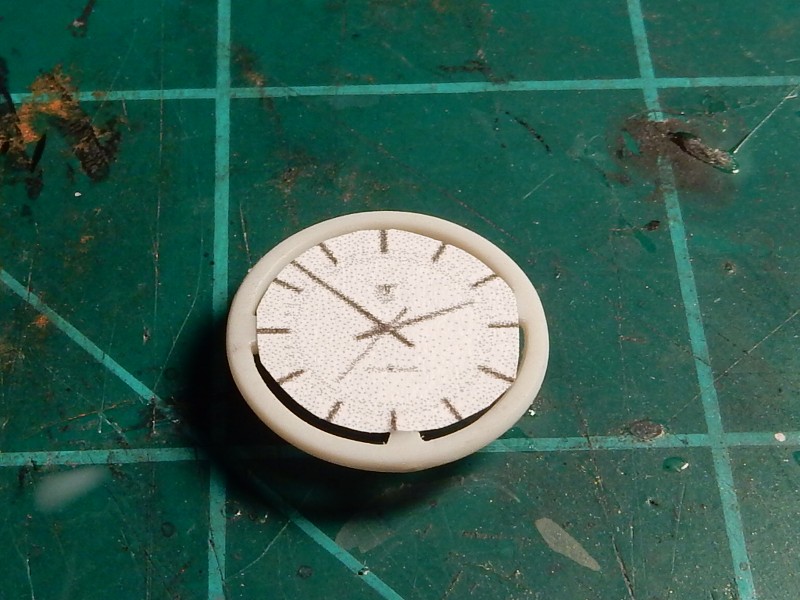 And then drilled the holes for the PE rivet heads at the marks: 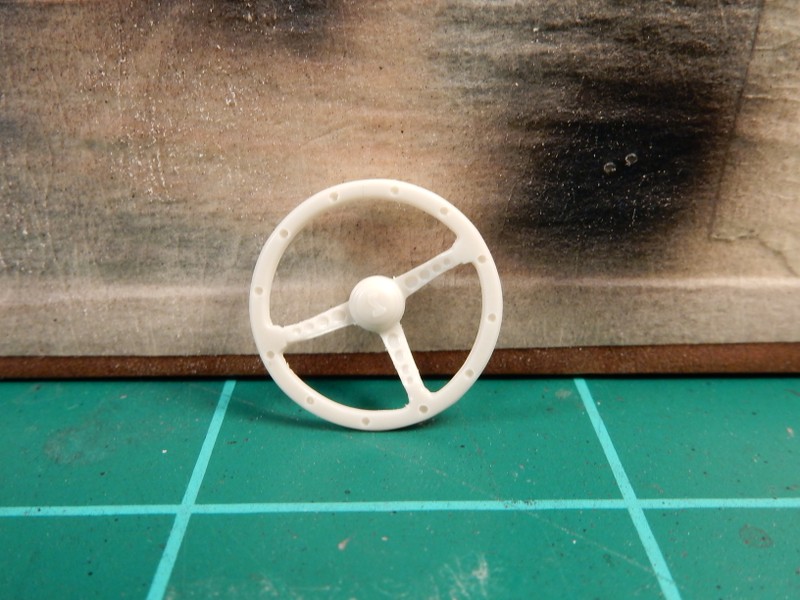 The results were something that I was MUCH happier with (and I got another chance to replicate the wood finish more effectively): 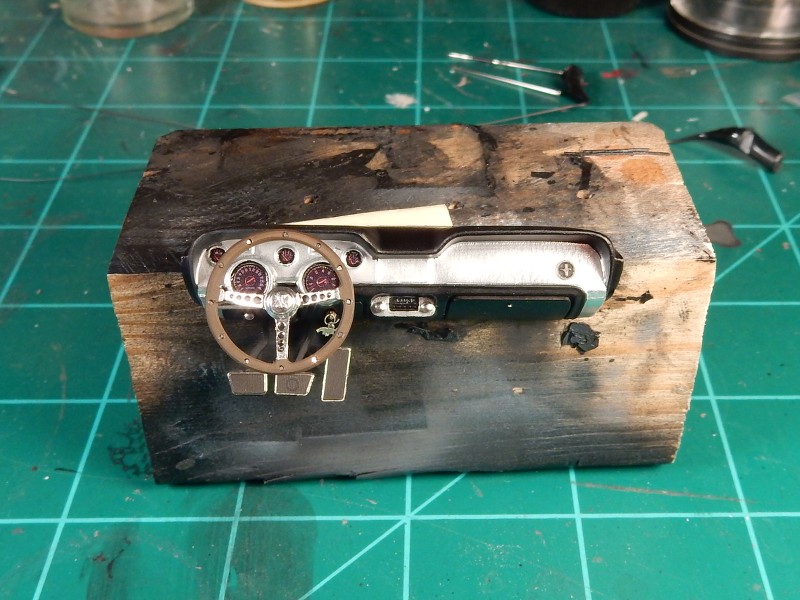 |
|
|
|
Post by JCON on Apr 27, 2022 23:19:44 GMT -6
Great job on the wheel!!!
|
|
|
|
Post by mustang1989 on May 7, 2022 11:25:18 GMT -6
Great job on the wheel!!! Thanks Joe. I just couldn't let that one fly. Almost did.....but it just didn't look right without the rivets. Completed interior:  |
|
|
|
Post by mustang1989 on May 9, 2022 14:30:40 GMT -6
Here's with the body color, cals and clear applied.... Would you believe there's been no wet sanding or polish at this point??  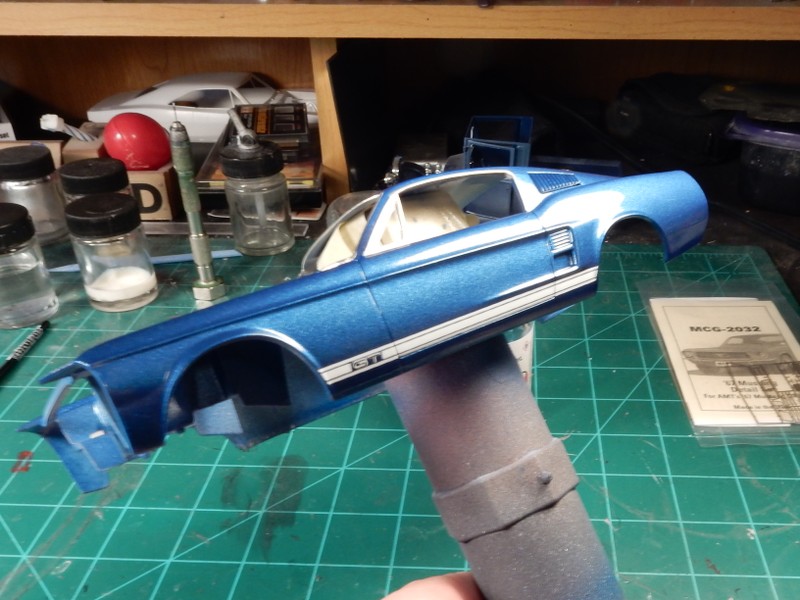 |
|
|
|
Post by mustang1989 on May 10, 2022 8:47:12 GMT -6
Here's with the PE grill in place and the fog light system added. At this point I still had to touch the fog light chrome up. 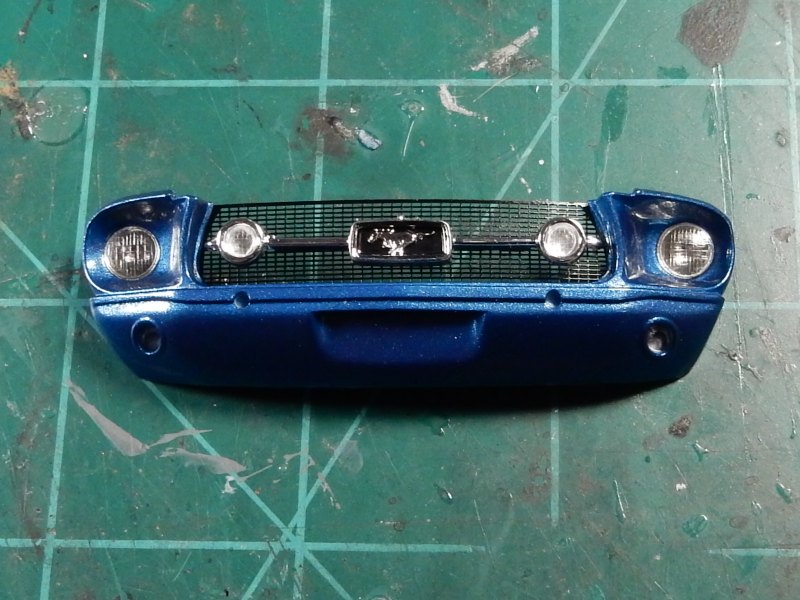 In taking on the rear panel I looked at the fuel cap fit on the panel and it was just waaaaaaaaaaaaaay too thick. Probably a scale 4-5 inches thick which is not the way it should be. I mean look…here it is on mine: 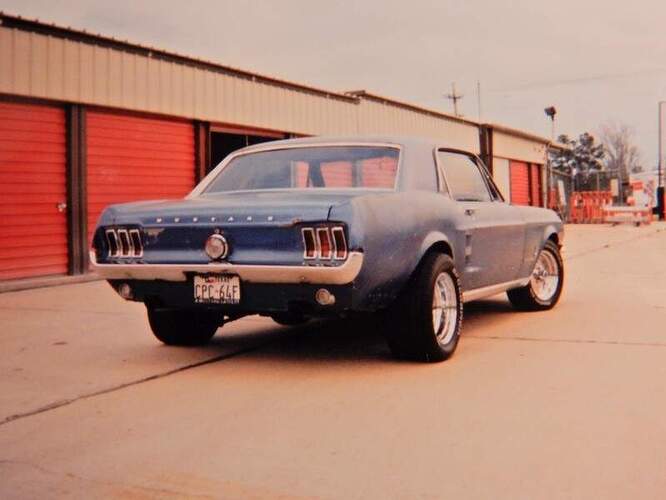 the one one the right is how far it WOULD have stuck out. So I broke out the sandpaper and went to work. The one on the left is about how it SHOULD be… 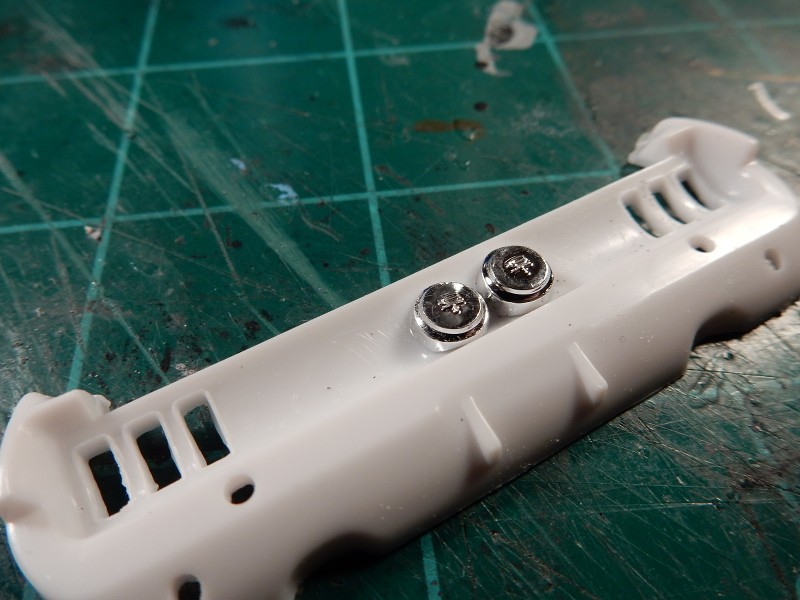 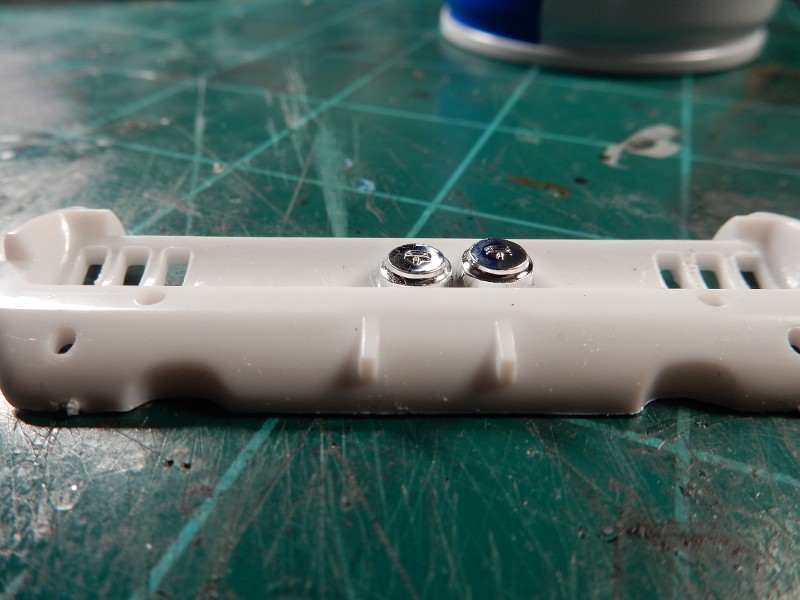 here's with the PE tail light chrome bezels all cut out & formed and the rear panel painted up: 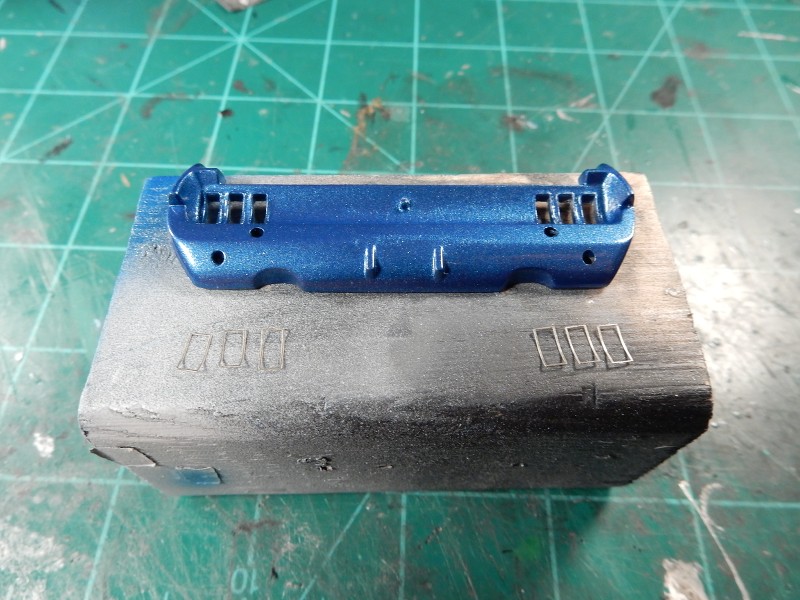 and with everything installed to include the license plate and frame that I carried over from the real car. I got rid of those stupid bumper extensions that go down from the bumper to either side of the license plates. I could NEVER stand those things. To me they just detract from the looks of the car. Bumper was stripped, bumper extensions removed, bumper then cleaned up and given the Alclad II chrome treatment. 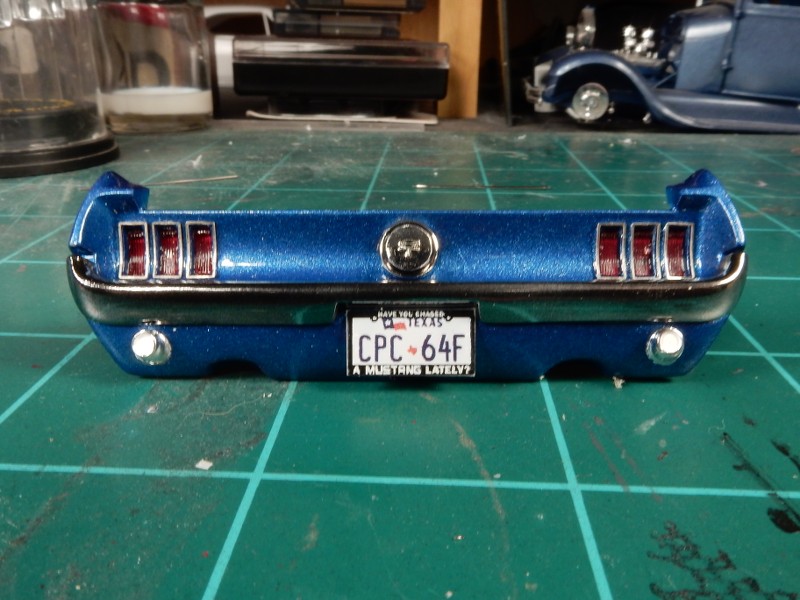 |
|
|
|
Post by JCON on May 11, 2022 9:50:31 GMT -6
That looks great!!!
|
|