After another week worth of work, here's another update. It's kinda small compared to many I've done, but I do feel that I got a lot done. It feels great to see progress.
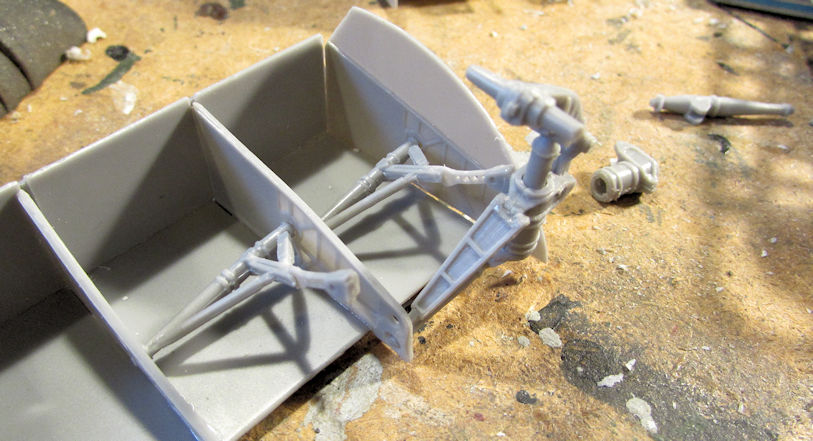
First off, here is a preview of the main landing gear for the AN-124 Condor. I did one complete one without wheels, and started a second on. The finished one contains 10 parts, not including the wheels. I have to make ten of these:
I also completed a third engine, but I think I mentioned that before. Okay, enough of that....
Next up, I'll show the progress on my three aircraft that are so close to the finish line right now.
To start; I got the decals on the German Huey. These were tough as they had to conform to many curves and recesses. I think I managed to get them looking good enough:
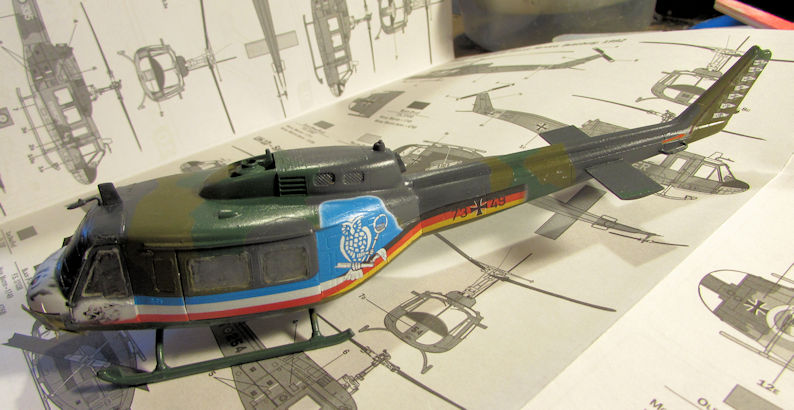
Yes, the tail ones silvered. I fixed that later after taking these pics.
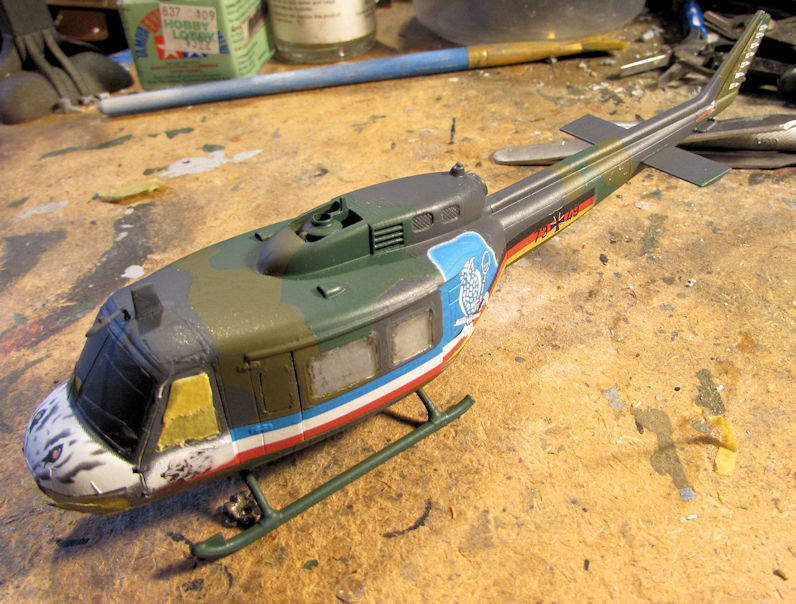
Yes, for some reason my gloss spray fogged the side windows. Fortunately, I still have the set from the kit I've been cannibalizing to complete this one. The nose decal gave me the most difficulty; but then again, I might have put it on over some masking tape:
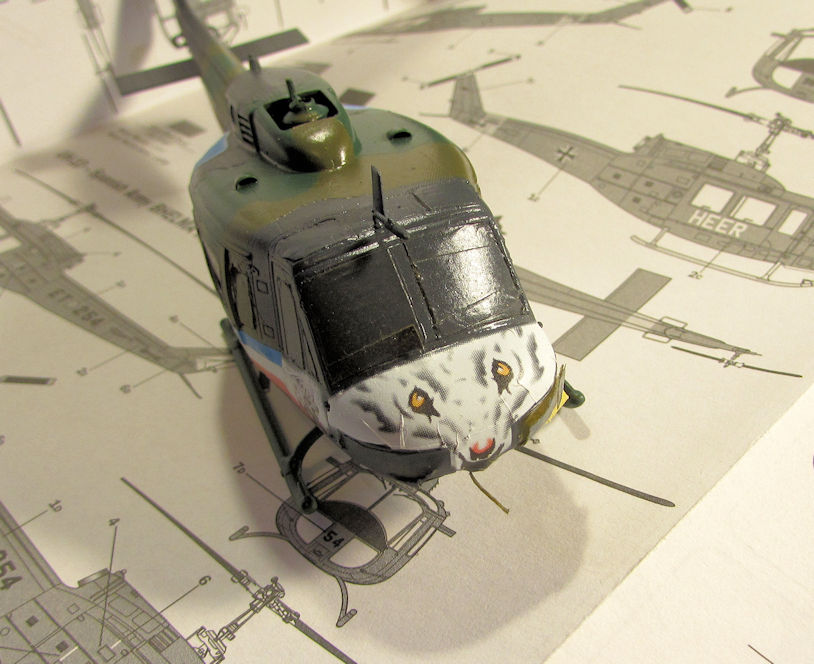
Later on I masked the pilot's door window hoping it would not be fogged, but I couldn't save it. Despite that, the dullcoat went on well. I was even surprised that the decals sucked down so well over the detail underneath:
Next, I added the last decals onto the Israeli Sufa:
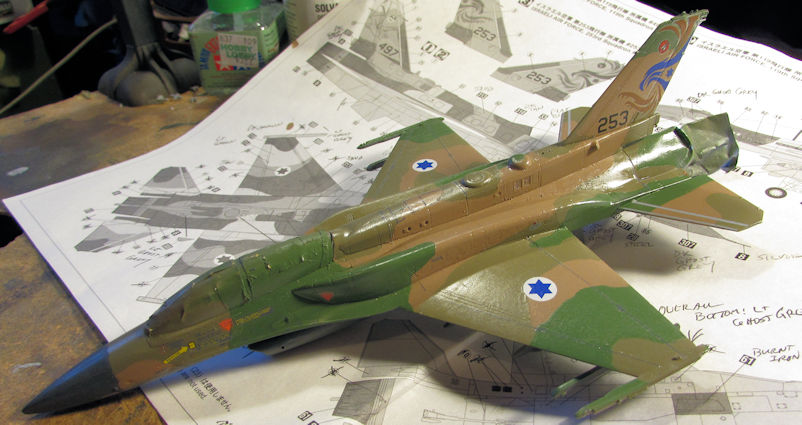
...and then shot the dullcoat over it:
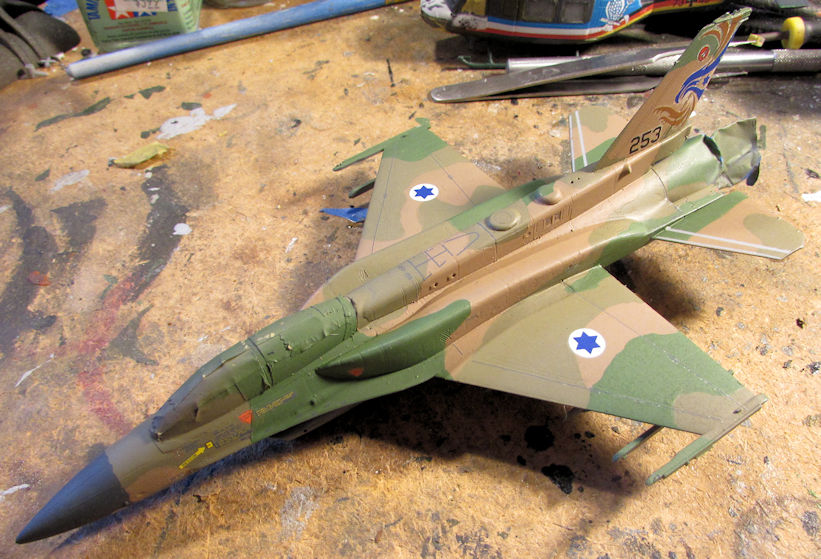
I then removed the masking from the tail feathers and the canopy. Now all I need to do is add the final details, the landing gear, the underwing stores, and then detail paint the last parts to finish this off.
Finally, I added the decals to the German Gotha Go-244:
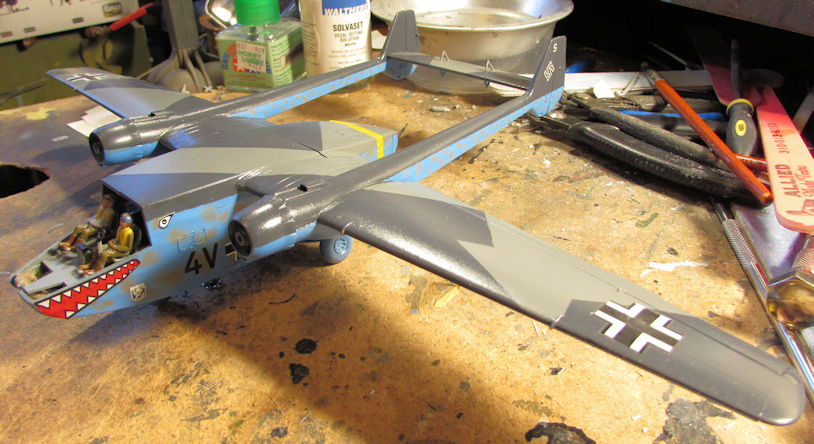
They curled, despite using both Micro-sol and Solvaset. This one eye was so bad I had to paint it on. Not very well; but then I was contending with an engine nacelle in the way:
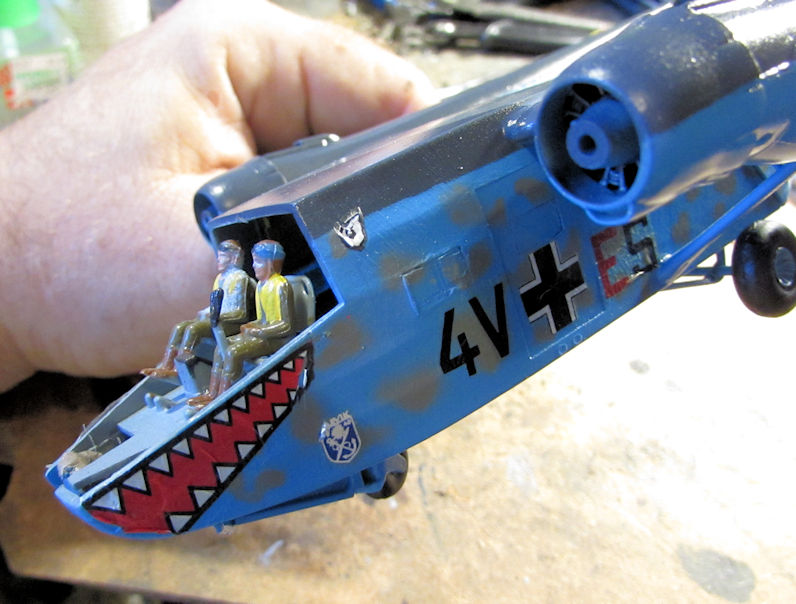
You can also see I painted the wheels on this.
Later I shot the dark gray over the masked canopy:
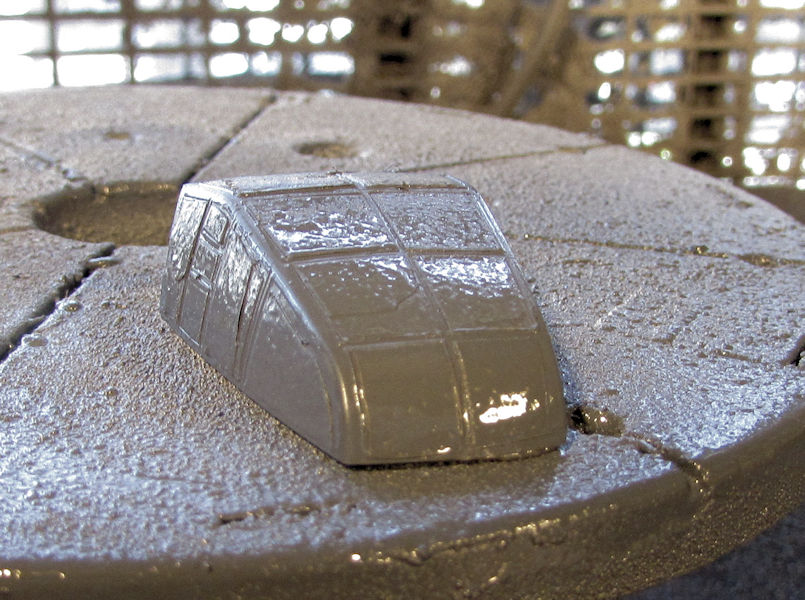
Now all I have to do is add that canopy and one other small window to this and it's finished. I'll even have the little Kubel that goes with this completed as well:
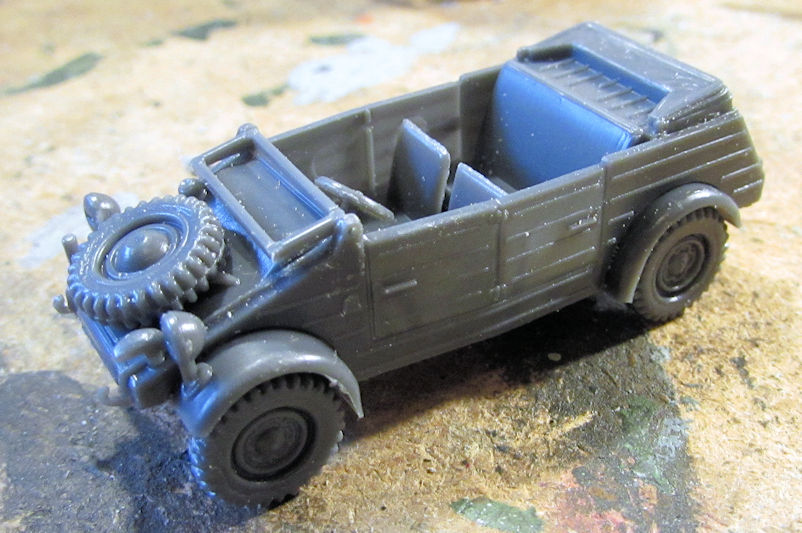
Speaking of vehicles, here is the latest on my armor I've been doing this week along with my aircraft.
I'll start with the 1/35th scale M-48 Patton. I don't remember what I'd posted before so here's the most recent work I did.
I think I left off with this pic of the Patton where the main hull and turrets were built up:
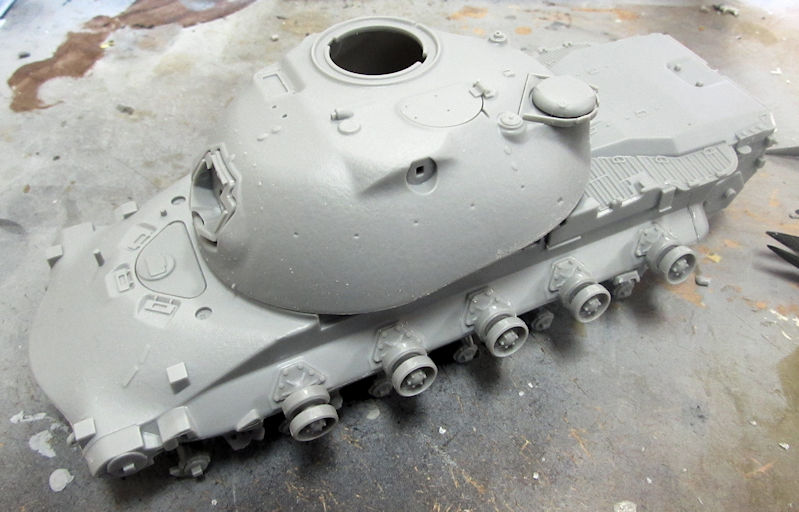
Next I added the fenders and the turret bustle rack:
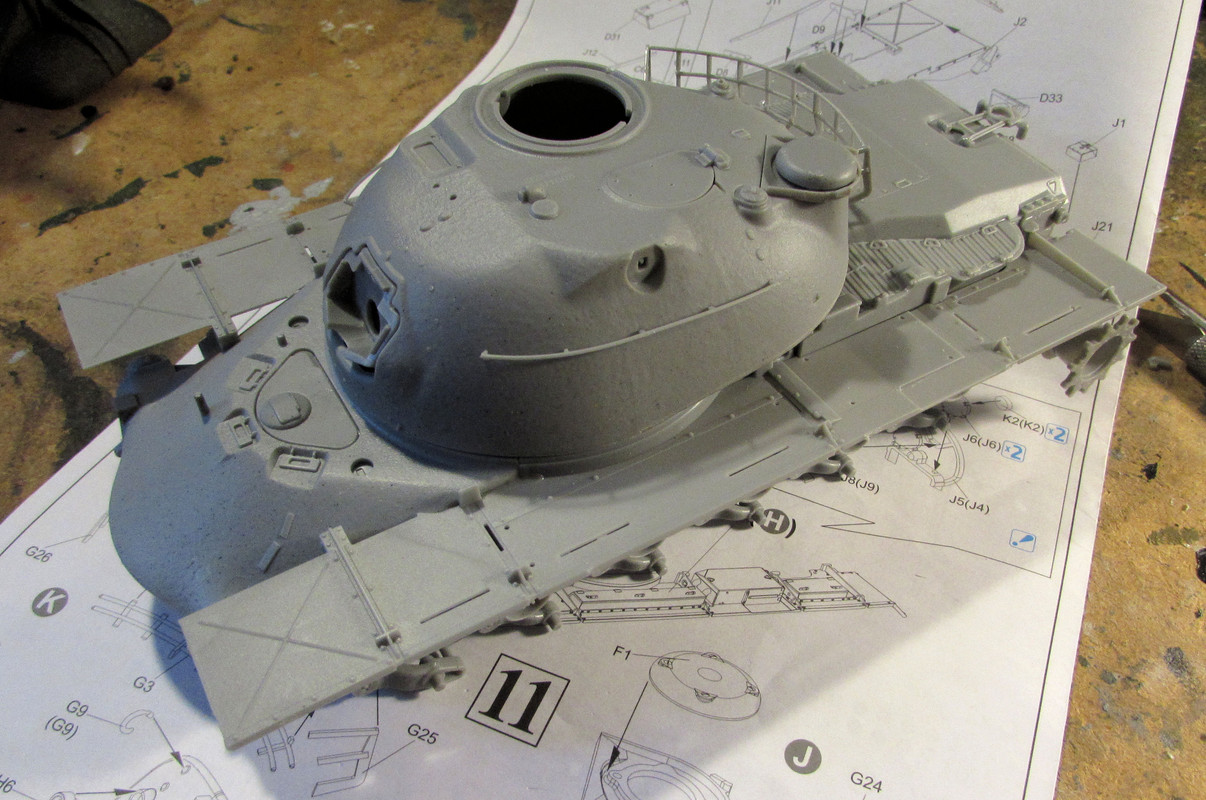
Next I built the TC's cupola shown here dry-fit to the turret:
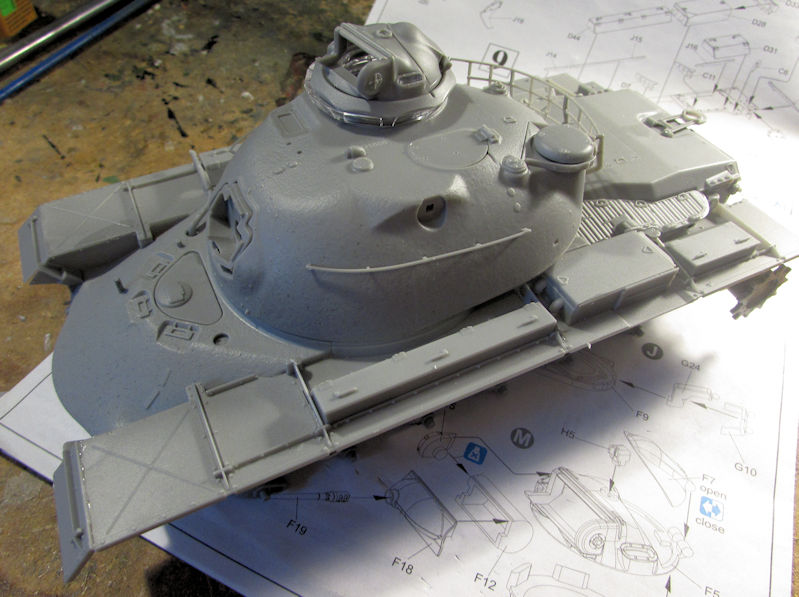
Finally, I added the mantlet cover and the main gun to this. The mantlet is made from the DS Styrene so it is flexible, allowing the gun to move:
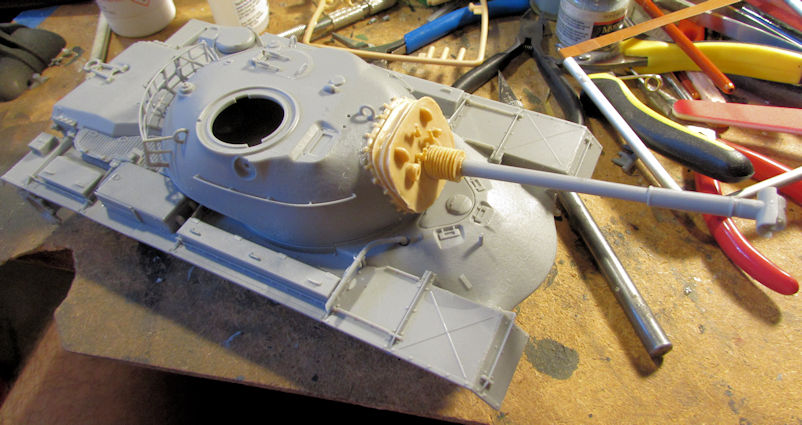
I'm calling this puppy ready for paint.
Now on to my smaller stuff....
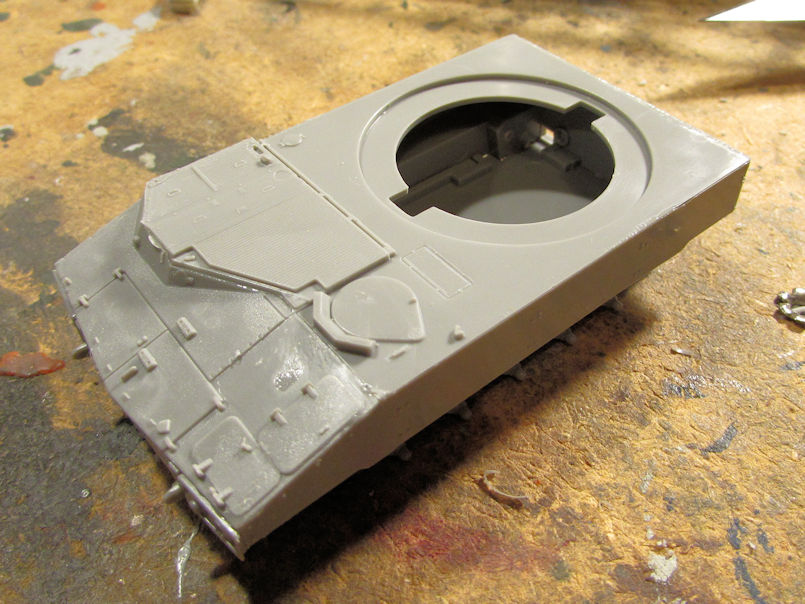
On the Modeler's Haven Forums they are running a 1/72 scale Group Build. I decided to go with the M-109 A-nothing for my 1/72 scale Group Build subject. You can follow that in it's own thread as well. Here though, is the shot of the main hull all assembled:
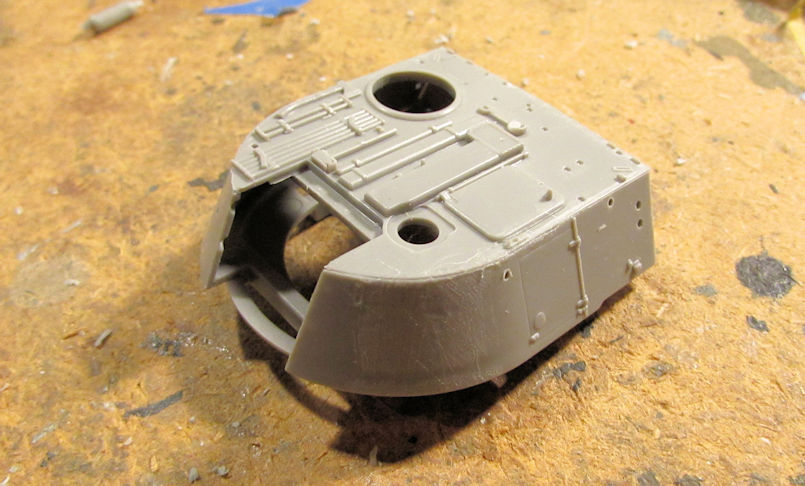
I then assembled the turret sans gun and mantlet:
Here they are all together so far:
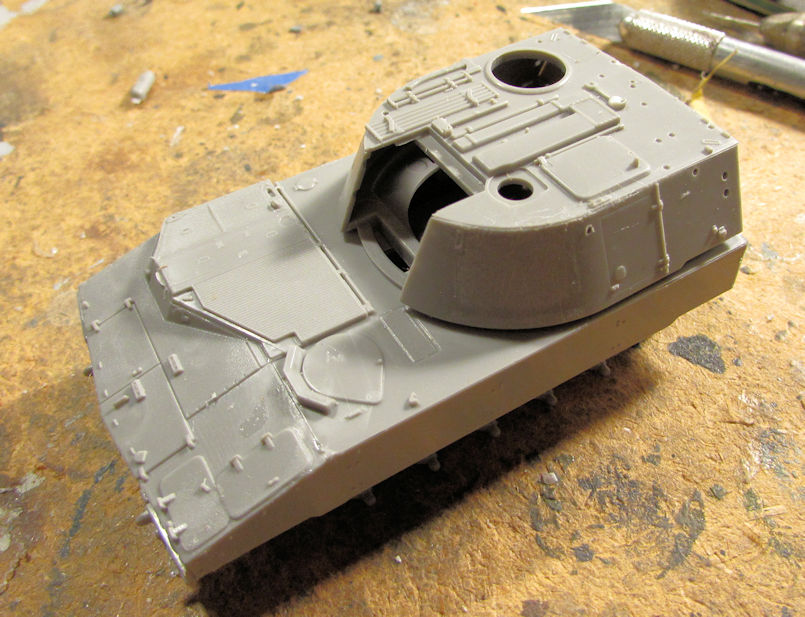
I will later on be doing some carving and modifying the mantlet, frame and gun so that it will elevate. That is one of the more frustrating things about this Revell kit: they make you fix the gun in place. Hopefully I'll do a better job than I did on the German Paladin; live and learn.
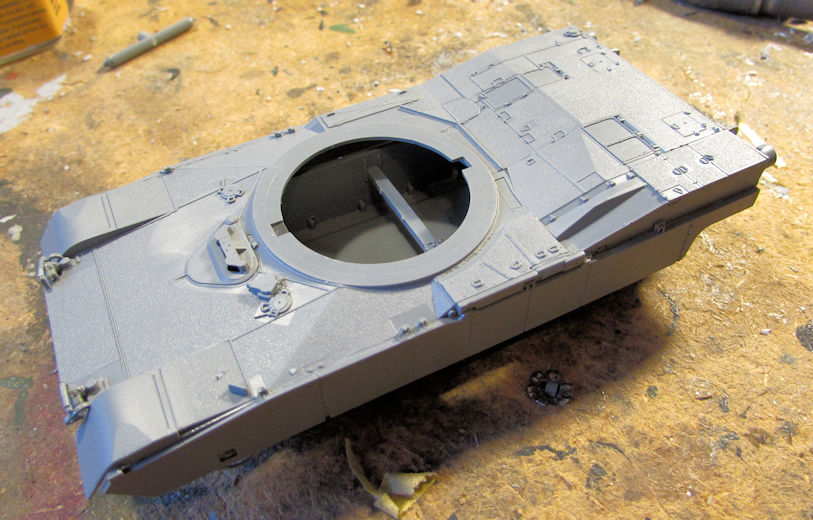
Moving on, I started assembling the other M-1 Abrams SEP with the mine plow. Here's the upper and lower hull dry-fit together:
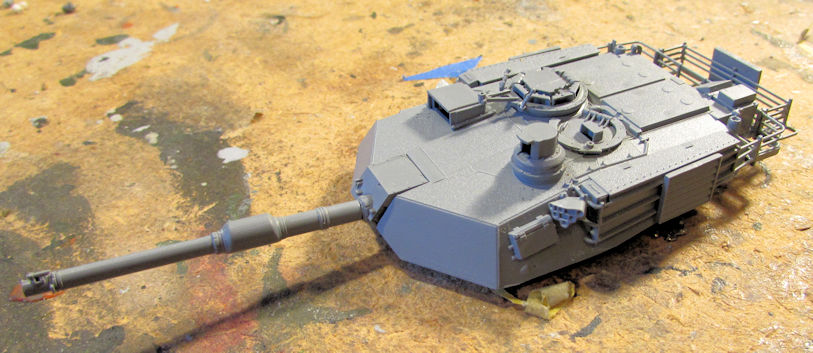
Next came the turret:
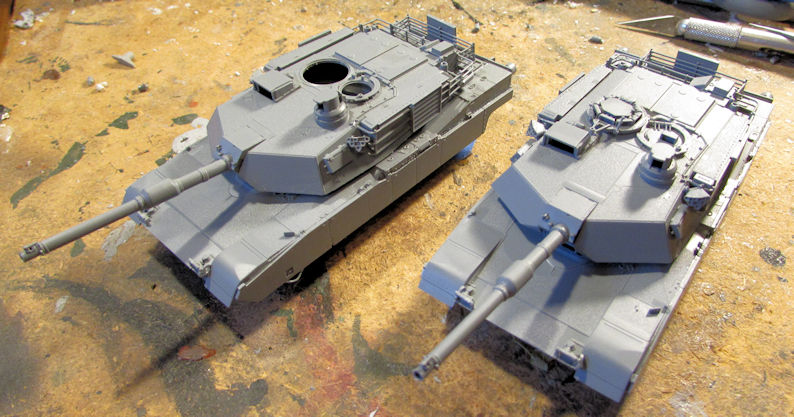
And to show that I'm not recycling pics of the first SEP Abrams, here they are side by side:
I then started on the mine plow for this Abrams. Here are the main blades:
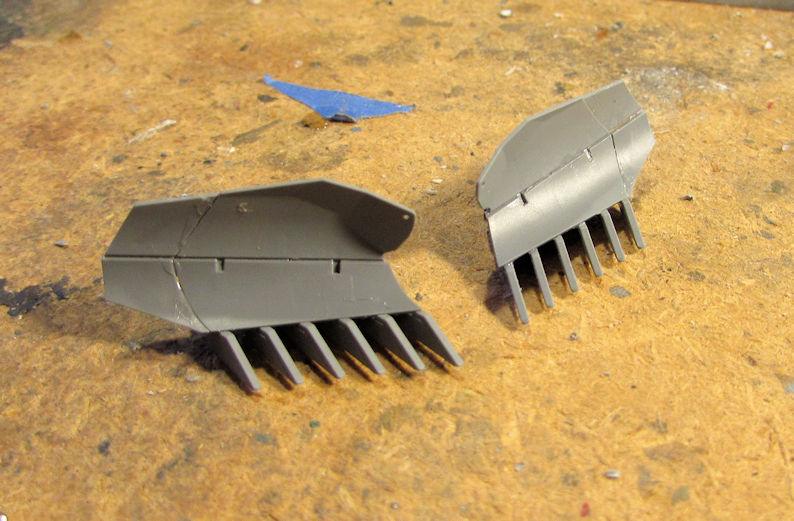
There are 18 parts in that pic above, nine per side. Flyhawk really did these right!
Moving on, here's more of the mine plow:
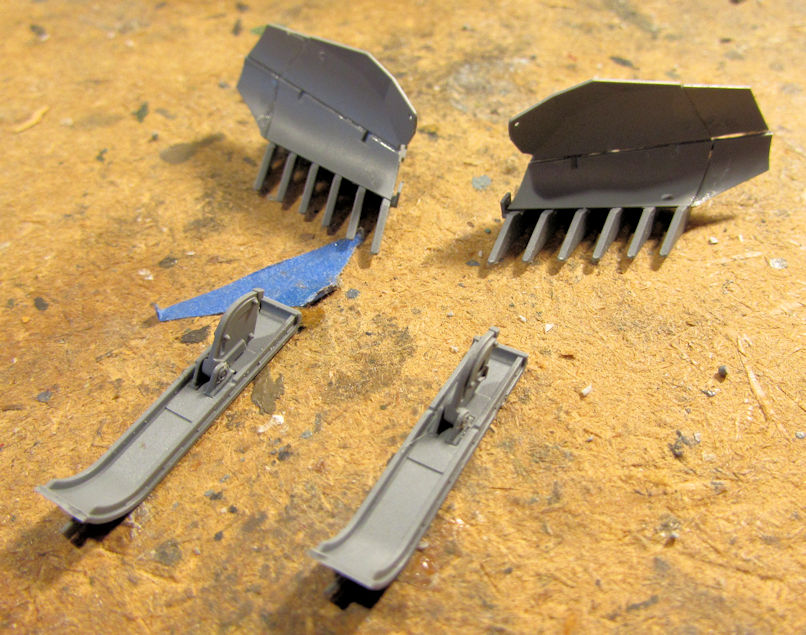
Those skids are fully poseable too!
Here is the full mine plow almost done:
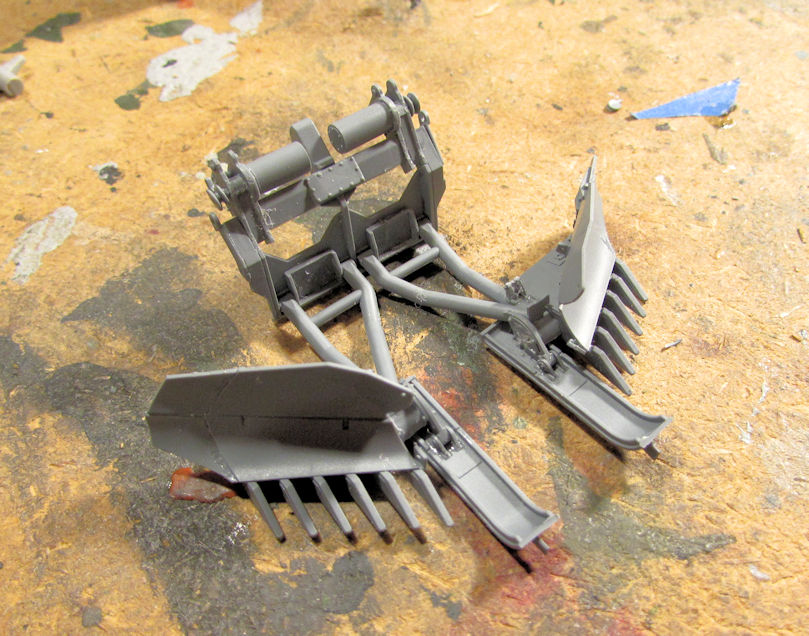
That thing is a model unto itself, and fully articulate as well! All I need to do is add the chain to it.
Next I had to make these ready for paint. That meant adding all the P/E screens and other parts to these. First the regular SEP Abrams:
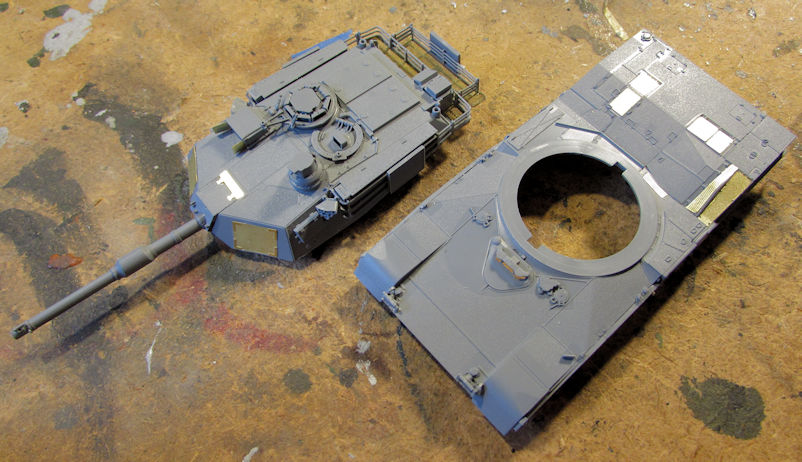
Then the mine plow Abrams next to it:
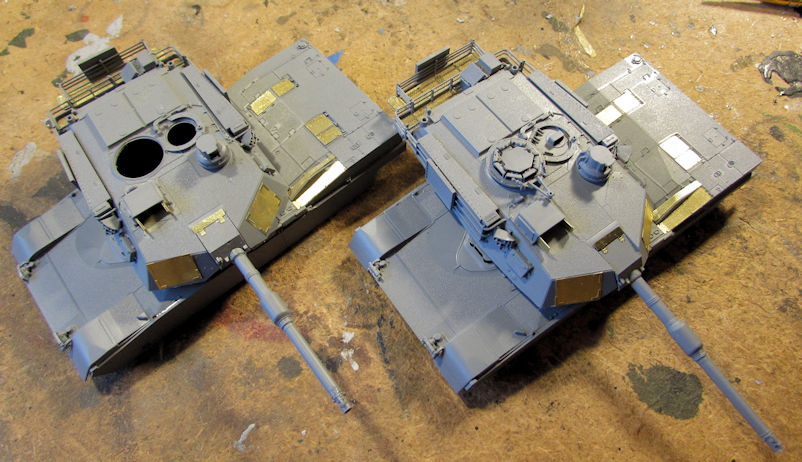
BTW, the 'white' squares on the engine decks of these tanks are the P/E screens reflecting my bench worklight.
I then finished the P/E on the SEP TUSK I Abrams too:
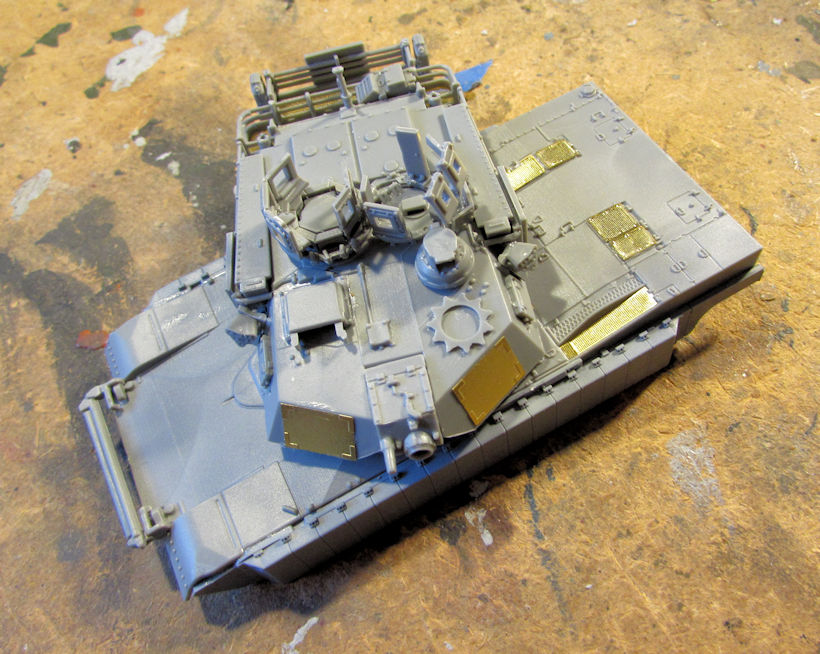
Then came the basecoats of dark green on all three of these. The M-1A2 Abrams SEP:
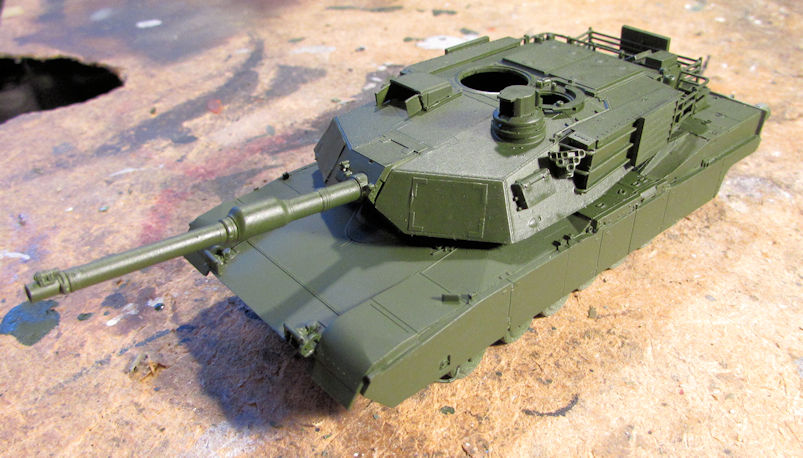
... The M-1 A2 Abrams SEP with mine plow:
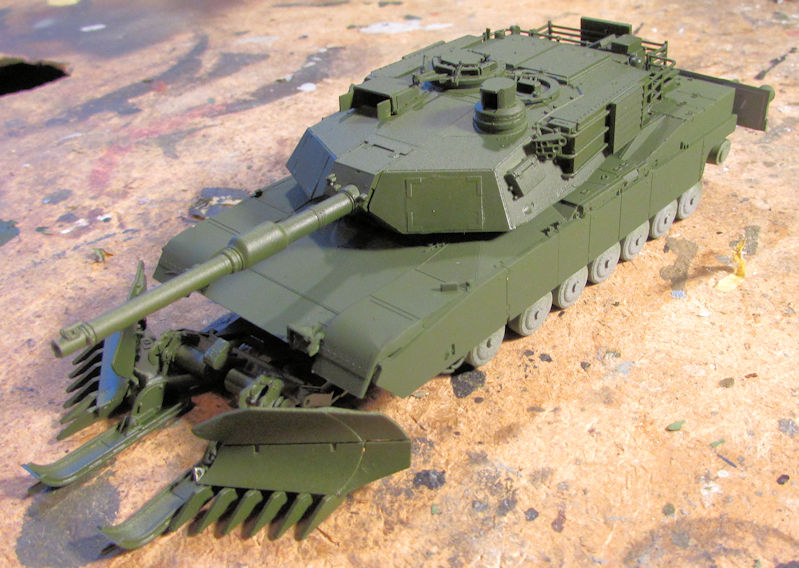
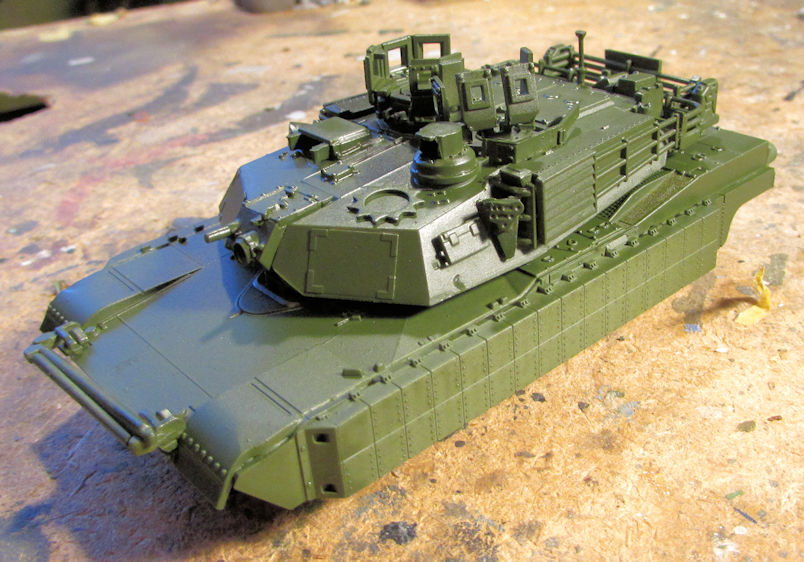
And the M-1A2 Abrams SEP TUSK I:
And that is where I left off so far this week. More to come soon I hope. Stay tuned and thanks for looking in on this latest tour. Comments are always welcome.