Ernie
SETTLING IN
   Just goin' where the plastic takes me.....
Posts: 358 
Likes: 853
|
Post by Ernie on Jul 8, 2018 21:55:28 GMT -6
Okay, this will be my first entry, the Japanese Type 98 Prime Mover. The kit is made by Pit Road, and goes in and out of production at times. It seems to be back in production right now and I was able to get one not long ago. 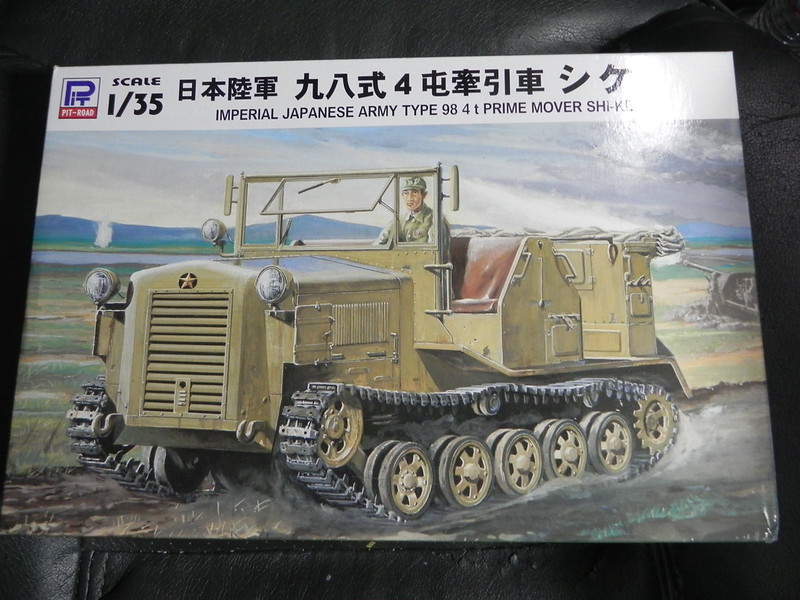 And, as usual, I have made things more difficult by adding a set of aftermarket metal tracks. The kit rubber band type tracks are really bad so the new tracks will be a nice upgrade. There was also a P/E set available for this from Pit Road as well, but it is long gone out of production regretfully as it would also be a nice addition to the kit. 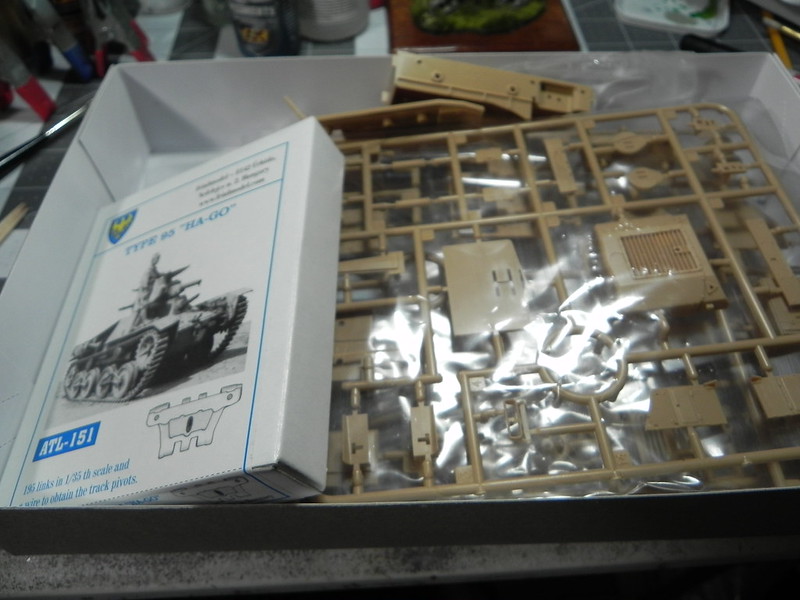 |
|
|
|
Post by JCON on Jul 9, 2018 7:59:15 GMT -6
Very cool, I'll follow along!!!
|
|
|
|
Post by BUCKY on Jul 9, 2018 8:48:58 GMT -6
Very cool little tractor! I'm in for this!!
|
|
|
|
Post by JED on Jul 9, 2018 11:21:12 GMT -6
Looks good,I'm in
|
|
|
|
Post by Dukemaddog on Jul 9, 2018 13:34:14 GMT -6
That is something unique and different. I'll watch this one too.
|
|
Ernie
SETTLING IN
   Just goin' where the plastic takes me.....
Posts: 358 
Likes: 853
|
Post by Ernie on Jul 10, 2018 0:37:50 GMT -6
Thank you for the interest guys. Not much to report so far, mainly I have just been looking over the parts and instructions to try to figure out what sub assemblies can be built up before painting. Also cut a couple hundred track pins for the individual track links and played around the sprockets as the metal links are a different width than the kit supplied track. I also put together a complete run of track as I need to check the alignment of the track when I modify the sprockets. So, yeah, not a lot to show but a lot of the necessary basics worked on, that should make the build process move along smoothly once I get going on it.
|
|
cliffj (R.I.P.)
GAINING SPEED
  R.I.P. CLIFFJ
Honorary Member of OSM
Posts: 599 
Likes: 1,381
|
Post by cliffj (R.I.P.) on Jul 14, 2018 14:56:27 GMT -6
Cool looking little beastie you're building there!!
|
|
Ernie
SETTLING IN
   Just goin' where the plastic takes me.....
Posts: 358 
Likes: 853
|
Post by Ernie on Jul 16, 2018 0:48:52 GMT -6
Thank you again for the interest gents. This is where I gotten to so far on this little guy, 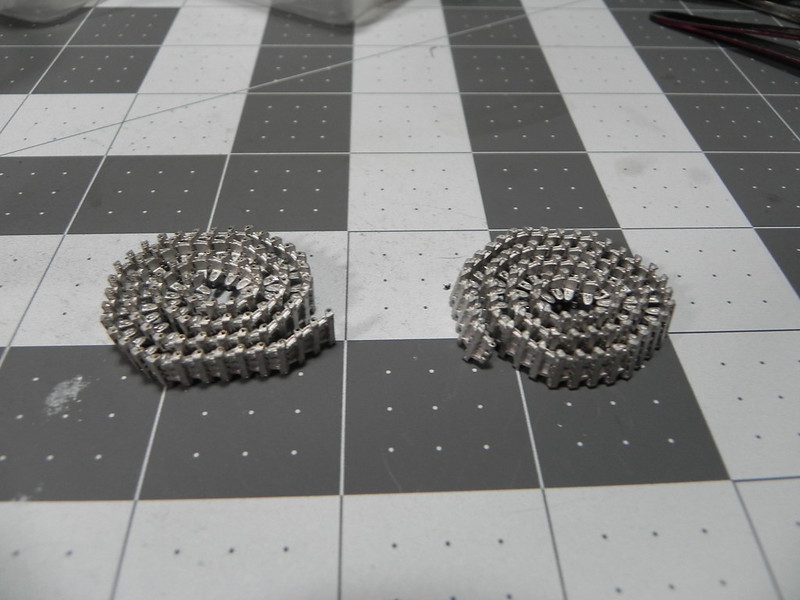 Two sets of tracks done. They were actually pretty fun to put together, I made a simple jig to cut the track pins and cut them all at once in about 35-40 mins. I cleaned out the holes in each link for the pin for each run of tracks before starting to put them together, probably another 40 mins, and then pinned the links together about another 35-40 mins. You get in a rhythm and it goes along pretty good. I narrowed the width of the drive sprockets to better fit the track by sanding the mating face of the inner sprocket down about .030. In hindsight the sprockets are back under the rear fenders and you probably wouldn't notice the difference, but it is done and they fit the track the way they should so..... 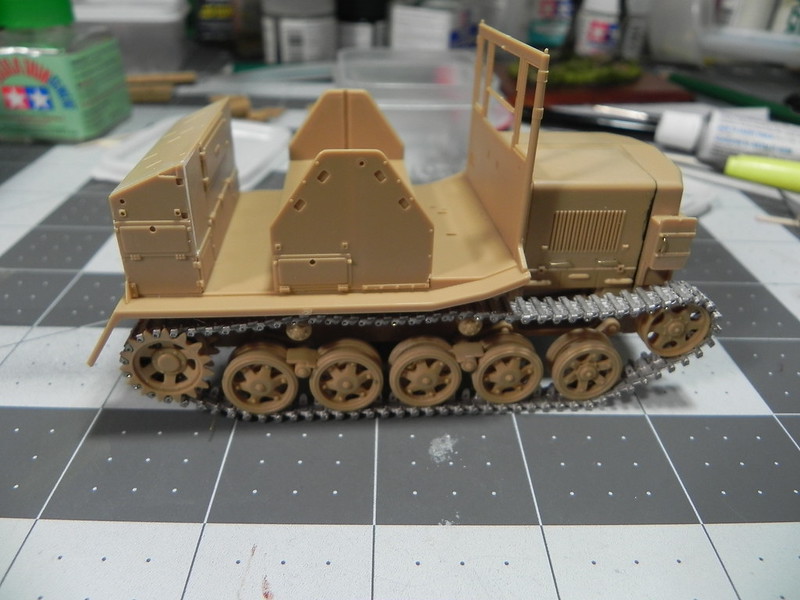 I built up the chassis and running gear so I could check the length so I wouldn't have to mess around with it later after they were all weathered up. I matched them to the kit rubberband tracks, and in the end added one more link to give them some sag. 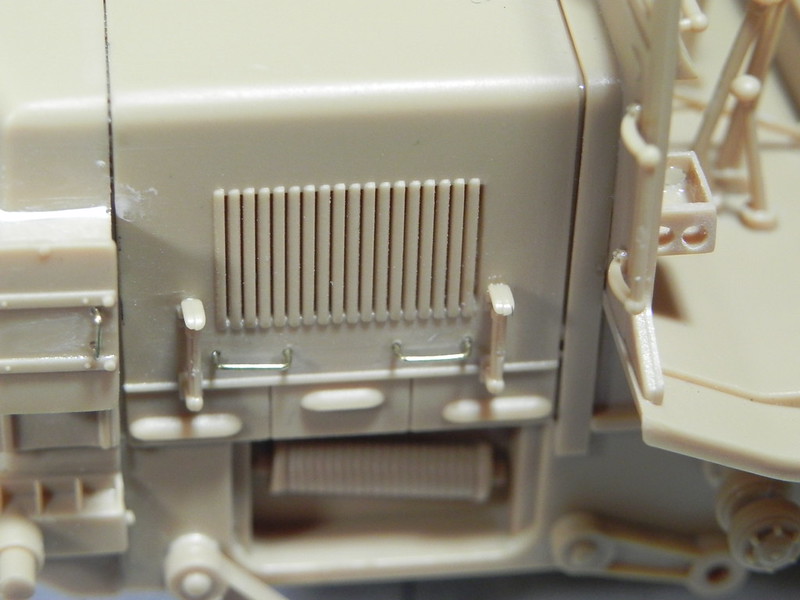 The kit had solid handles on the headlight box and engine hood sections, so I carved those off and replaced them new ones bent from brass wire. Not too hard to do, but adds a little bit of realism to the model. 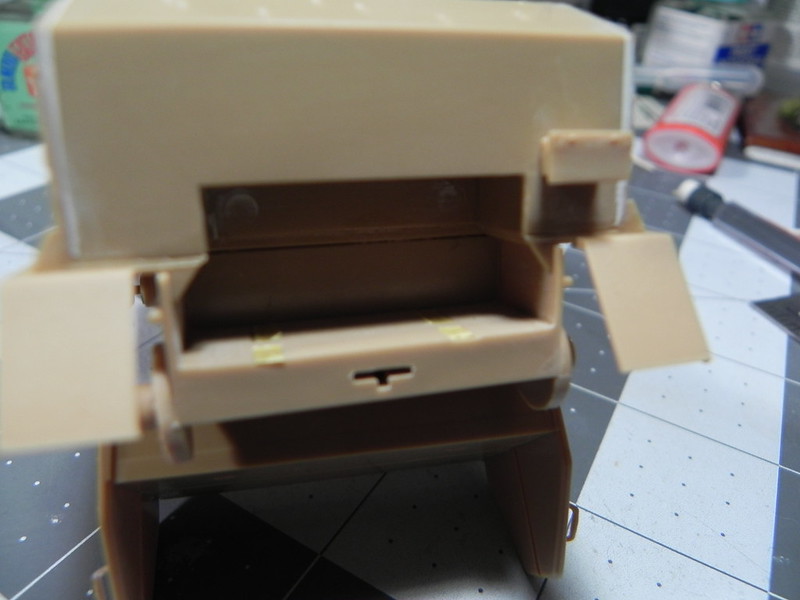 When the chassis and upper body went together there is a rather obvious seam in the well where the winch sits. Even with the winch in place it was still visible, so it needed to be fixed. 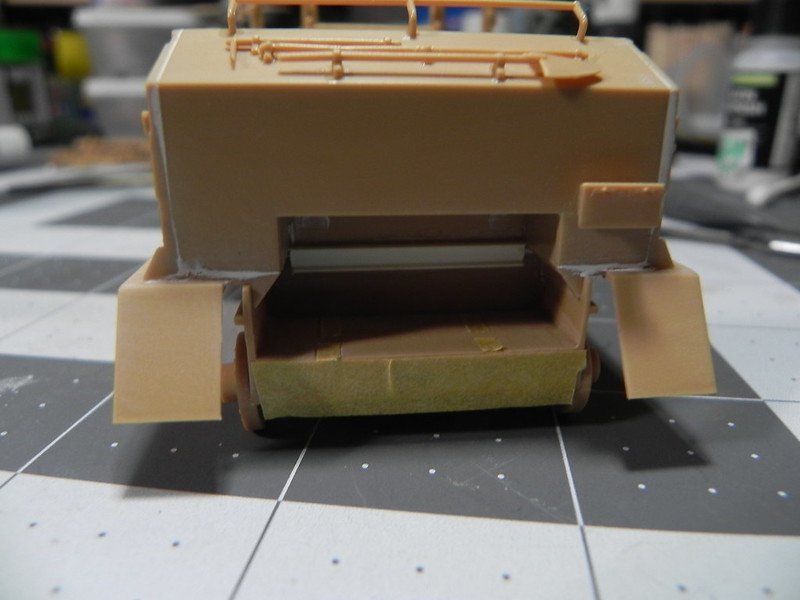 Sooooo, a piece of Evergreen "I" beam adds a structural element to the back wall of the well and conveniently hides the seam, problem solved  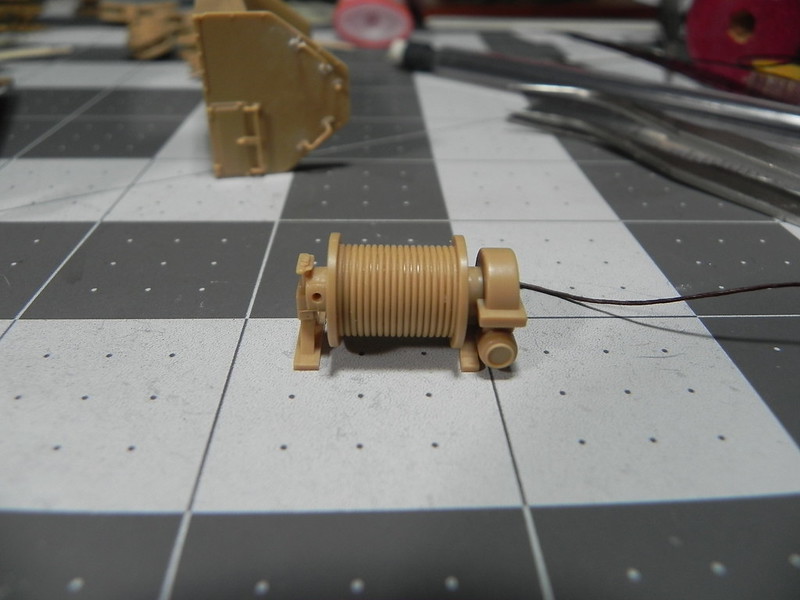 Speaking of the winch, it has the cable molded on, but with no detail, and also the hook for the winch is just glued to the rear bumper, without actually being attached to the cable  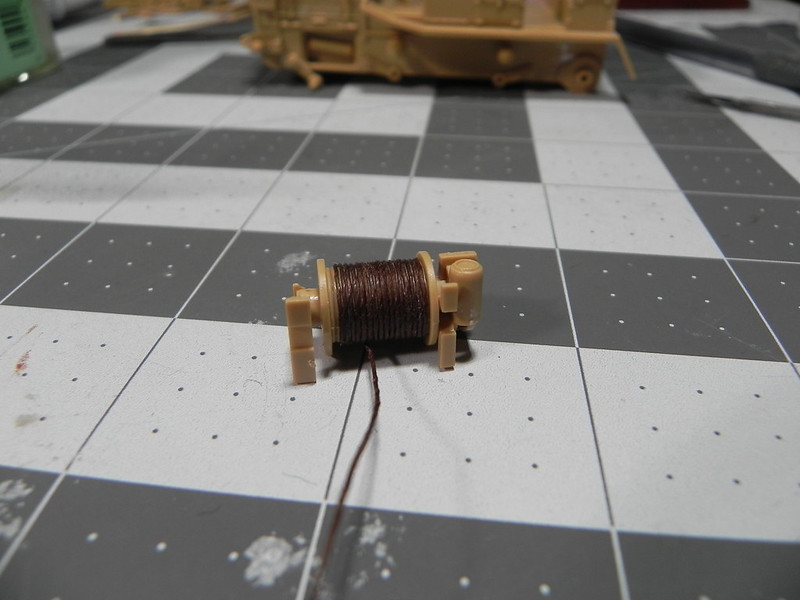 I found some old, and I mean old, thick waxed thread that I wound around the winch drum, and left some extra length that I can use to attach the hook to. 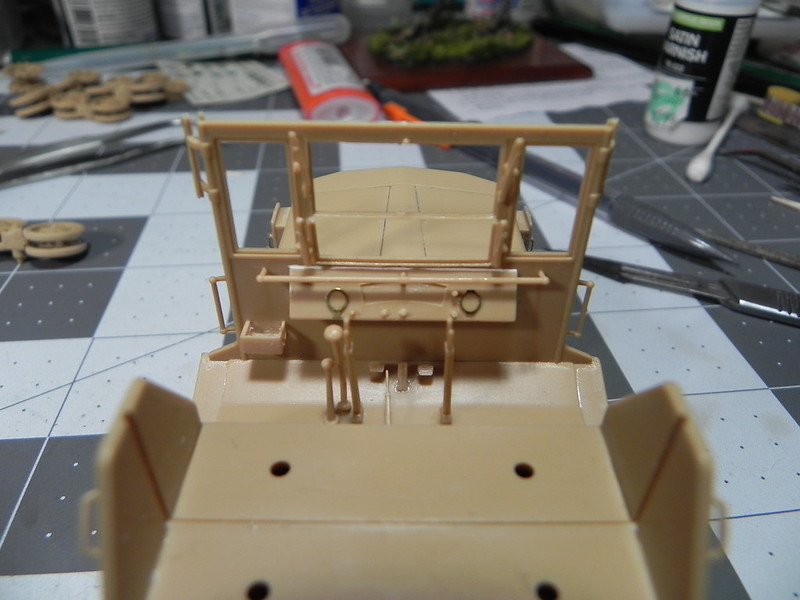 The kit has decals for the instrument panel, but the round instruments were just raised bumps on the panels, so I used some old p/e bezels to make the bumps look like actual instrument faces, later after painting and weathering I will add the decals. Should look a lot better in the end. 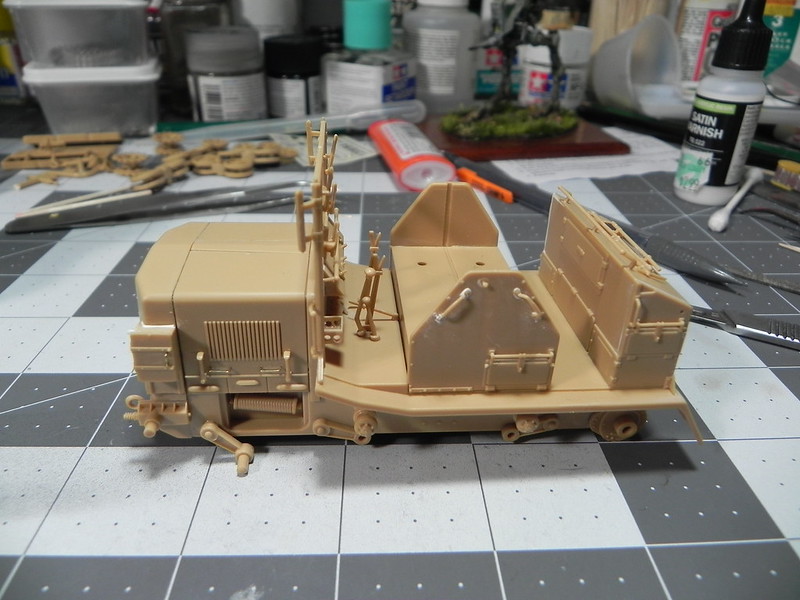 Where she sits now, all but about 1/2 dozen parts have been added, and there are a lot of tiny fragile pieces hanging off this thing. The center seat section is just sat in place. It will not be added until after the painting and part way through the weathering process so I can get at the drivers controls more easily to detail paint the knobs and such. 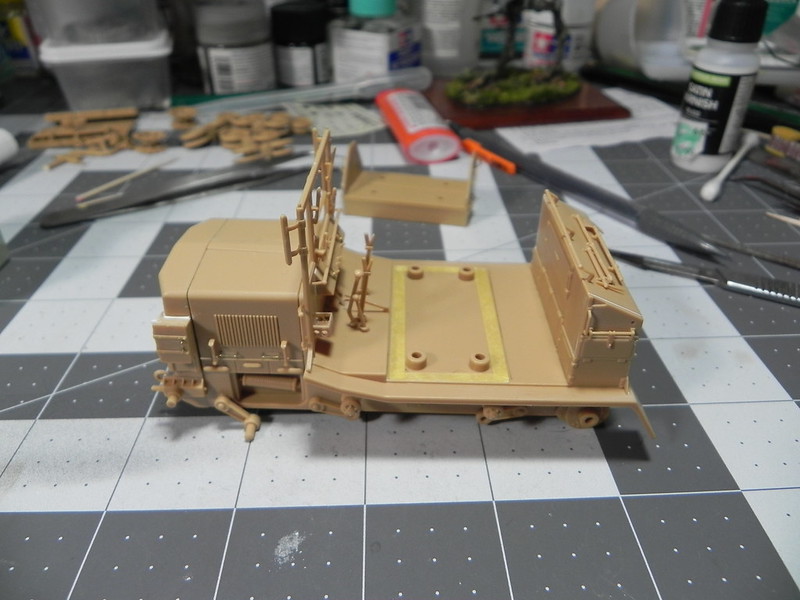 This is how it will look going into the paint shop, the masking you can see is where the center seat will sit. I like, when possible, to keep a good plastic to plastic join and use plastic cement as it makes a stronger bond. The same can be seen on the photos of the rear end where the winch goes. I have to paint it separately, put it in place and thread the cable and through the rear bumper and then cement the bumper in place. So, anyway, that is where this is at. I plan to spend the next couple days checking seams and getting the loose parts mounted up for painting and get the paint done. I placed orders this evening for some weathering stuff I will be needing to finish this off. That stuff won't be here till near the end of the week so that is setting my pace, by then I should have the painting done and a nice coat of gloss laid down and dry so I start the weathering and stuff next weekend. |
|
|
|
Post by Buddho on Jul 16, 2018 2:28:42 GMT -6
Excellent progress and nice touches, Ernie.
|
|
|
|
Post by JCON on Jul 16, 2018 8:41:44 GMT -6
Looking very good with your custom additions...
|
|
|
|
Post by BUCKY on Jul 16, 2018 11:18:03 GMT -6
Great progress, Ernie!!
|
|
|
|
Post by JED on Jul 17, 2018 10:26:18 GMT -6
Looking good, especially the additions
|
|
|
|
Post by Dukemaddog on Jul 24, 2018 10:56:14 GMT -6
Excellent progress! Way to go.
|
|
Ernie
SETTLING IN
   Just goin' where the plastic takes me.....
Posts: 358 
Likes: 853
|
Post by Ernie on Sept 17, 2018 22:07:24 GMT -6
I have been working away on this little guy, got to the painting and weathering stage, and played around with some weathering stuff. Looking at pictures of the different Japanese tractors they seemed to be pretty dirty and grimy but not all beat up. Also, I spent some time looking at pictures of the Pacific islands and the vehicles operating there to get an idea of the earth colors to use for the weathering. 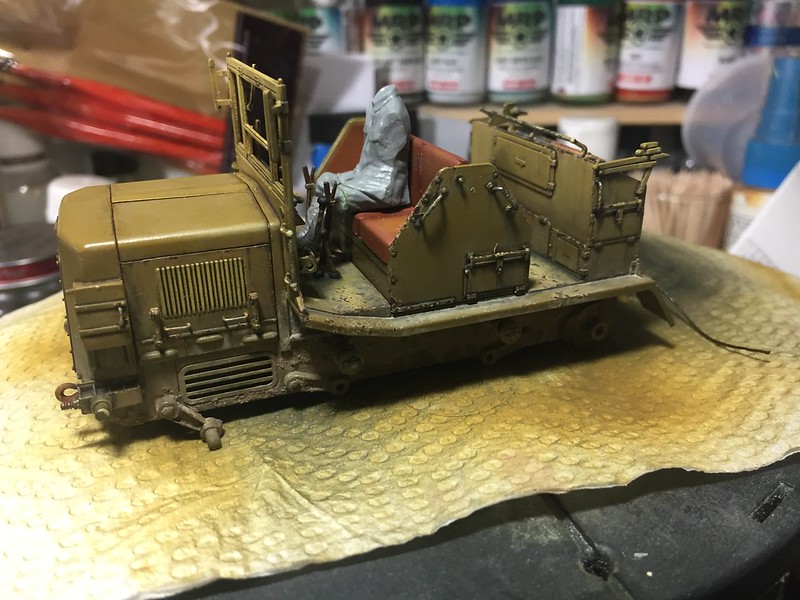 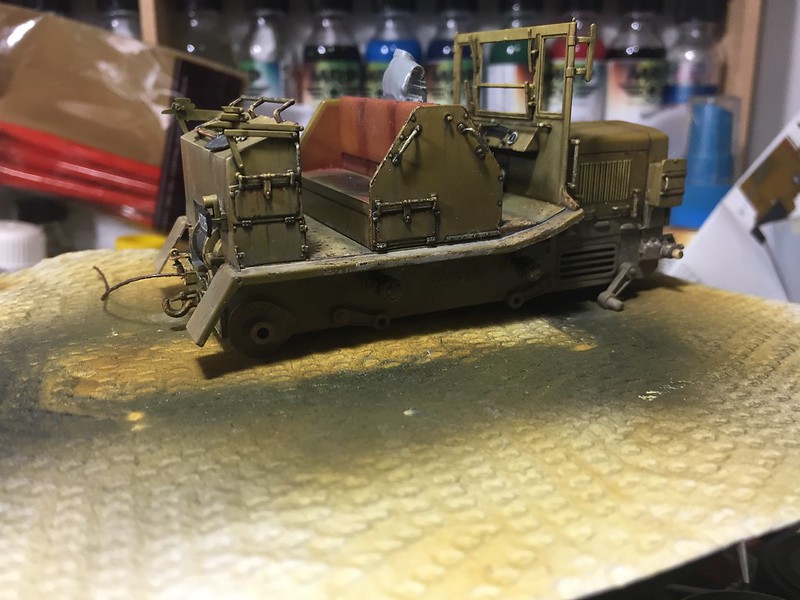 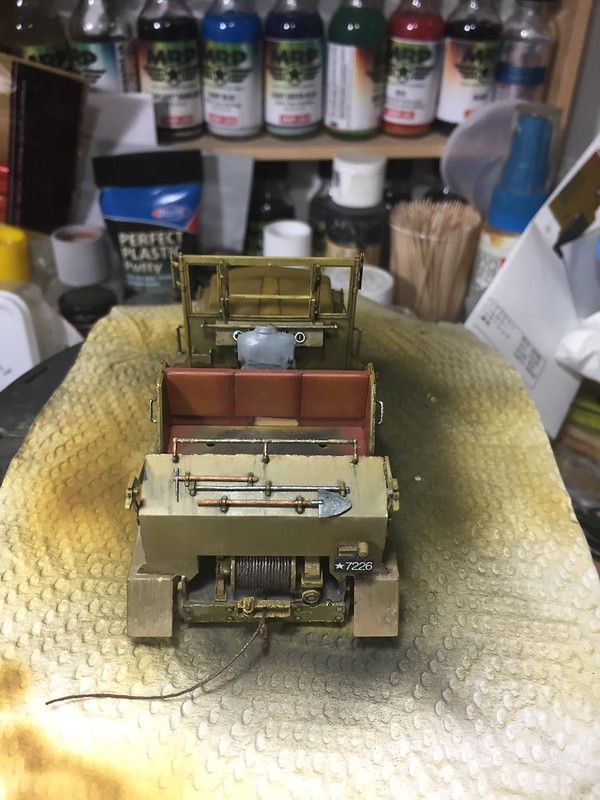 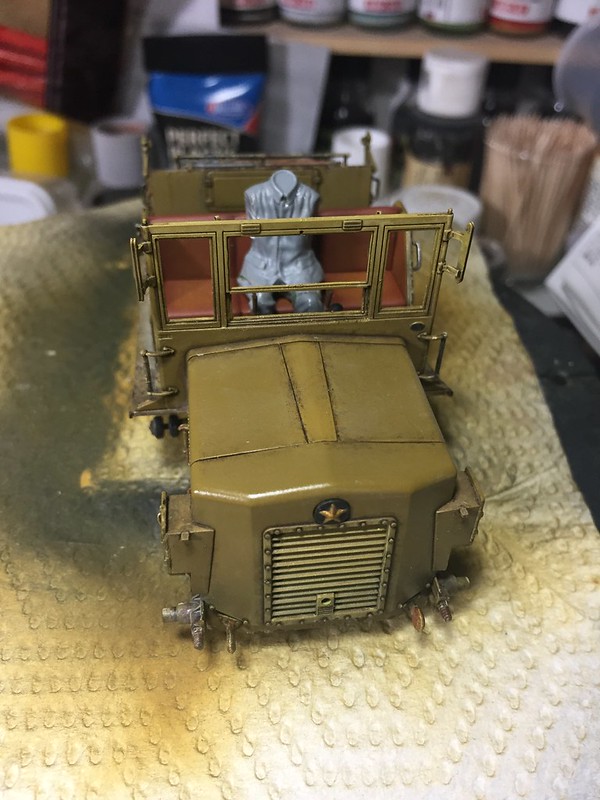 This has taken a while just because I wanted to get things "right", or the at least the way I wanted them. So the engine cowl was painted I think three times to get the shading and highlighting I wanted / was happy with. The weathering effects on the right side were completely removed and started over this morning as I did not like how they were turning out. I have also used just about every type / technique available to get what I wanted. So yeah, this has been sort of a science project, with the goal to be get more proficient as I go along, and also not scrap the model in the process. The seats were painted with Vallejo paint, and the shading, fading, and blending done with oils. They will still get some dust added before calling them finished. The driver figure is a mash up of a sitting figure from Tamyia's Japanese Officers set and a Masterbox Japanese infantryman. The sitting figure needed to be sectioned so he sat with his legs closer together to fit between the control levers, his legs needed to be altered so they were aimed at the pedals, and the lower legs came from the Masterbox figure and were fitted so they actually touch the pedals. The reason I used the lower legs form the Masterbox set was they have the footcloths and short boots usually worn by the enlisted ranks, vis the boots on the Tamyia officer figure. And one last annoying detail that was taken care of was adding the panel line to the sides of the engine cowl above the louvers. I never noticed that until I was looking at pictures to get an idea of the weathering on these vehicles. I found a photo that showed the side cowl unlatched and hanging out of place, it was then that I noticed the panel line above the louvers. :frantic :bangs head I managed to scribe in the line without messing up the paint or screwing up the line, but it sure would have been easier if I had noticed it before the model was built and painted. Always pay attention to your references. |
|
|
|
Post by JCON on Sept 17, 2018 22:14:44 GMT -6
Wow nice work brother!!! Love where you are going with it...
|
|
|
|
Post by BUCKY on Sept 17, 2018 23:12:38 GMT -6
I like the way this one is shaping up!!
|
|
Ernie
SETTLING IN
   Just goin' where the plastic takes me.....
Posts: 358 
Likes: 853
|
Post by Ernie on Sept 18, 2018 0:06:33 GMT -6
Thank you guys, much appreciated! This one is taking longer than I thought it would, but its getting there  |
|
SteveM
SETTLING IN
  
Posts: 411 
Likes: 967
|
Post by SteveM on Sept 18, 2018 1:11:52 GMT -6
Really interesting build fella , nicely painted up too  |
|
|
|
Post by Dukemaddog on Sept 18, 2018 9:32:17 GMT -6
Ernie, the best models take extra time to get right. It looks like your experiments are paying off and lessons are being well learned. That is a most impressive looking beastie and the weathering is looking so realistic. I can almost see the jungle vines draped over this as it's moving through to the next position.
|
|
Ernie
SETTLING IN
   Just goin' where the plastic takes me.....
Posts: 358 
Likes: 853
|
Post by Ernie on Sept 18, 2018 10:41:03 GMT -6
Ernie, the best models take extra time to get right. It looks like your experiments are paying off and lessons are being well learned. That is a most impressive looking beastie and the weathering is looking so realistic. I can almost see the jungle vines draped over this as it's moving through to the next position.    That is awesome Duke !!!! I love how you think!......heres why, I am ordering up some photo etch vines this week to put on it as the Japanese commonly used local foliage to camouflage their vehicles. I have been thinking of how I would place the vines, and all I could come up with thinking it would look like Christmas decorations....I ended up thinking I might as well string a vine across the top of the windshield frame and hang a "Merry Christmas" sign from it. Then I devolved to thinking I probably could add little light bubs to the vines as well...…….and maybe park it in front of a Christmas Tree lot...….. |
|